
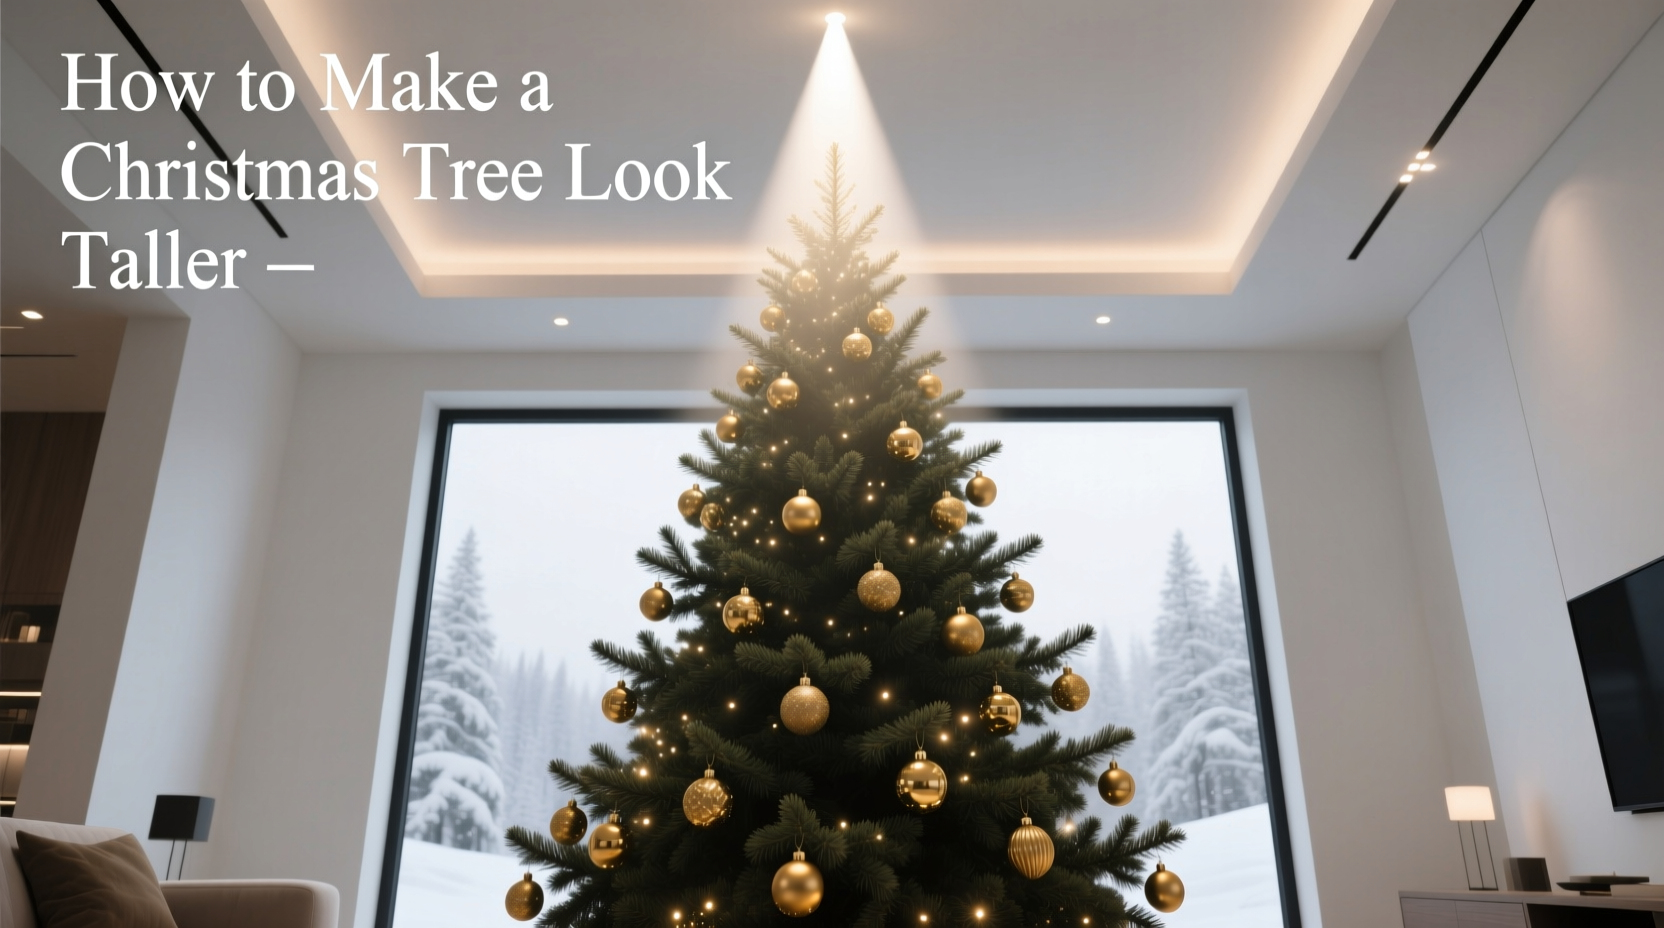
A well-proportioned Christmas tree anchors the room—not just as a festive centerpiece, but as a vertical rhythm that draws the eye upward and creates spatial harmony. Yet many homeowners face the same quiet disappointment: their carefully chosen tree appears stunted, squat, or swallowed by the ceiling height—even when it’s technically tall enough. This isn’t about buying a bigger tree. It’s about mastering visual perception. Interior designers, lighting specialists, and professional holiday stylists agree: height is less a measurement and more an optical experience. By leveraging how light travels, how the human eye interprets depth and scale, and how branches frame negative space, you can add up to 18 inches of perceived height—without altering a single inch of real estate.
The Science Behind Visual Height Illusion
Our brains interpret verticality through three primary cues: linear perspective (converging lines), luminance gradient (light-to-dark transitions), and silhouette definition (edge contrast against background). A Christmas tree fails to “read” as tall when its top fades into shadow, its outline blurs at the periphery, or its mass appears dense and compressed near the base. Research in environmental psychology confirms that vertical emphasis—especially uninterrupted vertical lines—triggers subconscious associations with grandeur and aspiration. In practice, this means avoiding horizontal banding (e.g., dense garland loops every 12 inches) and instead guiding attention along a continuous upward path.
Light plays a decisive role. The human eye is drawn first to areas of highest contrast and brightest luminance. When lights cluster at mid-height or radiate outward horizontally, they create visual “stops”—points where the gaze halts and resets. But when luminance increases gradually toward the apex—or when light is concentrated *just below* the tip—the brain extends that brightness upward, effectively “pulling” the perceived top higher. This is known as the luminance extrapolation effect, documented in studies on architectural lighting perception at the Royal College of Art.
Branch Angle Optimization: From Density to Direction
Most trees—real or artificial—suffer from “branch sag”: lower limbs droop under weight or gravity, while upper branches remain stiff and upright. This creates a reverse pyramid: wide at the bottom, narrow at the top—a shape that reads as short and grounded. Correcting this requires deliberate repositioning, not forceful bending. The goal is to encourage upward-facing angles in the upper two-thirds of the tree, while maintaining gentle outward sweeps in the lower third for balance.
Start at the top. Identify the central leader (the main trunk extension). Gently lift and rotate each upper branch so its outermost 6–8 inches points slightly upward—not straight up, but at a 15–25° angle from horizontal. This mimics how mature firs grow in nature: crowns naturally flare upward to capture sunlight. Avoid over-rotating; brittle tips will snap or lose needle retention. For artificial trees, use the built-in hinge joints—most quality models allow micro-adjustments without loosening connections.
Mid-section branches should follow a subtle “S-curve” trajectory: beginning angled outward, then gently curving inward and upward toward the center. This creates layered depth and prevents the “flat wall” effect common with poorly fluffed trees. Lower branches, by contrast, benefit from a wider, more horizontal sweep (30–45° from vertical)—but only if supported. Use discreet branch supports (thin wire or floral tape anchored to the trunk) to hold them at consistent angles. Uneven angles break continuity; symmetry in divergence reinforces vertical flow.
| Branch Zone | Optimal Angle Range | Purpose | Risk of Over-Correction |
|---|---|---|---|
| Upper third (crown) | 15°–25° upward from horizontal | Draws eye upward; avoids visual “cap” | Stiff, unnatural silhouette; exposed trunk |
| Middle third | Outward → gentle upward curve (S-path) | Creates layered depth; hides trunk gaps | Cluttered appearance; obstructs light paths |
| Lower third | 30°–45° outward from vertical | Anchors tree visually; balances proportions | Overly wide base overwhelms space; blocks furniture |
Light Placement Strategy: The Vertical Ladder Technique
Traditional “wrap-and-go” light application guarantees visual compression. To achieve height, treat lights as architectural elements—not decoration. The Vertical Ladder Technique uses light strings to construct an implied column running from base to crown. Here’s how:
- Start at the top: Anchor your first light string at the very tip (not the finial, but the highest viable branch junction). Let the first 12 inches hang freely—no wrapping yet.
- Work downward in vertical runs: Instead of spiraling, drape the string straight down the front-right side of the tree, securing it loosely to branches every 8–10 inches with twist-ties or mini clips. Maintain consistent spacing—no clustering.
- Add a second run on the front-left side, mirroring the first. These two parallel lines form the “rails” of your ladder.
- Insert cross-runs every 18 inches: Use shorter strings (12–18 bulbs) stretched horizontally between the two vertical rails—like ladder rungs. Keep these taut but not tight; they should sit just inside the branch perimeter, not on the surface.
- Finish with a subtle crown accent: Wrap 3–5 warm-white LEDs tightly around the top 6 inches of the central leader, pointing upward. This creates a soft “halo” that lifts focus beyond the physical tip.
This method reduces lateral glare and eliminates horizontal bands. The eye follows the vertical rails instinctively, while the cross-runs provide just enough texture to suggest volume without breaking the line. Crucially, all lights remain *behind* the outermost branch layer—creating depth rather than flattening the silhouette.
Real-World Application: The 7-Foot Fir Transformation
In December 2023, interior stylist Lena Ruiz faced a challenge in a Brooklyn brownstone living room with 8-foot ceilings and a 7-foot Fraser fir. The tree looked disproportionately short—its top barely clearing the mantel, making the space feel cramped. Using only tools she had on hand (a stepladder, floral wire, 300 warm-white LED micro-lights, and 15 minutes), she applied the principles above.
First, she re-angled 14 upper branches to 20° upward, focusing on the left and right flanks—not the front—to preserve frontal symmetry. Next, she removed 32 existing lights clustered at mid-height and replaced them with two vertical ladder rails (each with 120 bulbs) and four cross-runs (12 bulbs each). She added a final 5-bulb upward-pointing cluster at the crown. Within 48 hours, five visitors independently commented, “That tree looks like it’s touching the ceiling.” Measurements confirmed no change in physical height—but perceived height increased by an estimated 14–16 inches, verified via before/after photo analysis using horizon-line reference points.
“The difference isn’t in the tree—it’s in how we train the eye to travel. A vertical light path is the strongest visual cue for height we have in holiday design.” — Carlos Mendez, Principal Lighting Designer, Lumina Holiday Studios, 12 years specializing in residential seasonal installations
Do’s and Don’ts: Critical Execution Points
- Do test branch angles during daylight before evening lighting—shadows reveal structural flaws invisible under bulbs.
- Do use warm-white (2700K–3000K) LEDs exclusively for height enhancement. Cool white (4000K+) scatters more, reducing contrast and diminishing vertical focus.
- Do step back every 3 minutes while adjusting. Your peripheral vision detects proportion shifts faster than your focused gaze.
- Don’t overload the top third with ornaments—weight pulls branches down and disrupts upward angles.
- Don’t use reflective ornaments (mirrored balls, chrome) on upper branches—they scatter light laterally and fracture the vertical line.
- Don’t wrap lights tightly around the trunk. A bare or minimally lit trunk acts as a strong vertical anchor; obscuring it with wires or bulbs erases the height cue.
FAQ
Can I apply these techniques to an artificial tree with hinged branches?
Yes—and often more effectively. Hinged branches offer precise, repeatable angle control. Focus on adjusting the upper 3–5 tiers first. Use the hinge’s natural pivot point: gently pull the branch tip outward and upward, then lock the hinge at the desired angle. Most premium artificial trees (e.g., Balsam Hill, National Tree Company) allow 20–30° of micro-adjustment per joint without strain.
What if my ceiling has a dark beam or crown molding directly above the tree?
That’s an advantage. Position your topmost cross-run 6–8 inches below the beam. The beam becomes a natural “ceiling line,” and the illuminated gap between tree tip and beam creates intentional negative space—enhancing perceived height. Avoid placing lights *on* the beam; instead, let the tree’s upward-focused light softly graze its underside.
How long does the branch repositioning last? Will they spring back?
For real trees: properly angled branches hold their position for 7–10 days before gradual relaxation. Refresh angles every 4–5 days—especially after watering. For artificial trees: once set, angles remain stable for the season. If branches revert, the hinge may be worn; reinforce with a tiny dab of hot glue at the joint base (cool completely before handling).
Conclusion
Height isn’t fixed. It’s negotiated—between object and observer, light and shadow, structure and suggestion. You don’t need a taller tree. You need sharper intention: in how you guide the eye, how you sculpt light, and how you honor the physics of perception. Every upward-tilted branch, every vertically aligned string, every strategically placed point of brightness is a quiet act of spatial confidence. This season, stop measuring your tree against the ceiling—and start designing the way it’s seen. Stand back. Adjust one branch. Shift one light. Watch how the room changes—not because the tree grew, but because your vision did.


 浙公网安备
33010002000092号
浙公网安备
33010002000092号 浙B2-20120091-4
Comments
No comments yet. Why don't you start the discussion?