
Transform your home into a winter wonderland without breaking the bank. With today’s smart lighting technology, creating an animated Christmas display is no longer limited to professional installers or high-end decorators. Affordable, Wi-Fi-enabled LED strips and programmable bulbs now allow homeowners to design synchronized light shows that dance to music, pulse with rhythm, or cycle through festive color patterns—all from the comfort of a smartphone app or simple controller. This guide walks you through building your own dynamic holiday display using accessible components, easy-to-use software, and clever techniques that maximize impact on a modest budget.
Why Smart Lights Are Perfect for Animated Displays
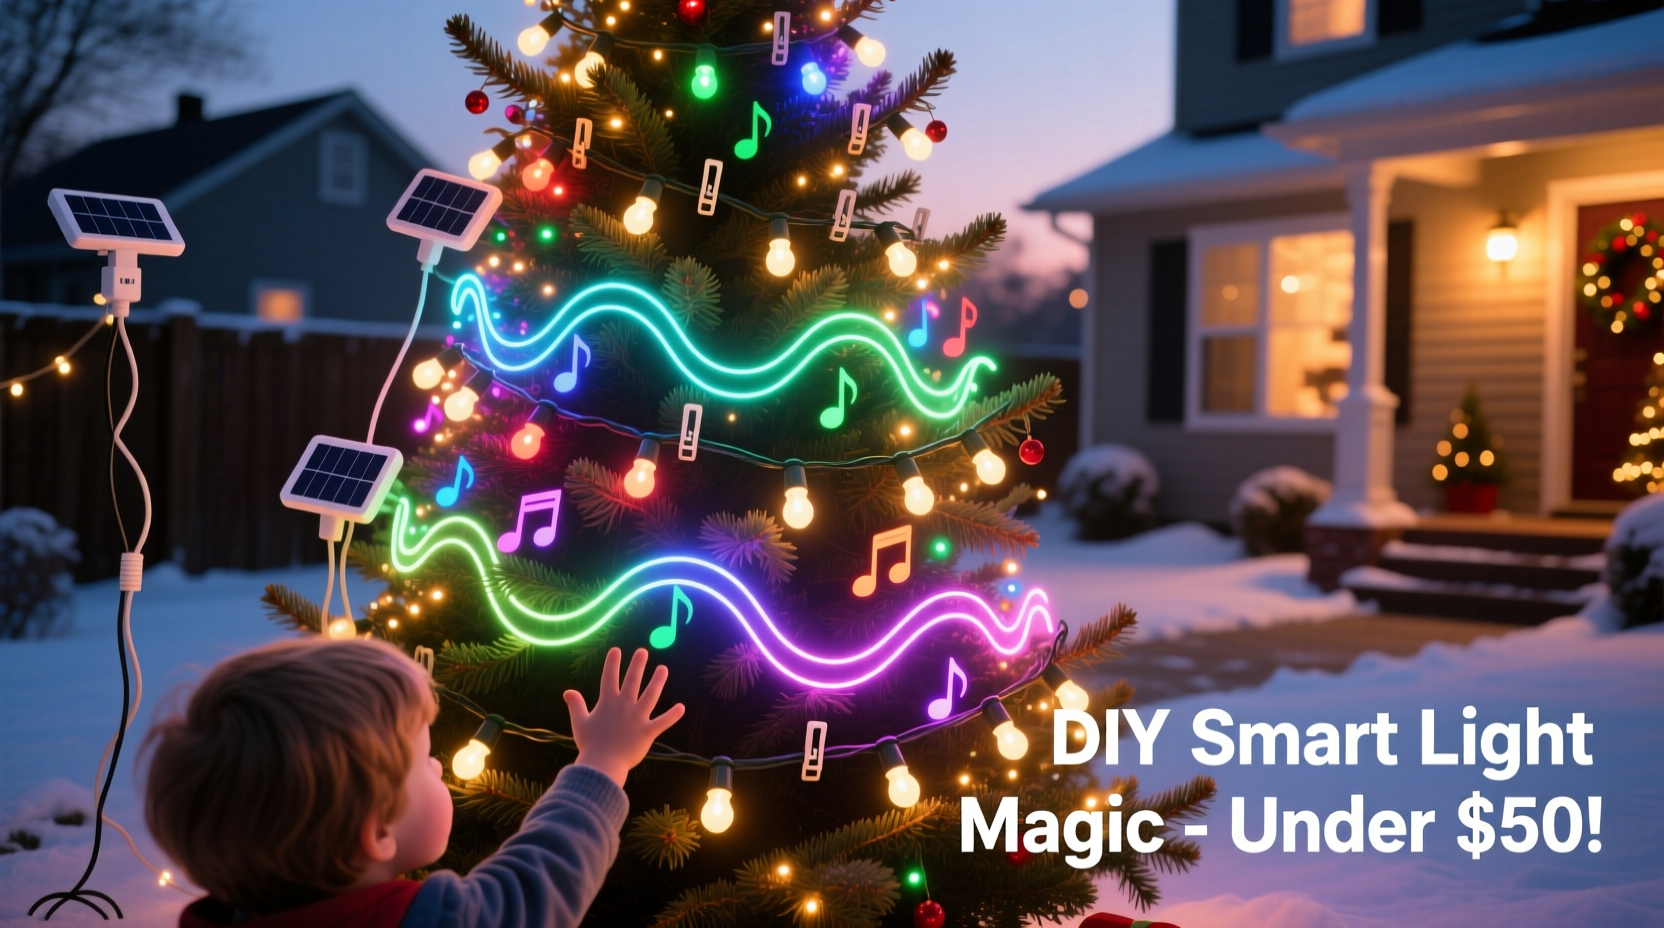
Traditional Christmas lights offer charm but lack flexibility. Once hung, their appearance remains static unless manually adjusted. Smart lights, however, bring motion, timing, and interactivity to your decorations. Each bulb or segment can be individually programmed to change color, brightness, and animation speed in sequence—enabling effects like waves, chases, twinkles, and even full musical synchronization.
The key advantage lies in addressability. Unlike standard string lights where all bulbs behave uniformly, addressable LEDs (such as those based on WS2812B chips) allow granular control. When paired with compatible controllers and apps, they become pixels in a living canvas. The best part? These components are now widely available at consumer-friendly prices from brands like LIFX, Govee, Philips Hue, and generic options on Amazon or AliExpress.
What You’ll Need: A Budget-Friendly Shopping List
You don’t need thousands of dollars to create a captivating display. Most essential items can be sourced for under $150, depending on the scale. Here’s what to gather:
- Addressable LED strip lights or rope lights – Look for 5V or 12V WS2812B-based strips (commonly labeled “NeoPixel” compatible).
- Wi-Fi or Bluetooth controller – Options include ESP8266/ESP32 microcontrollers or pre-built hubs like Govee Controller H5179.
- Power supply – Match voltage and amperage to your LED length; longer runs require higher current.
- Micro USB cable or barrel connector – For connecting controller to power source.
- Extension cords and outdoor-rated surge protectors – Essential for safe outdoor use.
- Mounting clips or adhesive backing – To secure lights along eaves, trees, or railings.
- Free animation software – Such as xLights, FPP (Falcon Player), or mobile apps like Govee Home.
“Smart lighting has democratized holiday displays. Now anyone with basic tech curiosity can build something magical.” — Daniel Reyes, DIY Lighting Enthusiast & Creator of LightShowPi.net
Step-by-Step Guide to Building Your Animated Display
Follow this structured approach to go from idea to illuminated reality in under a weekend.
- Plan Your Layout
Sketch your house outline or yard area on paper or digitally. Mark where lights will go: roofline, windows, porch columns, tree trunks, etc. Decide whether you want continuous strips or segmented zones for different effects. - Choose Your Control Method
If you're not coding, opt for plug-and-play systems like Govee RGBIC strips with app support. For more advanced users, set up an ESP32 board running WLED firmware—it's free, open-source, and supports complex patterns and audio reactivity. - Install the Lights Safely
Cut strips only at designated cut points (marked with scissors icons). Use waterproof silicone end caps if placing outdoors. Secure them with UV-resistant clips—not staples—to avoid damage. Keep connections elevated off the ground. - Connect and Power Up
Link the data-in end of the strip to your controller’s output pin. Connect the controller to a properly rated power supply. Test with a simple solid color before advancing. - Program Animations
Using WLED or xLights, select built-in effects like \"Rainbow Cycle,\" \"Theater Chase,\" or \"Fire Flicker.\" Adjust speed, direction, and intensity. For music sync, use ambient sound mode or import MP3 files with beat detection enabled. - Automate and Schedule
Set daily on/off times via app or smart home integration (e.g., Google Assistant, Alexa). Some controllers allow sunrise/sunset triggers for automatic operation. - Add Depth with Layered Effects
Combine multiple strands with different animations—for example, slow fade on roofline and fast sparkle on trees. This creates visual interest and mimics professional-grade installations.
Budget Comparison: DIY vs. Pre-Made Solutions
Many assume custom light shows require expensive proprietary gear. In reality, modular smart lighting offers better value and customization. The table below compares typical costs.
| Component | DIY Smart Light Setup | Premade Animated Kit |
|---|---|---|
| 50-count Addressable Strip (16.4 ft) | $18 (Amazon/Banggood) | N/A – Sold in bundles only |
| Controller (WLED-compatible) | $12 (ESP32 + casing) | $40+ (Branded hub) |
| Power Supply (5V/10A) | $20 | Included, but non-upgradable |
| Software & Updates | Free (open-source) | Subscription model possible |
| Total for 100 Lights + Control | $50–$70 | $150–$300+ |
| Expandability | Yes – mix brands and lengths | Limited to same ecosystem |
As shown, a DIY path saves at least 50% upfront while offering greater long-term flexibility. You can reuse controllers across seasons and expand incrementally.
Real Example: A Suburban Family’s First Animated Display
The Thompsons, a family in Ohio, wanted to spread holiday cheer after two quiet Christmases due to health concerns. With a budget of $120, they purchased two 10-meter reels of 5V WS2812B LED strips, two NodeMCU ESP8266 boards, and a shared 5V/10A power supply. Using YouTube tutorials and the WLED app, they programmed four distinct zones: roofline chase effect, porch column rainbow swirl, front steps twinkle, and a small tree synced to Mariah Carey’s “All I Want for Christmas Is You.”
They scheduled the show to run nightly from 5 PM to 10 PM and shared the link on their neighborhood Facebook group. Within days, families began stopping by to watch—the local paper even featured them in a “Community Spirit” segment. Their secret? Starting small, testing frequently, and leaning on free tools instead of costly platforms.
Common Pitfalls and How to Avoid Them
Even straightforward projects can stumble without proper planning. Watch out for these frequent issues:
- Voltage drop over long runs: After 5 meters, 5V strips may dim at the far end. Solution: Inject power at multiple points or switch to 12V strips for larger setups.
- Water damage: Moisture seeping into connectors causes flickering or failure. Always seal splices with heat shrink tubing or silicone gel caps.
- Overheating: Running bright white on dense strips generates heat. Mount away from flammable surfaces and ensure airflow.
- Wi-Fi interference: Outdoor signals weaken. Place your router closer or use a Wi-Fi extender. Alternatively, use standalone SD card playback with Falcon Player.
- Animation lag: Complex sequences may stutter on low-memory controllers. Stick to proven firmware like WLED, which is optimized for performance.
FAQ: Common Questions About DIY Animated Lights
Can I synchronize lights to music without a computer?
Yes. Many modern smart strips (like Govee Glide series) have built-in microphones that react to ambient sound. Open the app, enable \"Music Mode,\" and adjust sensitivity. No PC needed.
Are these lights safe for outdoor use?
Only if rated IP65 or higher. Check product specs for waterproofing. Even then, keep power supplies and controllers indoors or in weatherproof enclosures.
How do I prevent my neighbors from controlling my lights?
Ensure your network is password-protected. If using local-only firmware like WLED, disable cloud access. Never share QR codes or SSIDs publicly.
Maximizing Impact with Minimal Hardware
You don’t need hundreds of lights to impress. Focus on strategic placement and movement. Wrap pillars with spiral-wrapped strips to create upward-flowing comets. Outline windows with chasing patterns that mimic falling snow. Use corner bends to form simple shapes—a star, a candy cane, or a reindeer silhouette made from bent conduit and spaced nodes.
Pair subtle animations with silence for elegance, or go bold with full strobes and color bursts for excitement. Rotate themes weekly: classic red/green the first week, icy blue/white the second, then full spectrum for New Year’s Eve.
Checklist: Launch Your Animated Display in 7 Days
- Sunday: Sketch layout and order parts online.
- Monday: Receive components and verify compatibility.
- Tuesday: Assemble one test strip with controller.
- Wednesday: Flash WLED firmware (if applicable) and connect to Wi-Fi.
- Thursday: Hang first section and test animations outdoors.
- Friday: Expand to remaining zones; troubleshoot connections.
- Saturday: Finalize schedule, record a short video preview, and invite friends/family.
Conclusion: Light Up the Season, One Pixel at a Time
Creating a DIY animated Christmas display isn’t just about decoration—it’s about joy, creativity, and sharing warmth in dark months. With affordable smart lights and freely available tools, you hold the power to craft something uniquely yours. Whether it’s a gentle glow above your doorway or a full-frontal musical spectacle, every flicker carries intention. The technology is within reach; all that’s left is to turn it on.


 浙公网安备
33010002000092号
浙公网安备
33010002000092号 浙B2-20120091-4
Comments
No comments yet. Why don't you start the discussion?