
Aromatherapy doesn’t have to come from expensive electric diffusers or synthetic air fresheners. One of the most elegant and sustainable ways to scent your home is by creating a DIY reed diffuser using essential oils and natural materials. These diffusers work quietly in the background, releasing subtle, consistent fragrance without electricity, heat, or noise. With just a few basic supplies, you can craft a personalized scent experience that enhances mood, purifies the air, and adds a touch of handmade charm to any room.
Unlike plug-in devices or sprays that rely on chemicals and frequent refills, a homemade reed diffuser uses natural essential oils diluted in a carrier solution, absorbed through porous reeds, and dispersed into the air via capillary action. The result is a gentle, long-lasting aroma that can last weeks or even months with minimal maintenance. This guide walks you through every step—from choosing the right oils to troubleshooting common issues—so you can create an effective, beautiful diffuser tailored to your space and preferences.
Why Make Your Own Reed Diffuser?
Commercial reed diffusers often contain synthetic fragrances, alcohol-based solvents, and plastic components that compromise both scent quality and environmental impact. By making your own, you control exactly what goes into the blend. You avoid phthalates, parabens, and artificial dyes commonly found in store-bought versions. Additionally, crafting your diffuser allows for full customization: choose calming lavender for the bedroom, citrus blends for the kitchen, or grounding sandalwood for a home office.
Another advantage is cost-efficiency. A high-end branded diffuser can cost $30–$50 and may need replacement every 6–8 weeks. In contrast, a DIY version costs under $10 to assemble and can be refreshed multiple times with new oil blends. Refilling is as simple as topping off the bottle, rotating the reeds, and adjusting the number of sticks to control intensity.
Materials You’ll Need
Gathering the right components is crucial for performance and safety. Here’s what you’ll need to build an effective, long-lasting diffuser:
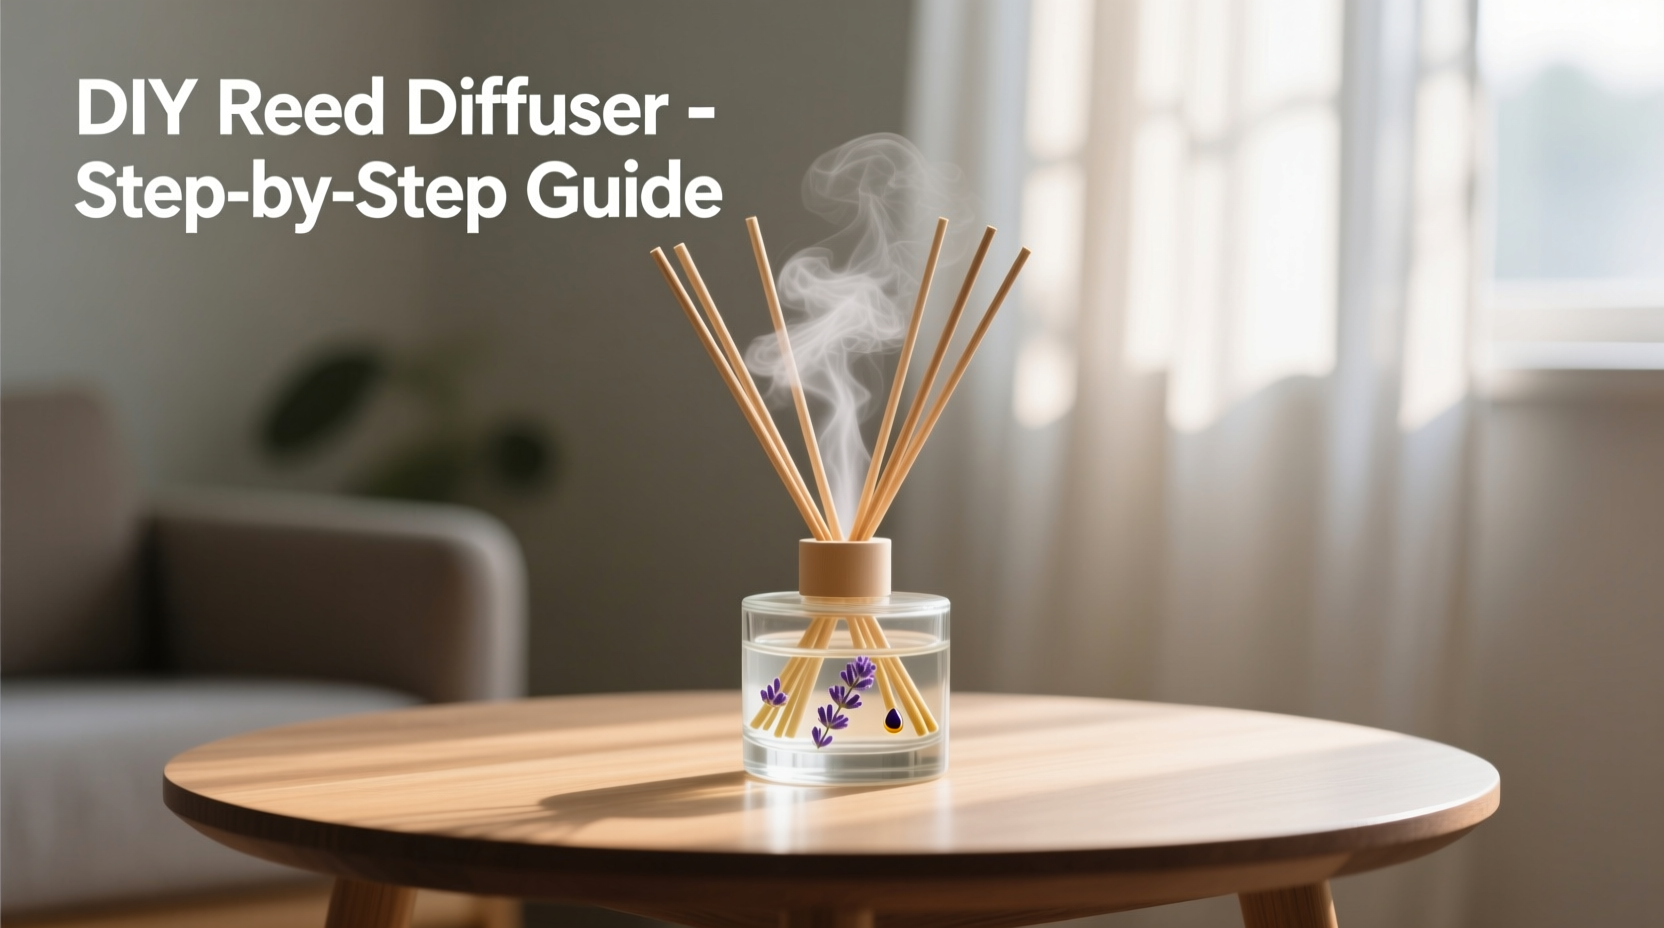
- Glass bottle or vessel: Narrow-necked containers (like small apothecary bottles or repurposed perfume bottles) help reduce evaporation and support reed stability.
- Reed sticks: Typically made from rattan, these porous rods naturally draw up liquid. Avoid bamboo or non-porous wood substitutes.
- Essential oils: Choose 100% pure therapeutic-grade oils. Popular choices include lavender, eucalyptus, lemon, bergamot, and ylang-ylang.
- Carrier base: A solvent that helps thin the oils and improve wicking. Common options include fractionated coconut oil, safflower oil, or isopropyl alcohol (70%+).
- Optional additives: Vanilla extract (for warmth), dried botanicals (for visual appeal), or dipropylene glycol (DPG) for enhanced diffusion.
The choice of carrier base significantly affects performance. Oils alone are too viscous to travel efficiently up reeds. Alcohol-based carriers evaporate faster, producing stronger initial scent but requiring more frequent refills. Oil-based carriers release fragrance slowly and last longer but may produce a lighter aroma. A balanced approach combines both—using 70% carrier oil and 30% alcohol—for optimal diffusion and longevity.
Step-by-Step Guide to Assembling Your Diffuser
- Select your container: Choose a clean, dry glass bottle with a narrow opening (about 1 inch diameter). Ensure it holds at least 4–6 oz for adequate oil volume.
- Prepare the carrier mixture: In a measuring cup, combine 2 tablespoons of carrier oil with 1 tablespoon of isopropyl alcohol. Stir gently to blend.
- Add essential oils: For a 4 oz bottle, use 30–40 drops total of essential oils. Adjust based on desired strength. Blend top, middle, and base notes for complexity (e.g., 15 drops lemon, 10 drops lavender, 10 drops cedarwood).
- Pour into the bottle: Use a funnel to transfer the mixture into the glass container without spilling.
- Insert reed sticks: Place 5–7 reeds into the liquid. Let them soak for 1 hour, then flip them so the saturated ends are exposed to the air.
- Position and maintain: Place the diffuser in a well-ventilated area away from direct sunlight and drafts. Flip reeds once a week to refresh the scent.
Within 24 hours, the fragrance should begin to disperse. The rate depends on room temperature, airflow, and the number of reeds used. More reeds mean stronger scent; fewer allow for subtlety. Never exceed 10 reeds in a standard 4 oz bottle, as overcrowding reduces airflow and wicking efficiency.
Choosing the Right Essential Oil Blends
The art of blending essential oils transforms a functional diffuser into a sensory experience. Understanding aromatic profiles ensures balanced, pleasing results. Fragrances are categorized into three layers:
- Top notes: Light, volatile scents that hit first (citrus, mint, basil).
- Middle notes: Heart of the blend, providing balance (lavender, rosemary, geranium).
- Base notes: Deep, rich aromas that linger (patchouli, frankincense, vetiver).
A well-rounded blend typically follows a 30-50-20 ratio: 30% top, 50% middle, 20% base. For example:
| Blend Name | Top Note (30%) | Middle Note (50%) | Base Note (20%) | Best Room |
|---|---|---|---|---|
| Citrus Calm | Lemon (15 drops) | Lavender (25 drops) | Cedarwood (10 drops) | Kitchen |
| Forest Focus | Pine (15 drops) | Rosemary (25 drops) | Vetiver (10 drops) | Home Office |
| Evening Serenity | Bergamot (15 drops) | Chamomile (25 drops) | Sandalwood (10 drops) | Bedroom |
Always patch-test blends for personal sensitivity. Some oils, like cinnamon or clove, are potent and may cause irritation in high concentrations. Start with lower drop counts and adjust gradually.
“Creating your own diffuser blends empowers you to harness the psychological benefits of scent—calming nerves, boosting focus, or uplifting mood—with complete transparency.” — Dr. Lena Torres, Aromatherapy Researcher, Institute of Holistic Wellness
Troubleshooting Common Issues
Even well-made diffusers can encounter problems. Here’s how to address the most frequent challenges:
- Weak scent: Increase the number of reeds or flip them more frequently. Ensure the room isn’t overly ventilated, which disperses fragrance too quickly.
- Oily residue on furniture: Wipe the neck of the bottle after inserting reeds. Use a tray or coaster to catch drips. Avoid placing near polished wood or fabric.
- Reeds stop diffusing: After 4–6 weeks, reeds become clogged. Replace them with fresh ones. Do not reuse old reeds, as they retain previous scents and lose porosity.
- Liquid level drops too fast: High heat or airflow accelerates evaporation. Move the diffuser to a cooler, stiller location. Reduce the alcohol content in future batches.
- Cloudy or separated mixture: Shake gently before pouring. Separation is normal with oil-alcohol blends. Adding DPG (1 tsp per 4 oz) can stabilize emulsion.
Never add water to the mixture—essential oils do not mix with water and will hinder wicking. If using only carrier oil without alcohol, expect slower diffusion and less throw, suitable for small spaces.
Frequently Asked Questions
How long does a DIY reed diffuser last?
A properly maintained diffuser lasts 6–12 weeks depending on room conditions and the number of reeds. Refill the bottle when the liquid level drops below half, using the same oil blend or experimenting with a new one.
Are reed diffusers safe around pets?
Some essential oils (e.g., tea tree, eucalyptus, citrus) are toxic to cats and dogs when inhaled in concentrated amounts. Use pet-safe oils like lavender (in moderation), chamomile, or frankincense, and place diffusers out of reach. Consult your veterinarian if unsure.
Can I use bamboo skewers instead of rattan reeds?
Bamboo lacks the natural capillary channels of rattan and performs poorly. It may absorb some oil but releases little fragrance. Rattan reeds are inexpensive and widely available online or in craft stores—worth the investment for proper function.
Real-Life Example: Reviving a Dull Living Room
Sophia, a graphic designer in Portland, struggled with her living room feeling flat and uninspiring. She disliked artificial sprays and found candles too smoky. After reading about DIY diffusers, she filled a cobalt blue bottle with a blend of grapefruit, clary sage, and juniper berry in a 3:5:2 ratio. Using seven rattan reeds, she placed the diffuser on a side table near the sofa.
Within a day, guests noticed the bright, earthy aroma. “It smells like a hike in the Pacific Northwest,” one commented. Sophia flipped the reeds weekly and refilled the bottle after eight weeks. The diffuser became a centerpiece—not just for scent, but for conversation. She later made matching versions for her bedroom and studio, each with a distinct mood-enhancing blend.
Final Checklist Before You Begin
- ✅ Choose a clean, narrow-necked glass bottle
- ✅ Purchase 100% pure essential oils and test for sensitivities
- ✅ Select a carrier base (oil + alcohol mix recommended)
- ✅ Buy natural rattan reeds (not bamboo)
- ✅ Plan your scent profile using top, middle, and base notes
- ✅ Prepare workspace with funnel, measuring spoons, and gloves
- ✅ Position diffuser away from direct sun and high traffic areas
Conclusion: Create, Enjoy, and Share the Scent
Making a DIY diffuser with essential oils and reed sticks is more than a home hack—it’s an act of mindful creation. You engage your senses, reduce reliance on synthetic products, and personalize your environment in a meaningful way. Whether you’re crafting one for your own space or gifting it to a friend, the process connects you to the power of natural fragrance and intentional living.
Start small with a single bottle and a classic blend like lavender and orange. Once you see how effortlessly it elevates your atmosphere, you’ll likely want to experiment with seasonal scents, layered combinations, or decorative vessels. Every flip of the reeds refreshes not just the aroma, but your commitment to a healthier, more aromatic home.


 浙公网安备
33010002000092号
浙公网安备
33010002000092号 浙B2-20120091-4
Comments
No comments yet. Why don't you start the discussion?