
A well-scented home doesn’t require expensive sprays or synthetic air fresheners. With just a few simple ingredients—essential oils and vodka—you can create an effective, long-lasting room diffuser that’s both natural and customizable. Unlike plug-ins or aerosols, this DIY solution avoids harmful chemicals while offering the therapeutic benefits of aromatherapy. Whether you want to refresh your living room, calm your bedroom, or eliminate kitchen odors, this method gives you full control over scent strength and composition.
Vodka plays a crucial role in this blend: it acts as a solvent, helping essential oils disperse evenly in water and evaporate slowly for consistent fragrance release. It also extends shelf life by inhibiting bacterial growth. Combined with high-quality essential oils, the result is a clean, subtle aroma that enhances mood and environment without overwhelming the senses.
The Science Behind Natural Diffusion
When essential oils are diluted in alcohol like vodka and mixed with water, the alcohol breaks down the oil molecules, allowing them to remain suspended rather than separating. This emulsification ensures even distribution when sprayed into the air. As the mist settles, the alcohol evaporates quickly, leaving behind a fine dispersion of essential oil particles that continue to release their scent over time.
Unlike heat-based diffusers or candles, which can alter the chemical structure of delicate essential oils, a spray diffuser preserves their integrity. This means you benefit from the true aromatic and therapeutic properties of the oils—not just a superficial fragrance.
“Alcohol-based diffusion is one of the oldest and most effective methods for dispersing essential oils safely into indoor environments.” — Dr. Lena Patel, Aromatherapy Researcher & Author of *Essential Oils in Daily Living*
This method has been used for centuries in perfumery and household care. Modern adaptations maintain its simplicity while improving safety and usability for everyday homes.
What You’ll Need: Ingredients and Tools
Creating a DIY room diffuser requires minimal supplies, all of which are reusable and easy to source. Here’s what to gather before starting:
- Vodka (80 proof / 40% alcohol): At least 1 cup. Choose plain, unflavored vodka—no need for premium brands.
- Distilled water: 1 cup. Prevents mineral buildup and microbial growth.
- Essential oils: 30–50 drops total, depending on desired strength.
- Spray bottle: 8–16 oz glass or BPA-free plastic bottle with a fine mist nozzle.
- Funnel (optional): Helps avoid spills when pouring liquids.
- Label or marker: To identify contents and date of creation.
Choosing the Right Essential Oils
The effectiveness of your diffuser depends heavily on the quality and type of essential oils used. Opt for 100% pure, therapeutic-grade oils without additives or synthetic fragrances. Common choices include:
- Lavender: Calming, ideal for bedrooms or stress relief.
- Peppermint: Invigorating, great for workspaces or fatigue.
- Lemon or orange: Uplifting and cleansing; naturally deodorizing.
- Tea tree: Antimicrobial; excellent for kitchens or bathrooms.
- Eucalyptus: Respiratory support; useful during cold season.
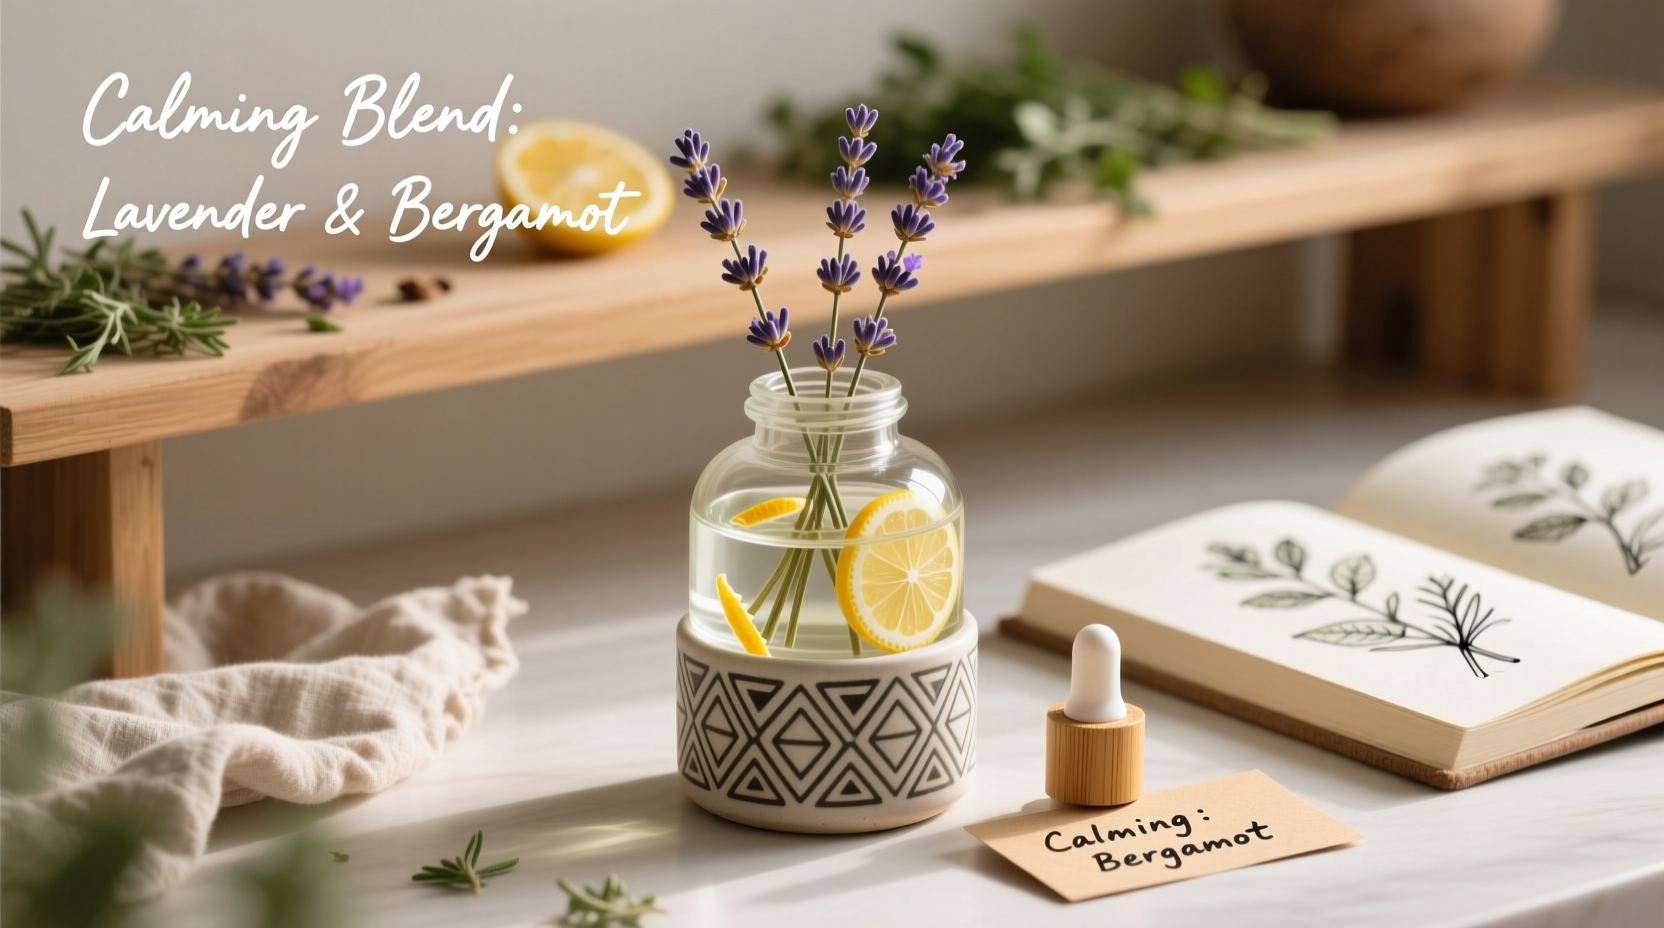
You can blend oils to create custom scents. For example, combining lavender and bergamot produces a spa-like ambiance, while lemon and rosemary offers a crisp, clean aroma perfect for spring cleaning.
Step-by-Step Guide to Making Your Room Diffuser
Follow these steps carefully to ensure a safe, effective, and long-lasting room spray.
- Clean your spray bottle thoroughly. Wash with warm, soapy water and dry completely to prevent contamination.
- Pour 1 cup of vodka into the bottle. Use a funnel if needed to avoid spillage.
- Add 30–50 drops of essential oils. Start with 30 drops for a mild scent; increase gradually based on preference.
- Add 1 cup of distilled water. This dilutes the mixture to a safe concentration for indoor use.
- Screw on the lid and shake gently. Mix well to emulsify the oils and alcohol.
- Label the bottle clearly. Include ingredients and date made (shelf life: up to 6 months).
- Let sit for 24–48 hours before first use. This allows the oils to fully bind with the alcohol, enhancing scent stability.
To use, simply shake lightly and mist into the air, avoiding direct contact with fabrics, wood finishes, or electronics. One or two sprays per room are usually sufficient.
Do’s and Don’ts of DIY Room Diffusers
| Do’s | Don’ts |
|---|---|
| Use distilled water to prevent bacteria and residue. | Use tap water—it contains minerals and microbes. |
| Store in a cool, dark place away from sunlight. | Leave in direct sunlight—UV rays degrade oils. |
| Shake well before each use. | Forget to label the bottle—especially important if pets or children are present. |
| Test on a small area if spraying near upholstery. | Spray directly onto silk, leather, or waxed wood surfaces. |
| Refresh blends every 4–6 months for optimal potency. | Use expired or rancid oils—replace if scent changes. |
Real-Life Example: Revitalizing a Stale Guest Room
Sarah, a homeowner in Portland, noticed her guest bedroom often smelled musty after periods of disuse. Commercial air fresheners left a cloying odor, and she preferred not to use plug-ins due to sensitivities. She decided to try a DIY diffuser using 40 drops of a blend: 20 drops lavender, 15 drops sweet orange, and 5 drops cedarwood. She combined them with 1 cup of vodka and 1 cup of distilled water in a dark amber glass spray bottle.
After letting the mixture mature for two days, she gave the room two light mists before guests arrived. The effect was immediate but not overpowering—a fresh, inviting scent that lasted throughout their stay. Her guests commented on how “calm” and “clean” the space felt. Sarah now keeps the diffuser on hand for seasonal deep cleans and uses different blends for various rooms.
This real-world application shows how a simple formula can solve persistent odor issues while supporting emotional well-being through intentional scent design.
Custom Scent Blends for Every Room
Tailoring your diffuser blend to specific areas of your home enhances functionality and atmosphere. Below are recommended combinations based on room purpose:
- Bedroom (Relaxation): 15 drops lavender, 10 drops chamomile, 5 drops ylang-ylang
- Living Room (Warm & Welcoming): 10 drops orange, 10 drops cinnamon bark (diluted), 5 drops vanilla (fragrance oil okay)
- Kitchen (Cleansing): 15 drops lemon, 10 drops tea tree, 5 drops rosemary
- Bathroom (Fresh & Germ-Fighting): 15 drops eucalyptus, 10 drops peppermint, 5 drops grapefruit
- Home Office (Focus): 15 drops rosemary, 10 drops frankincense, 5 drops lemon
Frequently Asked Questions
Is it safe to use vodka in a room spray?
Yes. Vodka used in this context is non-toxic when diffused into the air in small amounts. The alcohol evaporates quickly, leaving only trace residues. However, keep the spray out of reach of children and pets, and never ingest it.
Can I use rubbing alcohol instead of vodka?
No. Rubbing alcohol (isopropyl) is toxic when inhaled and should not be used in sprays intended for indoor air. Stick to food-grade ethanol like plain vodka.
How often should I reapply the spray?
Depending on room size and ventilation, reapplication every 1–3 days is typical. In high-traffic or humid areas like kitchens or bathrooms, daily use may be necessary. Always allow previous layers to dissipate before adding more.
Why Vodka Works Better Than Water Alone
Essential oils are hydrophobic—they don’t mix with water. When added directly to water in a spray bottle, they float on top and separate rapidly. Without a dispersant, the first few sprays may be overly strong (mostly oil), while later sprays contain little to no fragrance.
Vodka solves this problem. Its 40% alcohol content acts as a natural emulsifier, binding oil and water temporarily. Alcohol also lowers surface tension, allowing finer mist dispersion and faster evaporation. This results in a more uniform release of scent with each spray.
In addition, ethanol has mild antimicrobial properties, which help preserve the mixture and reduce mold or bacterial growth—especially important when using water-based solutions.
“Using alcohol as a carrier significantly improves both performance and safety in homemade aromatic sprays.” — Dr. Marcus Tran, Environmental Health Scientist
Checklist: Make Your First DIY Room Diffuser
Follow this quick checklist to ensure success:
- ☐ Gather supplies: vodka, distilled water, essential oils, spray bottle
- ☐ Choose a high-quality essential oil blend based on room function
- ☐ Clean and dry the spray bottle thoroughly
- ☐ Add 1 cup vodka followed by 30–50 drops of essential oils
- ☐ Pour in 1 cup distilled water
- ☐ Secure the lid and shake gently
- ☐ Label with ingredients and date
- ☐ Let sit 24–48 hours before use
- ☐ Store in a cool, dark cabinet when not in use
- ☐ Shake before each application
Final Thoughts and Next Steps
Making a DIY room diffuser with essential oils and vodka is a simple, affordable way to transform your living environment. Beyond pleasant fragrance, it supports mental clarity, relaxation, and even air purification when using antimicrobial oils like tea tree or eucalyptus. By controlling ingredients, you avoid phthalates, parabens, and artificial fragrances commonly found in store-bought options.
Start with a basic recipe and experiment with blends that match your lifestyle and preferences. Over time, you’ll develop a personal library of scents tailored to seasons, moods, and spaces. Share your favorite combinations with friends or gift them in beautifully labeled bottles.


 浙公网安备
33010002000092号
浙公网安备
33010002000092号 浙B2-20120091-4
Comments
No comments yet. Why don't you start the discussion?