
Every sewing basket or craft drawer has them—small pieces of fabric left over from previous projects. Instead of discarding these scraps, they can be transformed into something both functional and fashionable: scrunchies. Once considered a relic of the '90s, scrunchies have made a strong comeback, favored for their gentle hold on hair and vibrant designs. Making your own scrunchies from fabric remnants is not only an eco-conscious choice but also allows you to customize colors, patterns, and textures to match your wardrobe. With just a few basic tools and about 20 minutes per piece, you can create a collection of unique accessories that reflect your personal style.
Why Make Scrunchies from Fabric Scraps?
Fabric scraps are often too small for major sewing projects but too beautiful or useful to throw away. Rather than letting them accumulate in storage bins, repurposing them into scrunchies breathes new life into materials that might otherwise go to waste. This practice aligns with slow fashion principles by reducing textile waste and promoting mindful consumption.
Beyond sustainability, handmade scrunchies offer superior comfort compared to mass-produced versions. Many store-bought options use synthetic satin or low-quality elastic that tugs at hair. When you make your own, you control the materials—choosing soft cotton, silk, or rayon blends that glide smoothly through strands without causing breakage.
Materials and Tools You’ll Need
The beauty of this project lies in its simplicity. Most of what you need is likely already in your home if you enjoy crafting or light sewing. Here’s everything required to get started:
- Fabric scrap: At least 18” x 3” (45 cm x 7.5 cm), depending on desired fullness
- Elastic: 9” (23 cm) of ¼” wide braided or knit elastic
- Scissors: Sharp fabric scissors for clean cuts
- Pins or clips: To secure fabric while sewing
- Sewing machine: Or needle and thread for hand-sewing
- Safety pin or bodkin: For threading elastic through the fabric tube
- Iron and ironing board: For pressing seams (optional but recommended)
- Measuring tape or ruler: For accuracy
No special skills are required. Even beginners can complete this project successfully after one or two attempts. If you're working with children, consider pre-cutting the fabric and supervising the sewing steps closely.
Step-by-Step Guide to Making a DIY Scrunchie
Follow this detailed sequence to turn your leftover fabric into a polished, professional-looking scrunchie.
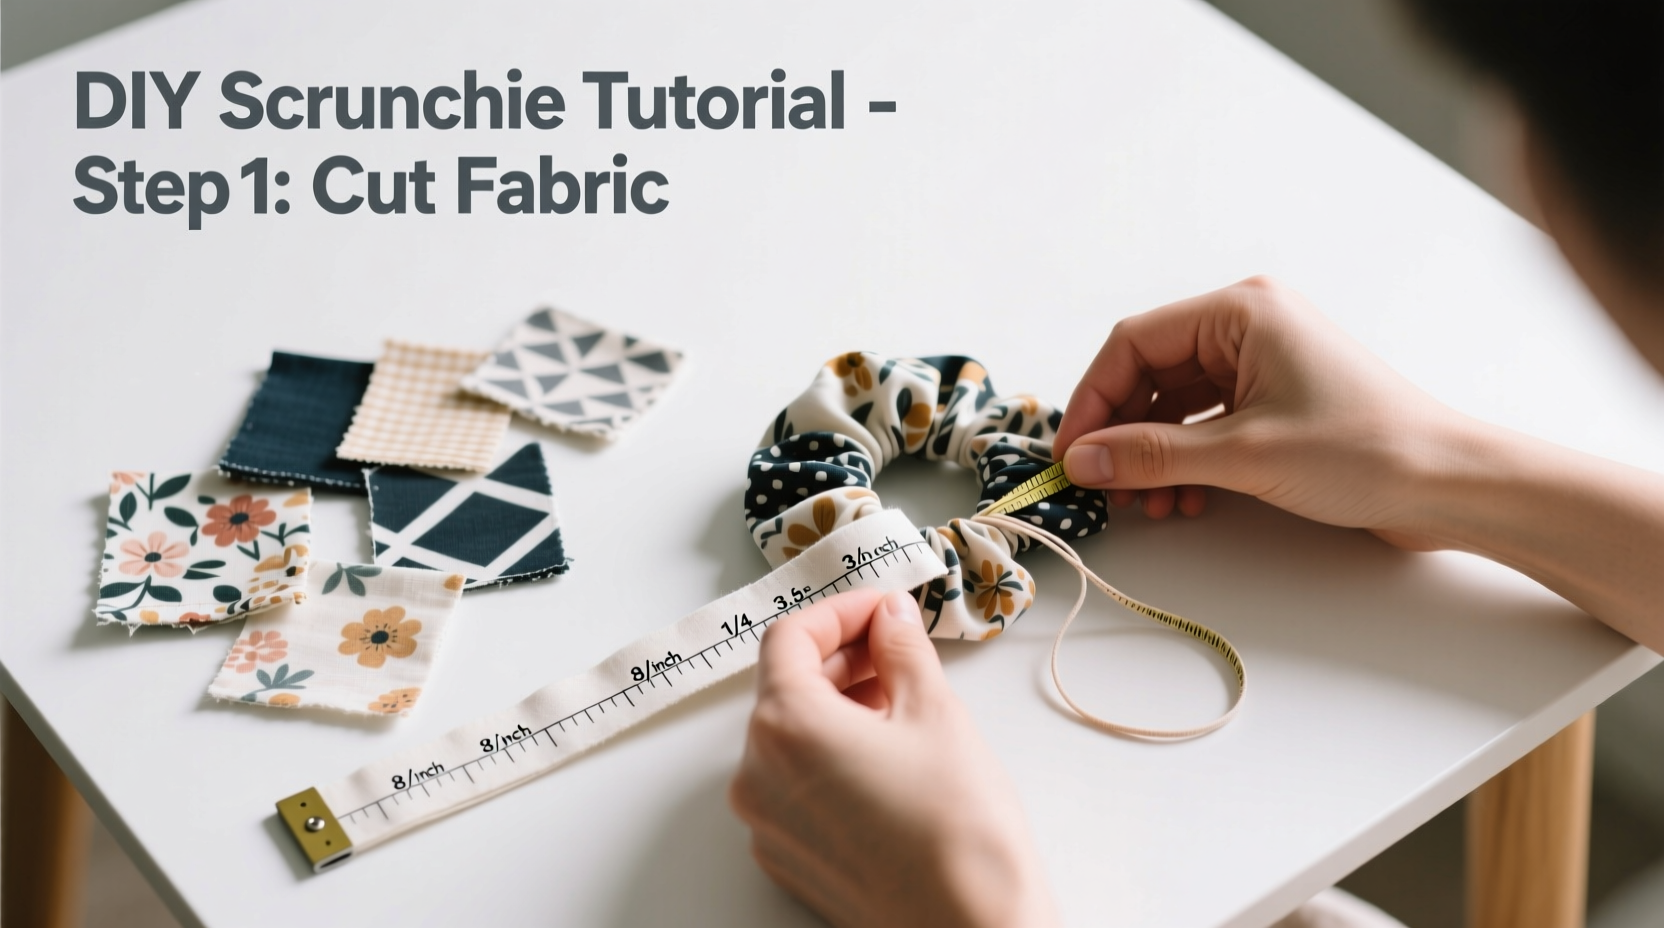
- Cut the fabric: Measure and cut a rectangle of fabric measuring 18 inches long and 3 inches wide. For a fuller scrunchie, increase width to 4–5 inches. Ensure edges are straight and parallel.
- Prepare the elastic: Cut a 9-inch length of ¼-inch elastic. Check that it stretches comfortably around your wrist or ponytail base before proceeding.
- Form the fabric tube: Place the fabric right side down. Fold it in half lengthwise, so the short edges meet and the wrong sides face out. Pin or clip along the long edge.
- Sew the seam: Using a ¼-inch seam allowance, sew along the pinned edge. Backstitch at both ends for durability. If sewing by hand, use a backstitch for strength.
- Turn the tube right side out: Attach a safety pin to one end of the tube. Carefully feed it through the inside, pulling the entire tube right-side-out. This step requires patience—go slowly to avoid twisting the fabric.
- Press the tube (optional): Use an iron on low heat (appropriate for your fabric type) to flatten the seam. This gives the scrunchie a crisp, finished look.
- Thread the elastic: Securely attach the safety pin to one end of the elastic. Feed it through the fabric tube until it emerges from the other end.
- Secure the elastic: Overlap the two ends of the elastic by ½ inch and sew them together securely with several stitches. Double-knot if hand-sewing.
- Close the scrunchie: Gently push the elastic into the tube so the raw edges of the fabric are aligned. Fold the raw edges inward about ¼ inch and pin them shut. Hand-stitch the opening closed using a ladder stitch or whip stitch for invisibility.
- Final press (optional): Lightly steam or press the scrunchie to smooth any wrinkles and set the gathers evenly.
Your scrunchie is now ready to wear. The elastic will naturally gather the fabric into soft ruffles, creating volume and texture.
Choosing the Right Fabric and Elastic
Not all fabrics behave the same when turned into scrunchies. Some drape beautifully; others fray easily or lose shape after washing. Consider the following characteristics when selecting scraps:
| Fabric Type | Pros | Cons | Best For |
|---|---|---|---|
| Cotton (quilting weight) | Durable, easy to sew, holds gathers well | Can crease easily | Daily wear, colorful prints |
| Silk or Satin | Smooth, reduces hair friction | Slippery to sew, may fray | Luxury styles, sleep scrunchies |
| Rayon/Viscose | Soft drape, elegant sheen | Less durable when wet | Statement pieces, evening looks |
| Fleece or Knit | Stretchy, cozy feel | May pill over time | Winter styles, thick hair |
| Linen | Breathable, natural texture | Wrinkles easily | Boho-chic aesthetics |
As for elastic, avoid woven types—they don’t stretch evenly and can snap under tension. Opt for braided or knit elastic, which offers consistent give and recovery. Pre-wash any fabric that might shrink to prevent distortion after completion.
“Handmade scrunchies made from quality remnants not only reduce waste but often outperform commercial ones in comfort and longevity.” — Lena Patel, Sustainable Fashion Educator
Design Ideas and Creative Variations
Once you’ve mastered the basic scrunchie, experiment with variations to expand your collection:
- Double-layered scrunchies: Sew two fabric tubes—one slightly narrower—and layer them before closing. This adds body and allows for color-blocking.
- Ruffled edges: Use bias tape or add a narrow strip of ruffle along the top before assembling.
- Reversible scrunchies: Construct the tube using two different fabrics placed right-sides together. When turned, both sides are visible as the scrunchie rotates.
- Embellished details: Add small buttons, embroidery, or lace trim before closing the final seam.
- Extra-large scrunchies: Use wider fabric (up to 6”) and longer lengths (24”) for dramatic volume—ideal for thick or voluminous hair.
A mini case study illustrates the impact of such creativity: Sarah, a hobby sewer from Portland, began making scrunchies from her daughter’s outgrown clothes. She used floral cotton from a dress and navy velvet from a jacket cuff. After posting photos online, friends requested custom sets. Within months, she launched a small Etsy shop focused on upcycled accessories, turning fabric scraps into a side income.
Common Mistakes and How to Avoid Them
Even simple projects come with pitfalls. Recognizing these common errors helps ensure success:
| Mistake | Why It Happens | Solution |
|---|---|---|
| Elastic twists inside casing | Tube rotated during threading | Mark one end of fabric; keep orientation consistent |
| Scrunchie loses elasticity quickly | Poor-quality or overstretched elastic | Use fresh, high-quality elastic; don’t pull excessively |
| Fabric frays at edges | Loose weave or unfinished seams | Use pinking shears or apply fray check solution |
| Uneven gathers | Irregular stitching or elastic tension | Distribute gathers by hand before final closure |
| Opening doesn’t close neatly | Incorrect fold or bulky seam | Trim seam allowance; use invisible ladder stitch |
FAQ
Can I wash DIY scrunchies?
Yes, but gently. Hand-wash in cool water with mild detergent and lay flat to dry. Machine washing may degrade elastic faster, especially with silk or delicate fabrics.
How long should the fabric be for different hair types?
For fine or thin hair, 16–18 inches works well. Medium to thick hair benefits from 20–24 inch lengths for adequate coverage. Adjust based on desired fullness.
Can I make a scrunchie without a sewing machine?
Absolutely. All steps can be completed by hand using a backstitch for seams and a ladder stitch for closure. It takes more time but yields equally durable results.
Conclusion
Transforming fabric scraps into DIY scrunchies is more than a craft—it’s a small act of creativity, sustainability, and self-expression. Each scrunchie carries the story of its origin: a remnant from a favorite shirt, a swatch from a vintage find, or a sample from a larger project. Beyond utility, they serve as reminders that beauty and function can emerge from what we might otherwise discard.
Start with one scrunchie. Then make another—for yourself, a friend, or as a gift. Share your creations online, teach a child the basics, or challenge yourself to use only scraps for a month. These small choices ripple outward, fostering mindfulness and resourcefulness in everyday life.


 浙公网安备
33010002000092号
浙公网安备
33010002000092号 浙B2-20120091-4
Comments
No comments yet. Why don't you start the discussion?