
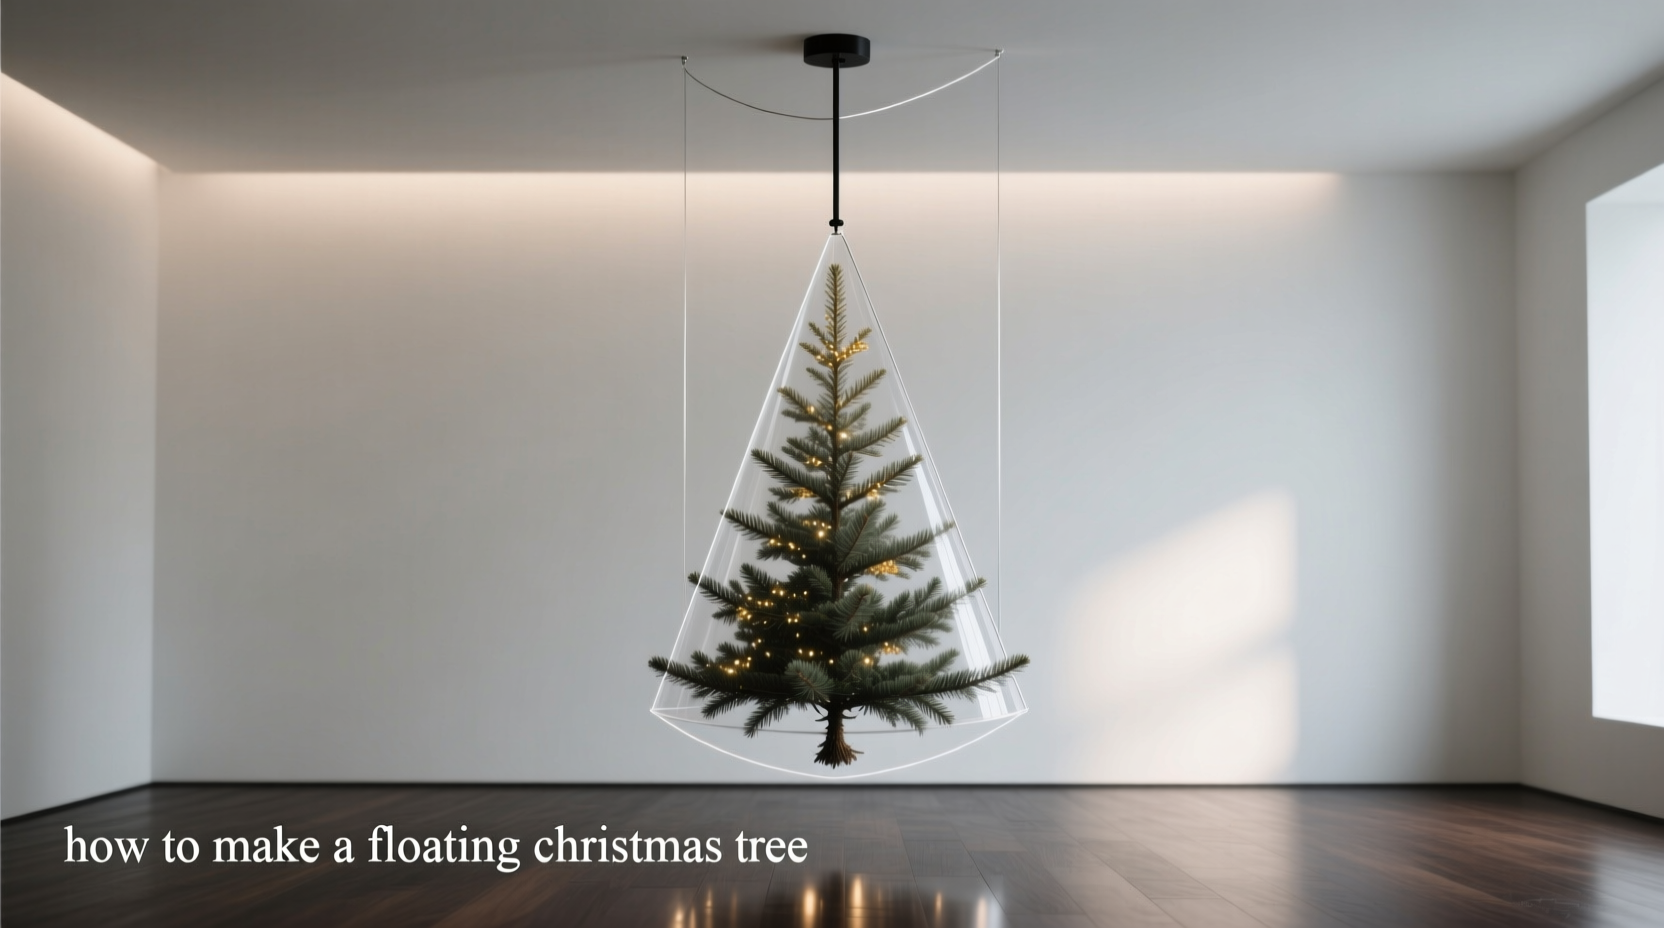
A floating Christmas tree—suspended mid-air as if defying gravity—is more than a holiday party trick. It’s an exercise in precision, material science, and quiet theatricality. When executed well, it transforms a corner of your living room into a moment of suspended wonder: a 4–6 foot evergreen hovering just above the floor, branches gently swaying, lights twinkling without visible support. This isn’t digital magic or hidden platforms—it’s real-world physics harnessed with clarity, restraint, and intention. The secret lies not in complexity, but in thoughtful engineering: ultra-strong, nearly invisible monofilament fishing line; calibrated tension points; and a deep understanding of center of gravity, load distribution, and structural integrity. Unlike commercial “floating” kits that rely on bulky ceiling mounts or opaque rods, this method uses only what you can’t see—and what you choose to reveal.
Why Clear Wire Works (and Why Most Attempts Fail)
The core principle is simple: eliminate visual competition. Your eye registers contrast—not absence. A 0.35 mm fluorocarbon monofilament wire has a refractive index (1.42) remarkably close to that of air (1.0003), making it nearly imperceptible indoors under typical lighting. Nylon monofilament (refractive index ~1.53) is slightly more visible but far more forgiving in knot strength and handling—ideal for first-time builders. What most DIY attempts misjudge is load tolerance. A 5-foot pre-lit Nordmann fir with ornaments weighs between 18–28 lbs depending on moisture content and decoration density. Yet many tutorials recommend 15-lb test line—guaranteeing eventual sag, creep, or catastrophic failure. Real-world safety margins demand at least 3× working load. That means 60–90 lb test minimum for primary suspension lines—and even higher for anchoring points embedded in walls or ceilings.
“Clarity isn’t about invisibility alone—it’s about eliminating cognitive dissonance. If the viewer’s brain detects *any* visual cue contradicting ‘floating,’ the illusion collapses instantly. That’s why wire thickness, anchor placement, and even the angle of light matter more than ornament count.” — Lena Torres, Exhibit Designer & Kinetic Installation Artist, 12+ years building gravity-defying holiday displays for museums and retail spaces
Essential Materials & Hardware Breakdown
You don’t need specialty tools—but you do need rigorously selected components. Every item serves a structural or optical purpose. Substitutions compromise safety or illusion fidelity.
| Item | Specification | Why This Matters |
|---|---|---|
| Primary Suspension Wire | Fluorocarbon monofilament, 0.40 mm diameter, 80–100 lb test (e.g., Seaguar Blue Label or Berkley Trilene 100% Fluorocarbon) | UV-resistant, near-zero stretch (<0.5%), refractive index matches air closely, maintains tension over weeks without creep. |
| Secondary Support Wire | Nylon monofilament, 0.30 mm, 40–50 lb test (e.g., Ande Monofilament) | Used for internal branch bracing—more flexible for tight knots, easier to conceal within foliage, sufficient for localized loads. |
| Anchors | Toggle bolts (for drywall): ⅜” wing, 500-lb rated (e.g., TOGGLER SNAPTOGGLE). For ceiling joists: 3” lag screws with washer plates. | Drywall anchors must engage full cavity depth; lag screws require stud finder confirmation. Never use plastic anchors or screw-in hooks—they fail unpredictably under sustained static load. |
| Tree Stand | Heavy-duty steel tripod base (minimum 25 lbs weight), non-slip rubber feet, adjustable height (e.g., Krinner Tree Genie Pro or custom-welded ¾” steel frame) | Acts as counterweight and tension anchor—not decorative. Must resist torque from off-center suspension forces. |
| Tension Tools | Mechanical cable crimpers (not pliers), stainless steel crimp sleeves (1.2 mm ID), digital fish scale (0–50 kg range) | Hand-tightened knots slip. Crimped terminations hold >95% of wire tensile strength. A fish scale verifies equalized load per line—critical for balance. |
The Physics-First Assembly Sequence
This is not a build-it-and-hope process. It’s a measured, iterative calibration. Each step validates the prior one before adding complexity. Rushing creates instability, visible wire bowing, or dangerous imbalance.
- Measure & Map the Tree’s True Center of Gravity (COG): With tree upright in its stand, suspend it loosely from a single overhead point using temporary nylon line. Let it settle fully. Mark the exact pivot point on the trunk where vertical alignment occurs. Then, measure from base to that point—this is your COG height (typically 38–44% up the trunk for healthy firs). Record it. Do not guess.
- Install Ceiling Anchors at Precise Triangulation Points: Using a laser level, mark three anchor points on ceiling joists (or reinforced drywall) forming an equilateral triangle. Each vertex must be ≥24” from the tree’s projected COG point when suspended. Distance from COG to each anchor determines mechanical advantage: too close = excessive tension + visible wire angle; too far = shallow angles = greater horizontal force on anchors. Ideal anchor radius: 30–36”.
- Attach Primary Wires to Trunk at COG + 12” Above & Below: Drill three 1.5 mm pilot holes through trunk (avoiding major sap channels). Insert stainless steel eye screws (3/8” thread, ¼” eye) and tighten *just enough* to seat—overtightening splits wood. Attach wires using double-loop crimps (not knots) for zero slippage. Tag each wire: “A” (top), “B” (COG), “C” (bottom).
- Connect to Stand Counterweight System: The steel tripod stand holds two critical functions: it houses a 30-lb sandbag inside its central column, and its three legs each contain threaded inserts for turnbuckles. Connect wires A and C to opposing leg turnbuckles; wire B connects to the central column’s vertical turnbuckle. This distributes torque and prevents twisting.
- Calibrate Tension Using Digital Scale & Laser Level: Attach scale to wire B first. Slowly tighten until reading hits 32 lbs (target load = 1/3 of estimated total weight, assuming even 3-point distribution). Repeat for A and C—each must read within ±0.5 lbs. Then, place laser level on floor pointing upward at trunk base: beam must strike same point on trunk at all three measurement heights. Adjust turnbuckles microscopically until alignment is perfect. This ensures true vertical suspension—not leaning.
Real-World Case Study: The Brooklyn Brownstone Balcony Tree
In December 2023, architect Maya Chen faced a spatial paradox: her 1880s brownstone had no ceiling access in the parlor—original plaster lath prevented drilling—and fire code banned freestanding lifts. Her solution? A 5.5-ft Fraser fir suspended from the *exterior* wrought-iron balcony railing above, using only two fluorocarbon lines anchored to structural iron posts. She calculated wind load (NYC winter gusts up to 35 mph) and added a third stabilizing line running horizontally behind the trunk, tensioned to 8 lbs—too low to deflect the tree, but enough to dampen oscillation. To hide exterior hardware, she wrapped railing posts with faux-ivy garlands wired *over* the clear lines. Indoors, she positioned a narrow LED spotlight (2700K, 15° beam) aimed precisely at the trunk’s base—creating a soft upward glow that eliminated shadow cues beneath the tree. Visitors consistently described it as “like it was breathing in the air.” No one noticed the lines—even when standing 2 feet away. Her key insight: “The illusion isn’t broken by the wire. It’s broken by the *absence of expected context*—like a shadow, a tilt, or a vibration. Control those, and invisibility follows.”
Critical Do’s and Don’ts Table
| Action | Do | Don’t |
|---|---|---|
| Wire Handling | Wipe fluorocarbon wire with microfiber cloth dampened with isopropyl alcohol before installation to remove manufacturing oils that increase reflectivity. | Touch wire with bare hands repeatedly—skin oils create micro-scratches that scatter light and increase visibility. |
| Tree Preparation | Trim lower 12” of branches *before* suspension to eliminate ground contact and simplify COG calculation. Seal cut ends with white glue to prevent sap bleed onto wire. | Leave dense lower foliage—it creates visual “drag” that signals weight and undermines levitation effect. |
| Lighting Integration | Use battery-operated micro-LED strings (0.5 mm wire gauge) woven *along* trunk and main branches—not draped. Secure with transparent tape dots, not metal clips. | Hang traditional plug-in lights—the cord becomes an immediate visual anchor contradicting the float. |
| Daily Maintenance | Check tension every 48 hours for first week using digital scale. Fluorocarbon relaxes 3–5% in initial load period—re-tighten to original readings. | Assume “set and forget.” Humidity changes, temperature swings, and minor settling alter tension and alignment. |
FAQ: Practical Concerns Answered
Can I use this method with an artificial tree?
Yes—but with caveats. Most artificial trees have hollow, lightweight PVC trunks that lack structural integrity for eye-screw anchoring. Instead, reinforce the trunk interior with a ¾” aluminum dowel epoxied in place, then drill into the metal. Also, verify weight: high-end flocked trees often exceed 35 lbs. Recalculate all load margins upward by 25%. Avoid trees with rigid, wide metal stands—they interfere with counterweight triangulation.
What if my ceiling is plaster-and-lath, not drywall?
Plaster-and-lath requires specialized anchors: self-drilling masonry toggles (e.g., WingIts) or, preferably, locate ceiling joists with a stud finder that detects density shifts (not just metal). Never rely on plaster alone—it crumbles under shear force. If joists are inaccessible, mount a 1” plywood backing board (36” x 36”) to *multiple* joists using 3” structural screws, then install your toggles into the plywood. This spreads load across 3–4 joists, not one.
How long will the illusion last reliably?
With fluorocarbon wire and proper tension calibration, expect 3–4 weeks of stable performance in heated indoor environments (68–72°F, 30–45% RH). Beyond that, gradual relaxation occurs. Replace wire after each season—even if unused—because UV exposure during storage degrades fluorocarbon’s tensile memory. Nylon should be replaced annually regardless.
Conclusion: Where Engineering Meets Enchantment
A floating Christmas tree isn’t about spectacle for spectacle’s sake. It’s about intentionality made visible—then deliberately erased. It asks you to slow down, measure twice, calculate load paths, and respect the quiet authority of physics. When done right, it does something rare in our hyper-digital age: it invites stillness. People pause. They tilt their heads. They lean in—not to inspect the trick, but to absorb the serenity of something beautiful held aloft by nothing they can name. That silence, that shared breath before the “how?” question even forms—that’s the real magic. And it begins not with wire or anchors, but with the decision to prioritize precision over speed, clarity over clutter, and reverence for the unseen forces that hold our world together. Your tree won’t float because you followed steps. It will float because you honored the weight of every choice—from the refractive index of your wire to the torque resistance of your stand. So gather your tools. Measure your space. Respect your materials. And build not just a tree—but a moment that hangs, perfectly, in the air between effort and awe.


 浙公网安备
33010002000092号
浙公网安备
33010002000092号 浙B2-20120091-4
Comments
No comments yet. Why don't you start the discussion?