
Small Christmas decorations hold big sentimental value. Miniature nutcrackers, vintage ornaments, handmade snow globes, or heirloom tree toppers deserve more than being tucked in a box each year. For those with limited space or a desire for year-round holiday charm, a floating shelf display offers an elegant solution. It transforms tiny treasures into curated art, maximizing visibility while minimizing floor or table clutter. With careful planning and basic tools, you can create a custom display that enhances your décor and keeps the spirit of the season alive.
Why Choose a Floating Shelf for Christmas Decorations?
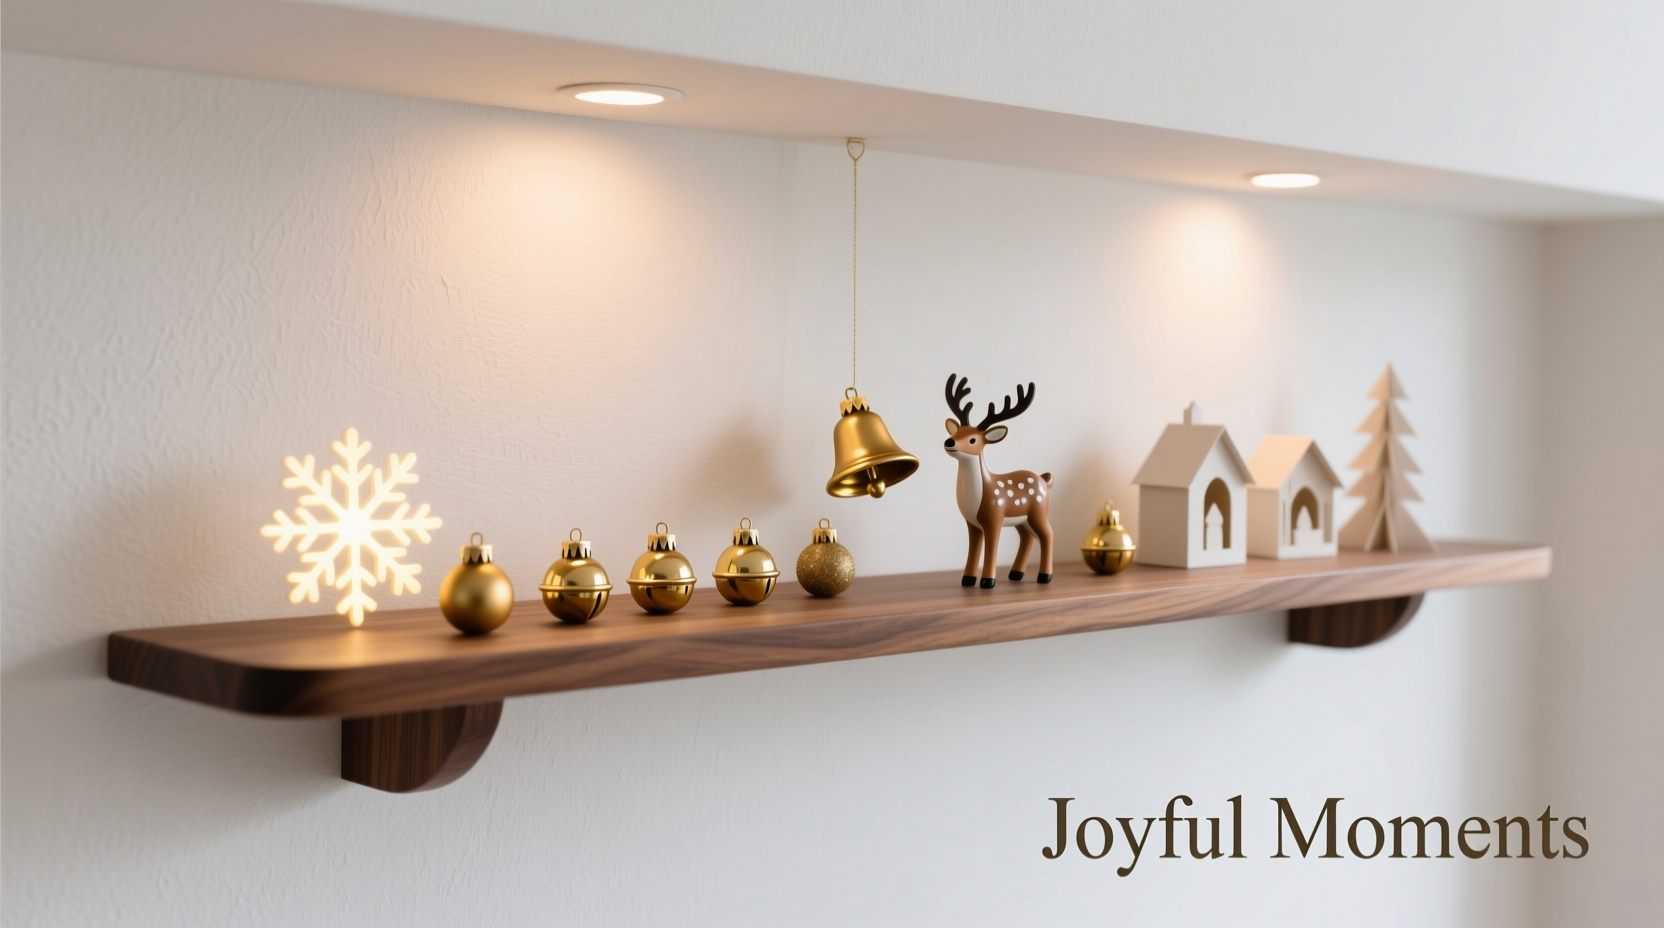
Floating shelves are ideal for showcasing small items because they appear to hover on the wall, creating a clean, modern aesthetic. Unlike bulky cabinets or crowded mantels, they draw attention directly to the objects displayed. This is especially useful in apartments, hallways, or rooms where surface space is at a premium.
Beyond practicality, a well-designed shelf becomes part of your interior story. It allows seasonal rotation without overhauling entire rooms. In December, it holds delicate glass baubles and tiny reindeer figurines. Come January, the same shelf can host winter-themed books or dried botanicals, maintaining continuity in design.
Materials and Tools You’ll Need
Creating a floating shelf doesn’t require advanced carpentry skills, but having the right materials ensures durability and safety. The size and weight of your decorations will influence your choices. Most small Christmas items are lightweight, so even a simple wooden board can suffice if properly mounted.
Here’s what you’ll need:
- Wooden board (pine, oak, or birch plywood, ¾ inch thick recommended)
- Wall-mounted bracket system or hidden support rods
- Stud finder
- Level
- Drill and drill bits
- Screws (appropriate length for wall type and bracket)
- Wall anchors (if not mounting into studs)
- Sandpaper (120 and 220 grit)
- Wood stain, paint, or sealant (optional)
- Tape measure
- Pencil
The length of the board depends on your available wall space and collection size. A standard 24-inch shelf accommodates most small displays without overwhelming the wall. For heavier arrangements—such as multiple glass pieces or ceramic figures—opt for hardwood and secure mounting into wall studs.
Step-by-Step Guide to Building Your Floating Shelf
Follow this detailed process to install a sturdy, attractive shelf tailored to your holiday décor.
- Measure and Cut the Board: Decide on shelf length. Use a saw to cut the wood cleanly. Sand all edges thoroughly to avoid splinters and ensure a smooth finish.
- Finish the Wood: Apply stain or paint if desired. Allow drying overnight. A clear polyurethane coat protects against dust and minor spills, especially important during seasonal gatherings.
- Locate Wall Studs: Use a stud finder to identify solid anchoring points. Mark their positions lightly with a pencil. If studs don’t align with your preferred shelf location, use heavy-duty drywall anchors rated for at least 50 pounds per fixing point.
- Install Hidden Brackets: Floating shelves often use internal metal brackets or L-shaped supports inserted into the wall. Follow manufacturer instructions precisely. Drill pilot holes, insert anchors if needed, then secure brackets with screws. Ensure they are perfectly level using a bubble level.
- Attach the Shelf: Slide the pre-drilled shelf onto the brackets or screw it directly into the support frame. Double-check stability by gently pressing down on both ends.
- Final Inspection: Confirm no wobbling. Test load capacity with a book or similar-weight object before adding decorations.
Designing Your Decoration Layout
A successful display balances aesthetics and storytelling. Avoid overcrowding—each piece should have breathing room. Group items by theme, color, or era to create visual harmony.
Consider these arrangement principles:
- Rule of Three: Odd numbers of objects (especially three) are more visually appealing than even groupings.
- Height Variation: Mix tall items like mini trees with low-profile ornaments to add depth.
- Back-to-Front Layering: Place larger or opaque items in back, delicate ones in front.
- Narrative Flow: Arrange pieces chronologically—like childhood ornaments followed by wedding ones—to tell a personal story.
| Do’s | Don’ts |
|---|---|
| Use small LED string lights behind or under the shelf for soft illumination | Overload the shelf beyond its weight limit |
| Incorporate natural elements like pinecones or cinnamon sticks in small vases | Place fragile items near high-traffic areas |
| Rotate decorations seasonally to keep the display fresh | Forget dusting—clean every two weeks during display period |
| Add a small label or tag describing heirloom pieces | Mount above radiators or humidifiers that could damage materials |
“Display is preservation. When people see and appreciate their holiday keepsakes, they’re more likely to care for them long-term.” — Clara Mendez, Museum Curator & Holiday Heritage Archivist
Mini Case Study: Transforming a Narrow Hallway
Sarah from Portland wanted to honor her family’s collection of 1950s German glass ornaments but lacked space. Her hallway was only 3 feet wide, making traditional displays impractical. She installed a 30-inch walnut floating shelf at eye level, anchored into two wall studs.
She stained the wood to match her staircase railing for cohesion. Using the rule of three, she grouped ornaments by color: silver, red, and gold clusters separated by miniature cardboard villages. Battery-powered micro LEDs were taped discreetly beneath the shelf edge, casting a warm glow at night.
The result? A daily reminder of her grandmother’s legacy. Neighbors and guests often pause to admire the craftsmanship. Sarah now updates the arrangement annually, adding one new ornament while preserving the originals. “It’s not just storage,” she says. “It’s a tribute.”
Maintenance and Seasonal Transition Tips
A floating shelf isn’t just for December. With thoughtful planning, it serves year-round purposes. After the holidays, store decorations properly before repurposing the space.
To transition smoothly:
- Photograph your holiday layout before disassembling—it helps with future setups.
- Clean the shelf surface with a dry microfiber cloth before storing or reusing.
- Label storage containers clearly: “Vintage Ornaments – Fragile,” “LED Lights – Box A,” etc.
- Re-decorate with seasonal flair—spring flowers in tiny jars, summer seashells, or autumn leaves in resin frames.
Frequently Asked Questions
Can I install a floating shelf on drywall without studs?
Yes, but only if you use high-quality toggle bolts or snap toggles designed for heavy loads. For a 24-inch shelf holding up to 20 pounds, two properly installed anchors in solid drywall can suffice. However, stud mounting is always safer and more durable.
How high should I mount the shelf?
The ideal height is between 48 and 60 inches from the floor, depending on ceiling height and viewer eye level. In living rooms or hallways, center the shelf at average eye level (about 60 inches). In kitchens or entryways, slightly lower placement may be better for visibility.
Are there child-safe options for displaying breakable decorations?
Absolutely. Use shatterproof ornaments made from plastic or fabric instead of glass. Alternatively, mount the shelf higher than 5 feet out of reach, or use enclosed shadow boxes with floating shelf backs. These provide the same visual effect with added protection.
Checklist: Building and Styling Your Floating Shelf Display
- ☐ Measure wall space and choose appropriate shelf length
- ☐ Purchase wood board and sand edges smooth
- ☐ Select finish (paint, stain, or natural sealant)
- ☐ Locate wall studs or prepare anchors
- ☐ Install hidden brackets securely and level
- ☐ Attach shelf and test stability
- ☐ Plan decoration layout using grouping principles
- ☐ Add lighting (optional battery-powered LEDs)
- ☐ Style and photograph final arrangement
- ☐ Schedule bi-weekly dusting during display period
- ☐ Store decorations safely after the season
- ☐ Repurpose shelf for off-season themes
Conclusion: Bring Joy Into Everyday Spaces
A floating shelf display for small Christmas decorations is more than a storage hack—it’s a celebration of memory, tradition, and intentional living. By elevating cherished items into view, you invite warmth and nostalgia into your home throughout the year. The project is accessible to beginners, cost-effective, and endlessly customizable. Whether you live in a studio apartment or a multi-level house, this simple structure can become a focal point of joy and reflection.


 浙公网安备
33010002000092号
浙公网安备
33010002000092号 浙B2-20120091-4
Comments
No comments yet. Why don't you start the discussion?