
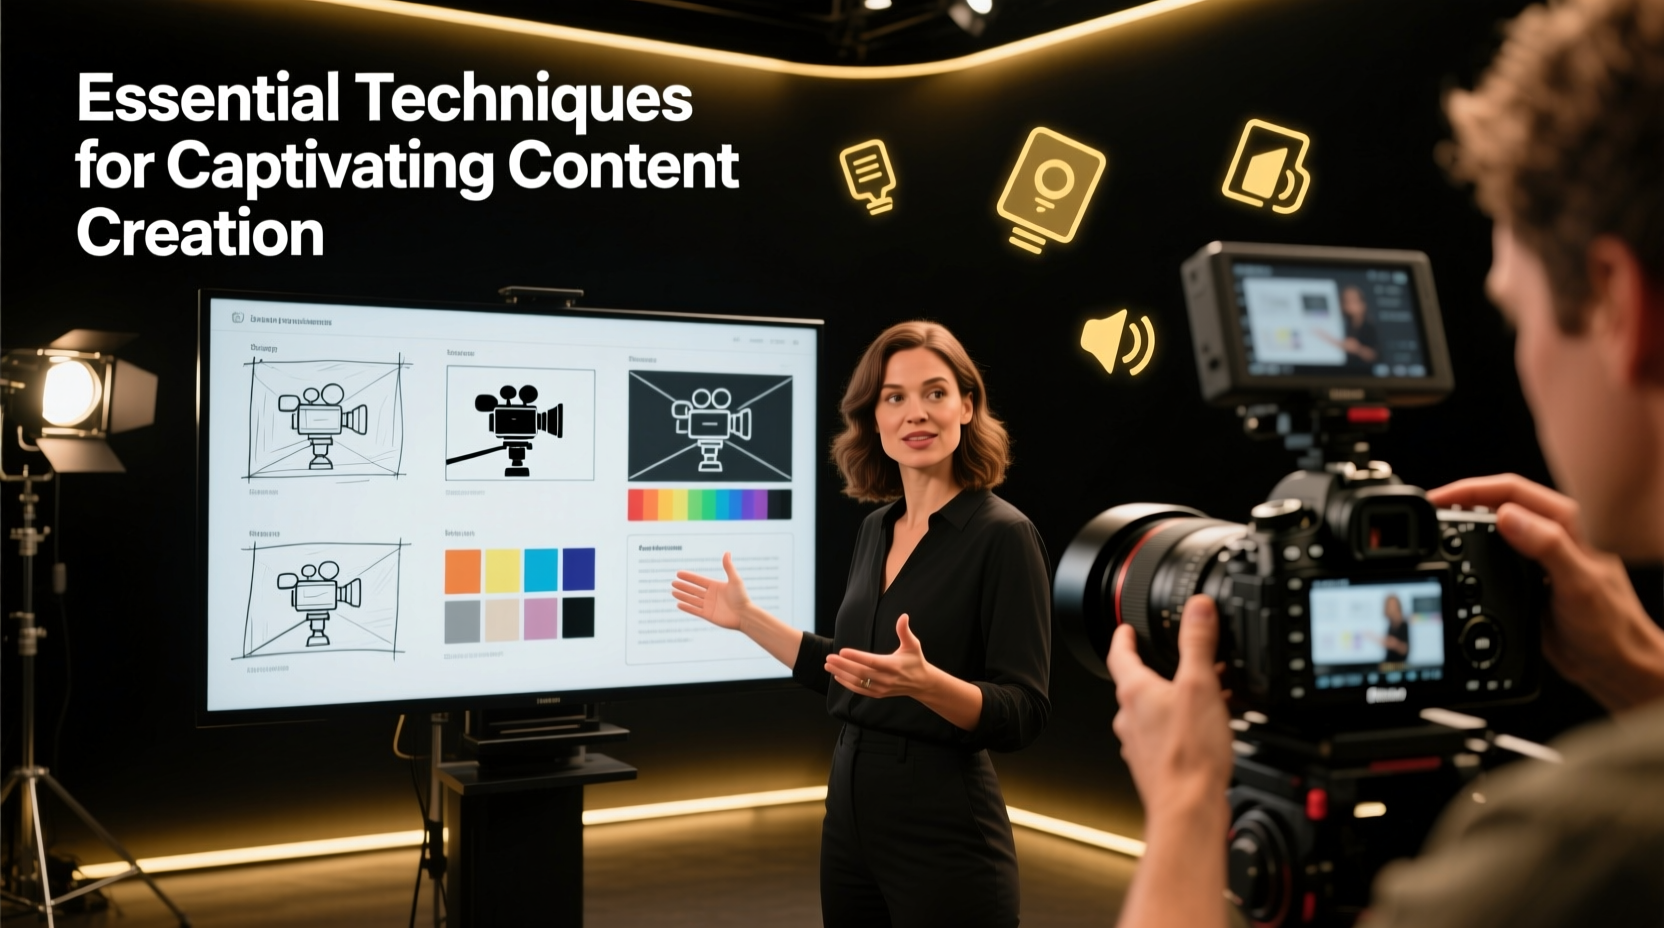
In today’s digital-first world, video has become one of the most powerful tools for communication, storytelling, and brand building. Whether you're producing content for social media, education, marketing, or entertainment, the quality of your video determines whether viewers stay—or scroll away. A good video isn’t just about high-resolution footage; it’s about crafting an experience that holds attention, conveys meaning, and resonates emotionally. The difference between forgettable clips and standout content often lies in technique, intention, and execution.
1. Start with a Strong Concept and Clear Purpose
Every great video begins not with equipment or editing software, but with a clear idea. Ask yourself: What message am I trying to convey? Who is my audience? What action do I want them to take after watching?
A well-defined purpose shapes every decision—from scriptwriting to camera angles. For example, a product explainer video should prioritize clarity and demonstration, while a personal vlog might focus on authenticity and emotional connection. Without a central concept, even technically flawless videos can feel hollow.
Elements of a Compelling Video Concept
- Hook early: Capture attention within the first 5–7 seconds.
- Narrative arc: Structure your video with a beginning (setup), middle (development), and end (resolution).
- Emotional appeal: Use relatable stories, humor, or inspiration to create connection.
- Value-driven: Ensure viewers gain something—information, insight, or entertainment.
2. Master Visual Storytelling Techniques
Visuals are the backbone of video. But compelling visuals go beyond resolution—they rely on composition, movement, lighting, and pacing.
One of the most effective tools is the rule of thirds, where the frame is divided into nine equal parts by two horizontal and two vertical lines. Placing key subjects along these lines or at their intersections creates balanced, engaging shots. Similarly, using leading lines—like roads, railings, or shadows—guides the viewer’s eye toward the focal point.
Movement adds dynamism. A simple pan, tilt, or dolly shot can transform a static scene into something cinematic. However, avoid shaky handheld footage unless intentional (e.g., for documentary realism). A tripod or stabilizer ensures smooth, professional-looking motion.
| Technique | Purpose | Best Used In |
|---|---|---|
| Rule of Thirds | Creates visual balance and interest | Interviews, lifestyle shots, product displays |
| Leading Lines | Directs viewer attention | Architectural shots, travel videos |
| Shallow Depth of Field | Isolates subject from background | Vlogs, portraits, product close-ups |
| Dynamic Angles | Adds energy or drama | Action sequences, music videos |
“Great video doesn’t come from expensive gear—it comes from seeing the world differently and framing moments with intention.” — Lena Torres, Documentary Filmmaker
3. Prioritize Audio Quality as Much as Video
No amount of visual polish can compensate for poor audio. Muffled dialogue, background noise, or inconsistent volume levels break immersion and frustrate viewers.
Invest in a decent external microphone—lavalier mics for interviews, shotgun mics for outdoor shoots, or USB mics for voiceovers. Record in quiet environments whenever possible, and use windshields when filming outdoors. Always monitor audio through headphones during recording to catch issues in real time.
In post-production, clean up audio with noise reduction tools, normalize volume levels, and add subtle background music only if it enhances the mood without overpowering speech.
4. Edit with Rhythm and Intention
Editing transforms raw footage into a cohesive story. The best edits are invisible—they serve the narrative without drawing attention to themselves.
Use cuts to maintain pace. Fast cuts energize action sequences; longer takes allow emotion to breathe in dramatic or reflective moments. Match cuts to movement or sound (e.g., cutting on a door slam) for seamless transitions. Avoid overusing flashy effects like zooms, spins, or glitch filters unless they align with your video’s tone.
Color grading also plays a crucial role. Adjust brightness, contrast, and saturation to create a consistent look. Warm tones evoke comfort and nostalgia; cool tones suggest professionalism or detachment. Apply color presets sparingly—over-processing can make footage look artificial.
Step-by-Step Guide: Efficient Editing Workflow
- Organize footage: Label clips by scene, angle, or date.
- Build a rough cut: Assemble key scenes in order, ignoring perfection.
- Tighten pacing: Trim pauses, remove redundancies, tighten dialogue.
- Add sound: Insert voiceover, music, and sound effects.
- Color grade: Apply consistent visual tone across all clips.
- Final review: Watch the full video multiple times for continuity and flow.
5. Optimize for Your Platform and Audience
A video made for YouTube looks different from one designed for Instagram Reels or TikTok. Each platform has unique expectations for length, aspect ratio, and engagement style.
- YouTube: Vertical space matters less; use 16:9 ratio. Viewers expect depth, so aim for 5–15 minutes for tutorials or reviews.
- Instagram Reels / TikTok: Use 9:16 vertical format. Hook immediately—first 3 seconds are critical. Keep videos under 60 seconds.
- LinkedIn: Focus on professionalism and value. Captions are essential, as many watch without sound.
Always add subtitles. Over 80% of social media videos are watched on mute. Burned-in captions ensure your message gets across regardless of audio settings.
Mini Case Study: From Low Views to Viral Success
Sophie, a fitness coach, initially struggled to gain traction on Instagram with her workout tips. Her videos were well-shot but started with slow introductions like “Hi everyone, today I’m going to show you…” Engagement stayed below 2%. After analyzing top-performing Reels, she redesigned her approach: opening with a quick transformation clip (“This move changed my core strength”), using bold text overlays, and keeping videos under 30 seconds. Within a month, her average views increased tenfold, and her follower count grew by 40%.
Essential Video Creation Checklist
Use this checklist before every shoot to ensure quality and consistency:
- ✅ Defined video purpose and target audience
- ✅ Written script or outline
- ✅ Shot list and storyboard (if applicable)
- ✅ Camera, batteries, memory cards charged and ready
- ✅ External microphone connected and tested
- ✅ Lighting adjusted (natural or artificial)
- ✅ Quiet recording environment
- ✅ Test shot and audio recorded and reviewed
- ✅ Backup storage available
- ✅ Editing timeline created with placeholders
FAQ
Do I need expensive equipment to make a good video?
No. Many compelling videos are shot on smartphones. What matters most is lighting, audio, and storytelling. A well-composed iPhone video with a $20 lavalier mic will outperform a poorly lit 4K DSLR clip.
How long should my video be?
It depends on the platform and content type. Educational videos can be longer (5–10 minutes), while social media clips should be concise—under 60 seconds for TikTok/Reels, 2–3 minutes for YouTube Shorts. Always prioritize value over length.
Why aren’t people watching my videos all the way through?
Low retention often points to a weak hook, slow pacing, or unclear value. Analyze your first 10 seconds: does it promise something worth watching? Also, check audio quality and visual clarity—technical flaws cause drop-offs.
Conclusion
Crafting a good video is both an art and a discipline. It requires planning, technical awareness, and above all, empathy for the viewer. When you focus on delivering value with clarity and creativity, your content doesn’t just capture attention—it earns trust and inspires action. The tools will evolve, trends will shift, but the principles of strong storytelling and intentional execution remain constant.


 浙公网安备
33010002000092号
浙公网安备
33010002000092号 浙B2-20120091-4
Comments
No comments yet. Why don't you start the discussion?