
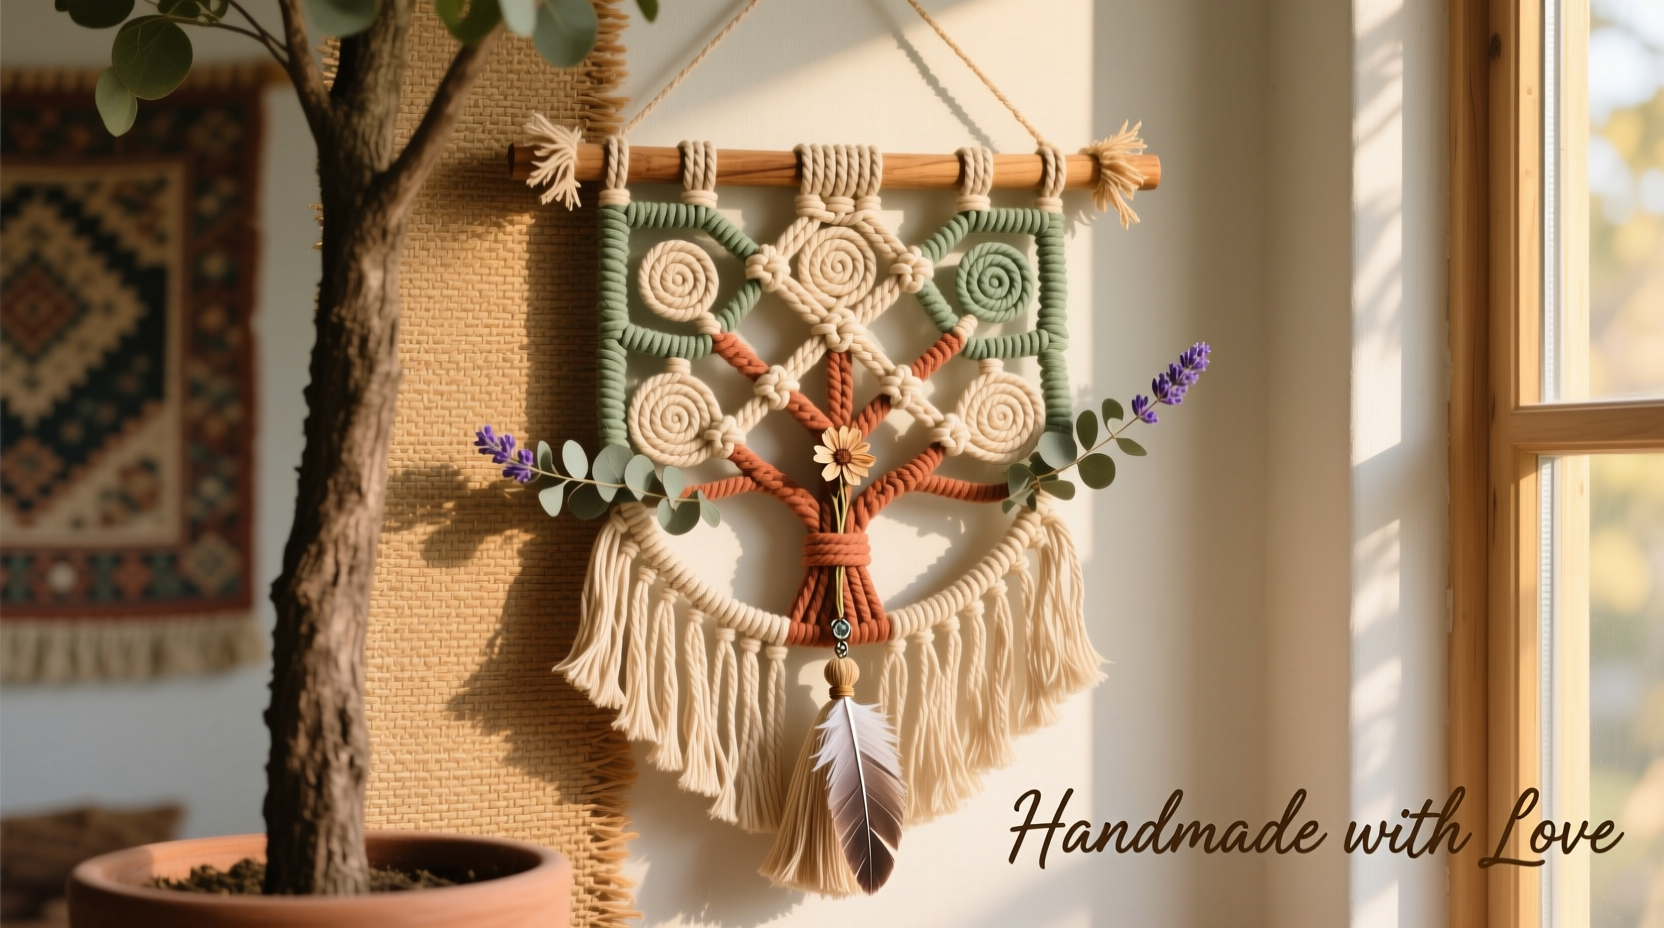
Boho style thrives on texture, movement, and handmade charm. One of the most expressive ways to bring that free-spirited aesthetic into your home—especially during the holiday season or in everyday decor—is through macrame ornaments. A hanging macrame tree ornament combines minimalist craftsmanship with earthy elegance, making it a perfect accent for a Christmas tree, indoor plant, or bedroom ceiling. Unlike mass-produced decorations, these hand-tied pieces carry intention, personality, and warmth.
Making your own macrame ornament doesn’t require years of experience. With just a few yards of cord, basic knotting techniques, and a little patience, you can create something truly unique. This guide walks you through selecting materials, mastering essential knots, assembling your ornament, and personalizing it to match your bohemian vision.
Selecting the Right Materials for Authentic Boho Appeal
The foundation of any great macrame piece lies in its materials. For a true boho look, prioritize natural fibers and earth-toned textures. Cotton cord is the go-to choice for beginners and experts alike—soft to work with, strong enough to hold shape, and available in various thicknesses. A 3mm or 4mm single-strand cotton rope offers the ideal balance between structure and drape.
Avoid synthetic cords unless you're aiming for a modern twist. Nylon or polyester may mimic the look but lack the organic feel central to bohemian design. If sustainability matters to you (as it often does in the boho community), opt for undyed, unbleached cotton or hemp. These not only age beautifully but also align with eco-conscious values.
Other materials you’ll need include:
- Scissors (sharp and dedicated to crafting)
- A wooden or metal ring (1.5 to 2 inches in diameter) for the top loop
- Measuring tape or ruler
- Masking tape or clips to secure your work
- Optional: beads made from wood, ceramic, or stone for embellishment
Mastering the Essential Macrame Knots
Before diving into construction, familiarize yourself with four fundamental knots used in nearly all macrame projects. Each contributes both structural integrity and visual rhythm to your ornament.
- Overhand Knot: The simplest way to secure the end of a cord or create a stopper. Loop the cord over itself and pull tight.
- Lark’s Head Knot: Used to attach cords to the ring. Fold one cord in half, place the loop under the ring, then pull the loose ends through the loop and tighten.
- Square Knot: The backbone of patterned macrame. It consists of two half-hitches made in opposite directions. To execute:
- Take four cords: left outer, left inner, right inner, right outer.
- Cross the left outer over the two middle cords and under the right outer.
- Bring the right outer under the middle cords and up through the left loop.
- Pull tight. Repeat in reverse to complete the square knot.
- Spiral Knot (Half Square Knot Spiral): By repeating the first half of the square knot continuously, you create a twisted, corkscrew effect that adds dynamic movement.
Practice each knot on scrap cord until muscle memory kicks in. Precision improves with repetition, but don’t strive for perfection—slight variations add character in boho design.
“Imperfection is part of the beauty in handmade decor. Let the knots breathe; let them tell a story.” — Lila Monroe, Textile Artist & Craft Instructor
Step-by-Step Guide: Building Your Hanging Ornament
Now that your tools and skills are ready, follow this sequence to assemble a classic tiered macrame ornament approximately 8–10 inches long.
Phase 1: Attach Cords to the Ring
- Cut eight strands of cotton cord, each 48 inches long.
- Fold each strand in half and use a Lark’s Head Knot to attach it to the ring. You’ll now have 16 hanging cords evenly spaced around the ring.
- Divide the cords into four groups of four. Secure each group temporarily with a clip or tape so they don’t tangle.
Phase 2: Create the First Tier
- Take the first group of four cords. About 4 inches below the ring, tie a square knot using the outer two cords as working cords and the inner two as filler.
- Repeat this across all four groups at the same height.
- Once tied, release the tape and let the cords hang freely.
Phase 3: Form the Center Body with Spiral Knots
- Regroup the cords so that adjacent strands from neighboring sections form new sets of four.
- About 1 inch below the previous knots, begin tying continuous half-square knots (spiral knots) down for 3 inches.
- This creates a twisting column effect—ideal for adding vertical interest.
- Tie an overhand knot at the end of each group to prevent fraying.
Phase 4: Add Beads (Optional)
- Slide one wooden bead onto each individual cord below the final overhand knot.
- Secure with another small overhand knot just beneath the bead to keep it in place.
- This introduces subtle weight and focal points, enhancing the boho layering effect.
Phase 5: Finish with a Tassel Base
- Gather all 16 cords together about 2 inches above the lowest beads (or ends if no beads).
- Tie a large overhand knot to form a bulbous base.
- Trim the remaining cord to 1.5 inches and gently fray the tips by running fingers along the fibers or using a comb for a soft tassel effect.
Customization Ideas for Personal Expression
One of the joys of boho design is its embrace of individuality. Once you’ve mastered the base structure, experiment with variations to reflect your personal taste.
| Element | Classic Approach | Boho Upgrade |
|---|---|---|
| Cord Color | Natural cream or white | Ombre-dyed with turmeric, beet juice, or indigo |
| Embellishments | Plain wooden beads | Vintage brass charms, turquoise stones, or recycled glass beads |
| Shape | Straight tiers | Asymmetrical lengths or branching patterns |
| Hanging Method | Simple ring | Antique key, driftwood slice, or hammered copper hoop |
Consider creating a set of three ornaments in graduated sizes—one large centerpiece flanked by two smaller ones—for a gallery-style display on a mantel or wall. Mix textures by incorporating braided sections or alternating knot types within a single piece.
Mini Case Study: Maya’s Holiday Tree Transformation
Maya, a yoga instructor from Portland, wanted her Christmas tree to reflect her love for mindfulness and handmade living. Instead of buying plastic ornaments, she spent a weekend crafting ten macrame tree hangings using leftover cotton cord and beads collected from past projects.
She varied the lengths and added small sage bundles tucked into the knots of three ornaments—a nod to cleansing rituals. Her friends noticed immediately. “They weren’t just decorations,” she said. “They felt intentional, like each one carried energy.” That year, her tree became a conversation starter and inspired two neighbors to host their own macrame nights.
Common Pitfalls and How to Avoid Them
Even experienced crafters encounter challenges. Here’s a checklist to ensure success:
- ✅ Measure all cords uniformly before cutting—uneven lengths ruin symmetry.
- ✅ Keep tension consistent when tying knots; too loose looks sloppy, too tight distorts the pattern.
- ✅ Work in a well-lit space with minimal distractions—complex sequences demand focus.
- ✅ Use a clipboard or embroidery hoop to anchor your ring while working.
- ❌ Don’t skip securing cords with tape—tangled threads waste time and break flow.
- ❌ Avoid pulling knots too close to the ring; leave breathing room for visual balance.
“The best macrame isn’t flawless—it’s felt. If you can sense the hands that made it, it’s doing its job.” — Rafael Torres, Fiber Arts Curator, Desert Bloom Gallery
Frequently Asked Questions
Can I make this without a ring?
Absolutely. Replace the ring with a short length of driftwood, a bent copper wire, or even a repurposed spoon bowl. Just ensure the attachment point is sturdy enough to support the weight of the cords and any beads.
How long does it take to make one ornament?
For a beginner, expect 45 minutes to an hour. With practice, you can complete one in 25–30 minutes. Complex designs with multiple bead layers or intricate knotting may take longer.
Are macrame ornaments safe for real Christmas trees?
Yes, as long as the tree is watered regularly and the ornament isn’t placed near heat sources like lights. Cotton absorbs moisture, so avoid prolonged exposure to wet branches. For extended outdoor use, consider weather-resistant hemp or store indoors after display.
Final Thoughts: Weave More Than Decor—Weave Meaning
A hanging macrame tree ornament is more than a decoration. It’s a quiet rebellion against disposable culture, a celebration of slow making, and a tactile expression of identity. In a world saturated with digital noise, returning to the rhythm of knotting thread becomes meditative, grounding, and deeply satisfying.
Whether you hang it on a holiday tree, beside your bed, or gift it to someone who appreciates soulful details, your handmade piece carries more than fiber—it carries presence. And in the boho ethos, presence is everything.


 浙公网安备
33010002000092号
浙公网安备
33010002000092号 浙B2-20120091-4
Comments
No comments yet. Why don't you start the discussion?