
Bringing the benefits of aromatherapy into your home doesn’t require expensive equipment or synthetic fragrances. A homemade essential oil diffuser can naturally freshen the air, support relaxation, and enhance mood—all while avoiding harsh chemicals found in many commercial air fresheners. However, essential oils are potent plant extracts, and improper use can lead to skin irritation, respiratory issues, or even fire hazards if used near open flames. The key lies in creating a safe, effective diffuser using simple household items and following best practices for handling concentrated oils.
This guide walks you through the science-backed principles of diffusion, safe ingredient selection, and step-by-step construction of multiple types of DIY diffusers. Whether you're looking for a passive reed system, a water-based spray, or a heat-free aromatic solution, you'll find practical instructions that prioritize both performance and safety.
Understanding Essential Oils and Diffusion
Essential oils are volatile compounds extracted from plants—flowers, leaves, bark, and peels—through distillation or cold pressing. Their therapeutic properties have been studied for uses ranging from stress reduction (like lavender) to antimicrobial support (such as tea tree or eucalyptus). When diffused, these oils disperse microscopic particles into the air, where they can be inhaled and absorbed by the body.
There are three primary methods of diffusion:
- Evaporative diffusion: Oils evaporate naturally into the air, often aided by airflow or absorbent materials like reeds or fabric.
- Ultrasonic diffusion: Water and oil are broken into a fine mist using high-frequency vibrations (requires electronic devices).
- Heat diffusion: Warmth accelerates evaporation but may degrade delicate oil compounds.
For homemade solutions, evaporative and spray-based methods are safest and most accessible. They avoid electrical components, reduce fire risk, and preserve oil integrity better than candle-heated options.
Choosing Safe Ingredients and Materials
The foundation of a safe homemade diffuser is selecting non-reactive, non-toxic components. Some solvents can break down plastic containers or react with certain oils, releasing harmful fumes. Others may cause staining or allergic reactions.
| Component | Safe Options | Avoid |
|---|---|---|
| Carrier Base | Alcohol (vodka, rubbing alcohol), distilled water, fractionated coconut oil | Tap water (can grow bacteria), mineral oil (non-biodegradable) |
| Container | Glass bottles, ceramic vessels, stainless steel sprayers | Plastic bottles (may degrade), aluminum (reacts with citrus oils) |
| Diffusing Material | Natural reeds, bamboo skewers, cotton rope, wood sticks | Synthetic fibers, painted wood (may leach chemicals) |
| Essential Oils | Pure, therapeutic-grade oils from reputable brands | Fragrance oils, diluted blends labeled “not for aromatherapy” |
One often-overlooked factor is phototoxicity. Certain citrus oils—especially bergamot, lemon, and lime—contain compounds that become irritating when exposed to UV light. If placing a diffuser near a sunny window, opt for non-phototoxic alternatives like sweet orange or grapefruit.
“Always treat essential oils with respect—they’re highly concentrated biochemicals, not just ‘nice smells.’ Proper dilution and ventilation are critical.” — Dr. Lena Patel, Integrative Aromatherapist & Clinical Herbalist
Step-by-Step Guide to Making a Reed Diffuser
A reed diffuser offers continuous fragrance release without electricity or flame. It works via capillary action: liquid travels up porous reeds and evaporates into the air. This version uses isopropyl alcohol as a carrier to improve scent throw and prevent mold.
Materials Needed:
- 100 ml glass bottle with narrow neck (amber or cobalt preferred to block light)
- 8–10 natural rattan reeds (about 10 inches long)
- 60 ml high-proof alcohol (70%+ isopropyl or ethanol)
- 40 ml distilled water
- 25–30 drops essential oil blend (e.g., 15 drops lavender, 10 drops bergamot, 5 drops cedarwood)
- Funnel and measuring cup
Instructions:
- Pour alcohol and distilled water into the glass bottle using a funnel.
- Add essential oils drop by drop, gently swirling to mix (do not shake vigorously).
- Insert reeds into the liquid, ensuring they’re fully submerged.
- Wait 1 hour, then flip the reeds so the dry ends are now in the oil. This primes absorption.
- Place the diffuser in a draft-free area away from direct sunlight and children’s reach.
- Flip reeds every 3–5 days to refresh scent output.
The alcohol helps carry the scent molecules into the air more effectively than water alone and inhibits bacterial growth. Replace the entire solution every 4 weeks, cleaning the bottle thoroughly before refilling.
Alternative: Spray Diffuser for Quick Refreshment
If you prefer intermittent bursts of fragrance—ideal for bathrooms, linens, or entryways—a spray diffuser gives immediate results without lingering residue.
Recipe: All-Purpose Room Spray
- 100 ml distilled water
- 20 ml vodka or grain alcohol (acts as emulsifier and preservative)
- 30 drops total essential oils (e.g., 10 tea tree, 10 eucalyptus, 10 lemon for a cleansing blend)
- 1 glass spray bottle (dark glass preferred)
Method:
- Combine all ingredients in the spray bottle.
- Shake well before each use (oils will separate).
- Mist into the air or onto fabrics (test on inconspicuous area first).
- Store in a cool place; discard after 2 months.
This spray doubles as a natural deodorizer. Tea tree and eucalyptus offer mild antimicrobial effects, making it useful during cold season. Avoid spraying near electronics or polished wood, which may react to moisture or oils.
Mini Case Study: Sarah’s Allergy-Friendly Living Room
Sarah, a mother of two with seasonal allergies, wanted to eliminate chemical air fresheners triggering her symptoms. She replaced scented candles with a homemade reed diffuser using hypoallergenic oils—lavender and chamomile—in a bedroom-safe setup. She placed the diffuser on a tray to catch spills and flipped the reeds weekly. Within days, she noticed improved sleep and fewer nasal irritations. Her children enjoyed the calming scent without coughing or headaches. By avoiding synthetic fragrances and keeping the diffuser out of reach, she maintained a soothing yet safe environment.
Safety Checklist for Homemade Diffusers
To ensure your DIY project remains beneficial rather than hazardous, follow this actionable checklist:
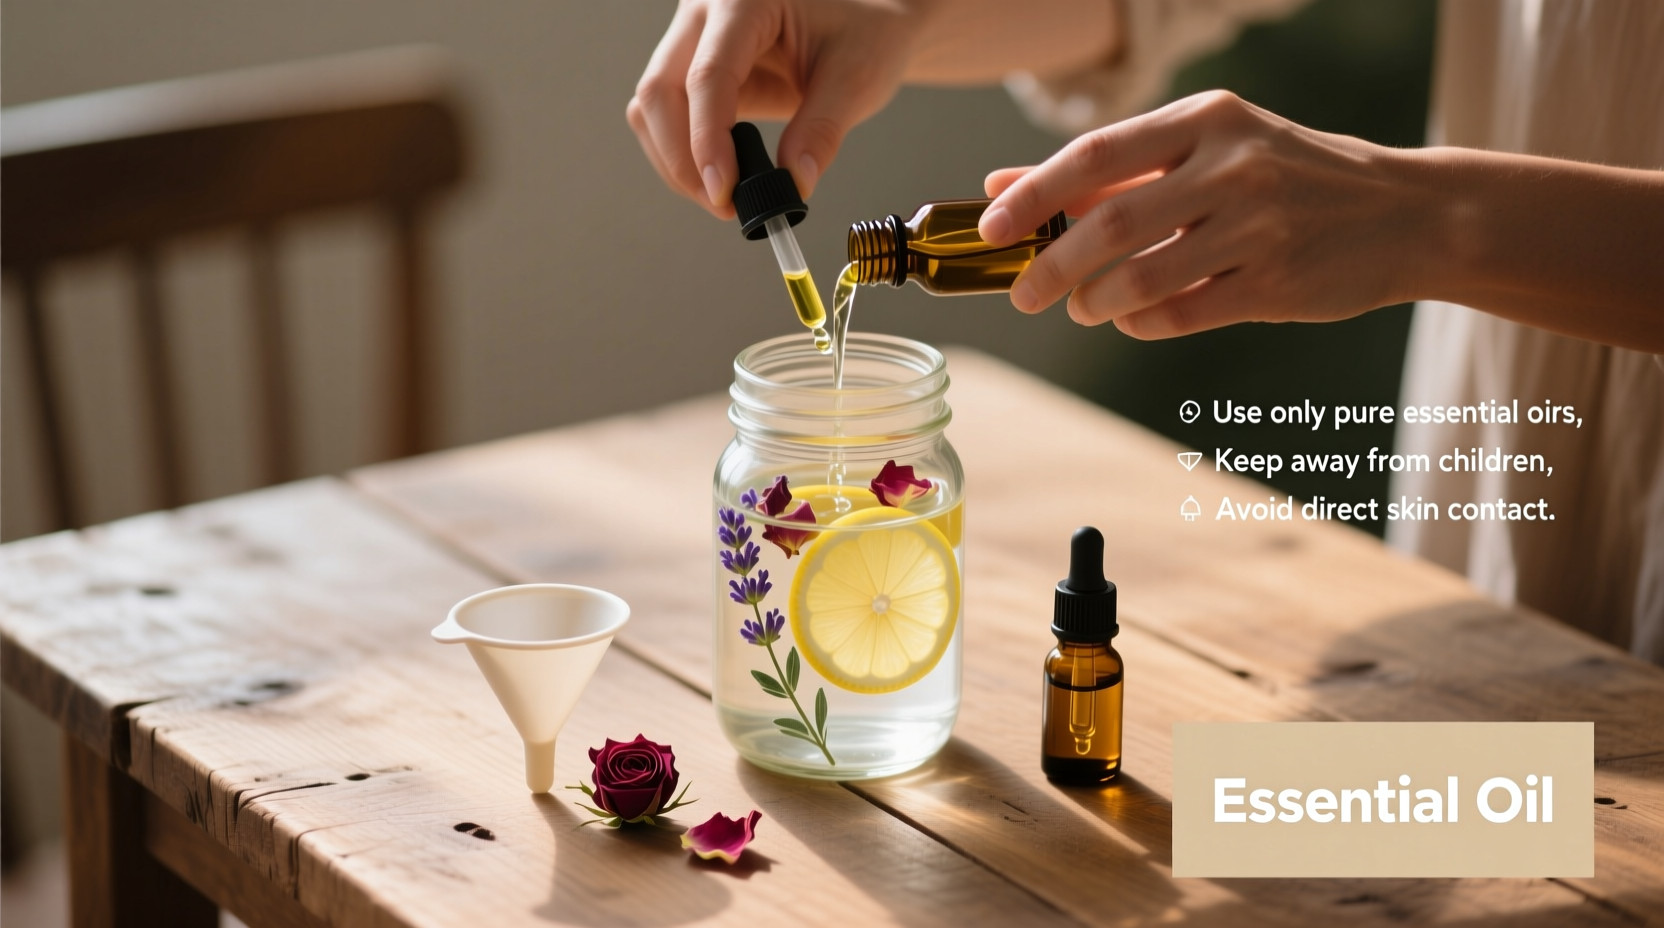
- ✅ Use only pure essential oils—check labels for “100% pure” and botanical names (e.g., *Lavandula angustifolia*).
- ✅ Dilute oils properly: no more than 2–3% concentration in any solution (approx. 20–30 drops per 100 ml carrier).
- ✅ Keep diffusers out of reach of children and pets—some oils (e.g., tea tree, eucalyptus) are toxic if ingested.
- ✅ Place diffusers on stable, spill-proof surfaces with trays underneath.
- ✅ Ventilate rooms regularly—continuous diffusion can overwhelm sensitive individuals.
- ✅ Avoid diffusing around birds, reptiles, or small mammals with sensitive respiratory systems.
- ✅ Label all containers clearly with contents and date made.
- ✅ Discontinue use if headaches, dizziness, or breathing difficulties occur.
Frequently Asked Questions
Can I use tap water in my diffuser?
No. Tap water contains minerals and microbes that can promote bacterial growth and cloud the solution. Always use distilled or filtered water to maintain clarity and hygiene, especially in reed or spray diffusers.
How long do homemade diffusers last?
A reed diffuser typically lasts 4–6 weeks depending on airflow and room temperature. Spray solutions should be used within 6–8 weeks to prevent microbial contamination. Replenish reed diffuser fluid monthly for optimal performance.
Are essential oils safe around pets?
Some essential oils are toxic to cats, dogs, and birds. Avoid diffusing tea tree, pine, citrus, cinnamon, and peppermint oils in homes with animals. Consult your veterinarian before introducing any aromatherapy products.
Final Thoughts and Call to Action
Creating a homemade diffuser with essential oils is a rewarding way to personalize your space with natural fragrance and wellness support. When done correctly, it’s both cost-effective and safer than many store-bought alternatives loaded with phthalates and artificial perfumes. The secret lies in respecting the potency of essential oils—handling them with care, choosing inert materials, and maintaining clean practices.
Start small: try a single reed diffuser in a low-traffic area and observe how your body responds. Experiment with calming blends for evenings or uplifting citrus mixes for mornings. Share your favorite recipes with friends, and consider gifting a handcrafted diffuser with a personalized label.


 浙公网安备
33010002000092号
浙公网安备
33010002000092号 浙B2-20120091-4
Comments
No comments yet. Why don't you start the discussion?