
Creating a JPG file is one of the most common digital tasks, whether you're saving a photo, preparing an image for web use, or sharing visuals via email. The JPG (or JPEG) format is widely supported, offers good compression, and maintains acceptable image quality. For beginners, the process may seem unclear—especially with so many devices and software options available. This guide breaks down exactly how to make a JPG file using various methods, from smartphones to desktop applications, ensuring clarity and ease at every step.
Understanding the JPG Format
JPG, short for Joint Photographic Experts Group, is a raster image format ideal for photographs and complex images with gradients. Unlike PNG or GIF, JPG uses lossy compression, meaning it reduces file size by discarding some image data. While this can slightly lower quality, the trade-off is often worth it for faster loading times and smaller storage needs.
JPG files are universally compatible. They open in virtually every image viewer, web browser, and editing program. Most cameras and smartphones save photos in JPG by default, but sometimes you need to manually convert or export an image into this format—especially when working with screenshots, drawings, or files from design software.
“JPG remains the go-to format for web and mobile due to its balance of quality and efficiency.” — David Lin, Digital Imaging Specialist
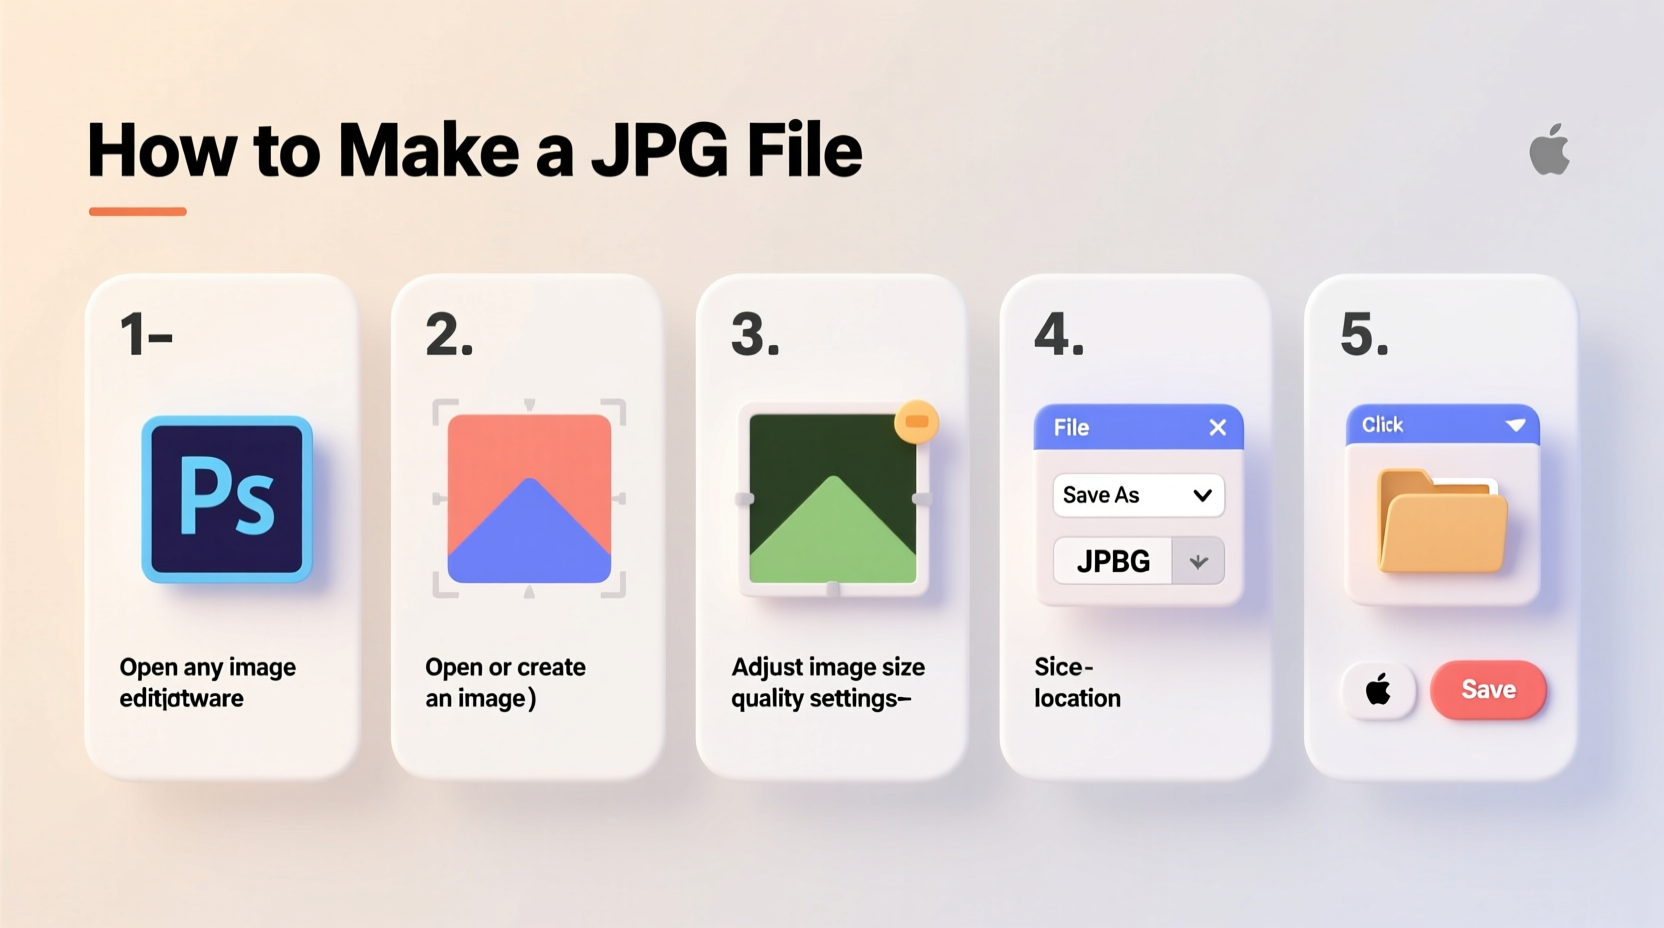
Step-by-Step: How to Create a JPG File on Different Devices
There’s no single way to make a JPG file—it depends on your device and the source image. Below are clear, beginner-friendly instructions for Windows, macOS, iOS, Android, and online tools.
1. On Windows Using Paint
Microsoft Paint is a simple, pre-installed tool perfect for basic image creation and conversion.
- Open Paint (search for it in the Start menu).
- Create a new image or paste content (like a screenshot) using Ctrl+V.
- Click File > Save As.
- In the dropdown menu next to “Save as type,” select JPEG (*.jpg; *.jpeg).
- Choose a folder, enter a filename, and click Save.
2. On macOS Using Preview
Preview is macOS’s default image viewer and editor, capable of exporting to JPG effortlessly.
- Open the image in Preview (right-click the file and choose Open With > Preview).
- Make any adjustments if needed (crop, resize, etc.).
- Go to File > Export.
- In the Format dropdown, select JPEG.
- Adjust Quality if desired (higher = larger file, better detail).
- Click Save and choose your destination folder.
3. On iPhone or iPad (iOS)
If you’ve edited a photo in another format or taken a HEIC image (Apple’s default), you may need to convert it to JPG for broader compatibility.
- Open the Photos app and select the image.
- Tap the Share icon (square with arrow).
- Choose Copy to Files or Save to Camera Roll—this typically saves in JPG if shared externally.
- To force JPG conversion, use the Markup tool: Tap Edit > Markup (pen icon), then Done and Save.
- Alternatively, share directly to an app that only accepts JPG (e.g., email); the system will auto-convert.
4. On Android Using Google Photos
Android devices usually save photos in JPG by default, but if you’re editing or converting, follow these steps:
- Open Google Photos.
- Select the image you want to save as JPG.
- Tap the three-dot menu and choose Edit (if changes are needed).
- After editing, tap Save copy—this creates a new version in JPG format.
- To confirm the format, share the image via email or messaging; the attached file will be JPG.
5. Using Online Converters
When you don’t have access to editing software, online tools offer fast, free conversion.
- Visit a trusted site like Online-Convert.com, Convertio.co, or IloveIMG.com.
- Upload your image (PNG, BMP, TIFF, etc.).
- Select JPG as the output format.
- Adjust settings like quality or image size if needed.
- Click Convert, then download the resulting JPG file.
“Always use reputable online converters to avoid privacy risks with personal photos.” — Maria Tran, Cybersecurity Analyst
Best Practices When Creating JPG Files
Making a JPG is simple, but doing it well requires attention to detail. Follow these guidelines to ensure optimal results.
| Do | Don't |
|---|---|
| Use high-quality settings when preserving details (e.g., portraits). | Compress too much—low quality leads to blurry or pixelated images. |
| Name files clearly (e.g., product_photo_01.jpg). | Use spaces or special characters in filenames; use underscores instead. |
| Resize large images before uploading to websites. | Save over original files without backing them up. |
| Check file size if sending via email (most providers limit attachments to 25MB). | Assume all devices handle JPGs the same—some older systems may have issues. |
Real-World Example: Converting a Screenshot for Work
Sarah, a freelance graphic designer, took a screenshot of a website layout she wanted to discuss with her client. The default format was PNG, which preserved transparency but created a large file. She needed to send it via email, where smaller attachments load faster.
She opened the PNG in Paint, clicked “Save As,” selected JPEG, renamed it to client_website_preview.jpg, and reduced the file size by 60% without noticeable quality loss. The email sent instantly, and the client viewed it without issues on both desktop and mobile.
This small adjustment saved time and improved communication—all because Sarah knew how to convert to JPG efficiently.
Frequently Asked Questions
Can I change a PNG to JPG without losing quality?
You can minimize quality loss by choosing high compression settings during conversion. However, since JPG is lossy, some degradation is inevitable, especially in text-heavy or transparent images. For logos or graphics with sharp edges, PNG is still preferable.
Why does my JPG look blurry after saving?
This usually happens when the compression level is too high. During export, look for a quality slider (often 1–100%) and keep it above 70%. Also, avoid repeatedly saving the same JPG file, as each save degrades it further.
Is JPG the same as JPEG?
Yes. JPG and JPEG refer to the same format. The only difference is the file extension: early Windows systems limited extensions to three letters, so “.jpeg” became “.jpg.” Both are interchangeable.
Final Checklist: How to Make a JPG File Successfully
- ✅ Identify your source image (photo, screenshot, drawing).
- ✅ Use a compatible tool (Paint, Preview, Photos, or online converter).
- ✅ Select “Save As” or “Export” and choose JPG/JPEG format.
- ✅ Adjust quality and file size based on use case (web, print, email).
- ✅ Save with a clear, descriptive name and proper extension (.jpg).
- ✅ Test the file by opening it in a different program or device.
Start Creating JPG Files Today
Knowing how to make a JPG file opens up countless possibilities—from sharing memories to professional work. Whether you’re using a smartphone, laptop, or online service, the process is straightforward once you understand the basics. With the right tools and a few best practices, you can create clean, efficient JPGs anytime, anywhere.


 浙公网安备
33010002000092号
浙公网安备
33010002000092号 浙B2-20120091-4
Comments
No comments yet. Why don't you start the discussion?