
In the quiet glow of holiday lights, few decorations capture wonder quite like an ornament that appears to float midair. No magnets, no electronics—just clever physics, careful craftsmanship, and a touch of theatrical deception. The levitating ornament illusion is a favorite among professional decorators and DIY enthusiasts alike because it’s simple in concept but stunning in execution. By using nearly invisible materials and strategic lighting, you can suspend a glass or acrylic ornament in space, creating the impression it defies gravity. This article walks through the complete process, from material selection to final placement, so you can craft your own mesmerizing centerpiece.
Understanding the Illusion: How It Works
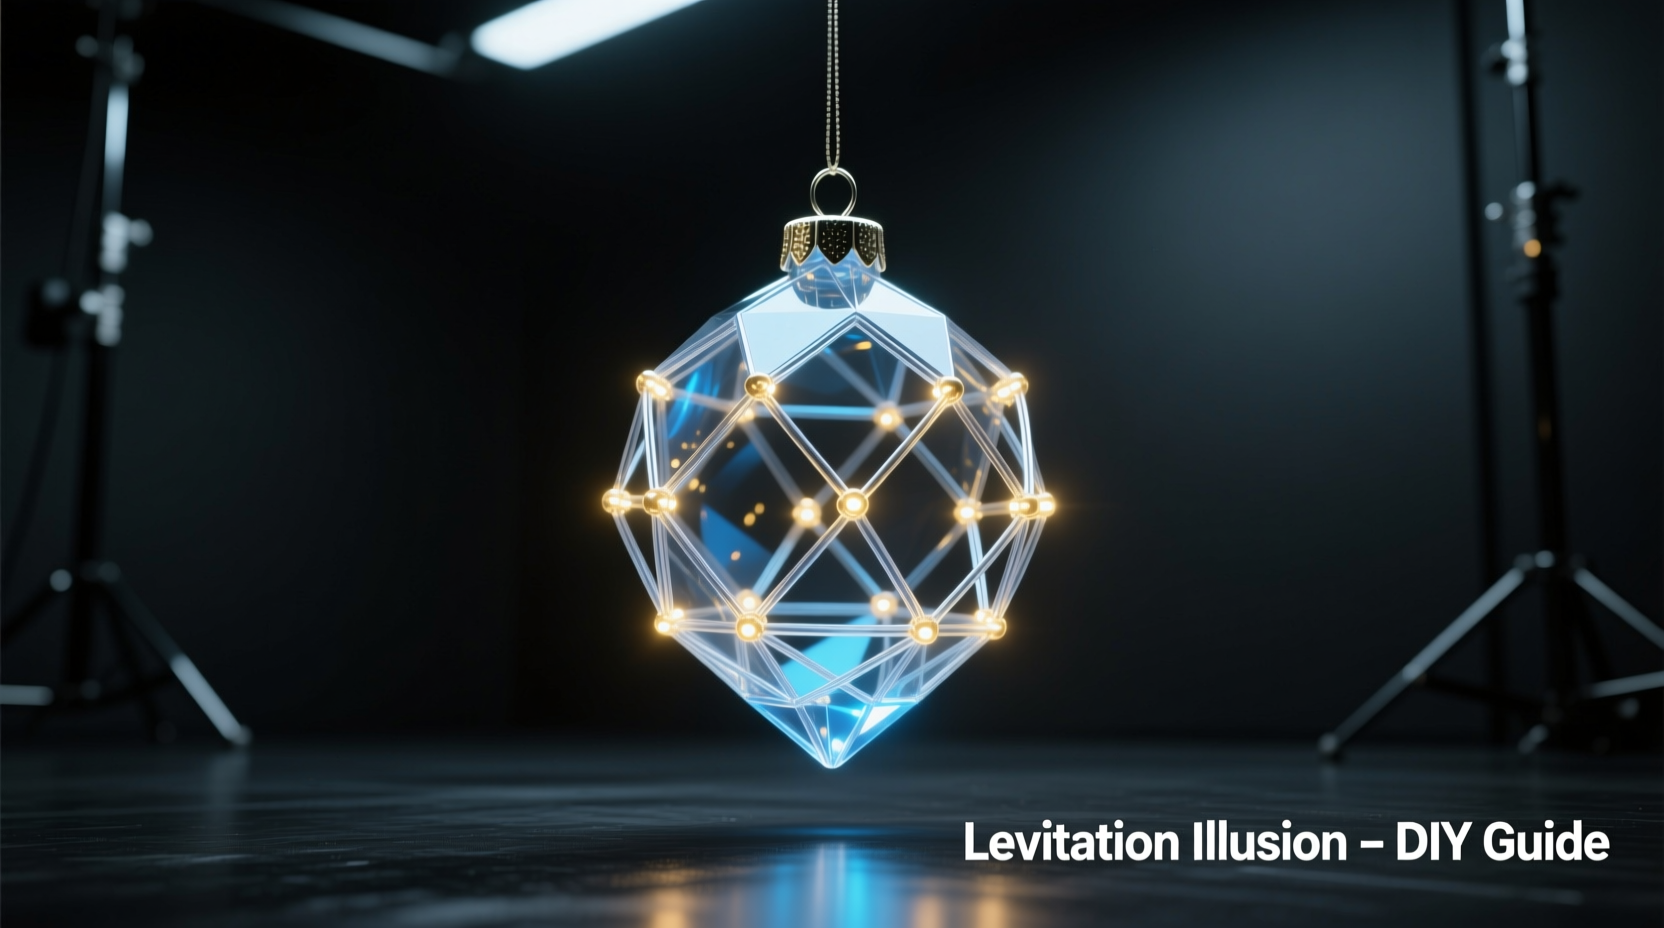
The levitating ornament effect relies on visual misdirection. A thin, rigid wire—typically made of clear monofilament, nylon, or stiff plastic rod—is attached to the ornament and anchored to a base or ceiling. When viewed from the right angle under soft lighting, the wire becomes nearly invisible, especially against dark backgrounds or in dim rooms. The ornament, often internally lit with a small LED, draws attention to itself while the support structure disappears into the shadows.
This technique is commonly used in theater set design, museum displays, and high-end retail installations. The key is minimizing visual cues that would reveal the support. Transparency, rigidity, and lighting all play critical roles. Unlike magnetic levitation, which requires power and precise calibration, this method is low-cost, safe, and accessible to anyone with basic tools.
“Simplicity is the soul of illusion. The best tricks aren’t hidden—they’re overlooked.” — Daniel Reeves, Theatrical Prop Designer
Materials and Tools You’ll Need
Success begins with selecting the right components. Not all wires are equally invisible, and not all ornaments respond well to modification. Below is a comprehensive list of recommended supplies:
- Clear ornament: Glass or acrylic, ideally with a small neck opening (3–5 cm). Choose frosted or colored styles for better light diffusion.
- Clear support wire: Options include 1.5mm diameter clear acrylic rod, heavy-duty fishing line (30+ lb test), or stiff nylon filament.
- Micro LED light: Battery-powered, warm white or color-changing, preferably with a remote. Size should fit inside the ornament without protruding.
- Base or anchor: Wooden block, decorative stand, or ceiling hook, depending on installation method.
- E6000 or UV-curing adhesive: For securing wire to ornament and base.
- Pliers, scissors, ruler: For cutting and shaping the wire.
- Tape measure and level: To ensure vertical alignment.
- Dark backdrop or display area: Enhances invisibility of the wire.
Step-by-Step Assembly Guide
Follow this sequence to build a stable, convincing levitating ornament. Precision at each stage ensures the final result looks effortless.
- Measure and cut the support wire: Determine the desired height of levitation (typically 12–24 inches above the base). Cut the wire 1 inch longer to allow for anchoring.
- Prepare the ornament: Remove any existing hanger. Clean the interior and exterior thoroughly to prevent smudges that could scatter light.
- Attach the wire to the ornament: Apply a small dab of E6000 glue inside the neck of the ornament. Insert the top 1/2 inch of the wire and hold for 30 seconds. Let dry completely (24 hours for full cure).
- Insert the LED light: Place the micro LED inside the ornament. Ensure it rests upright and doesn’t press against the glued joint. Turn it on to test illumination.
- Secure the base end: Attach the bottom of the wire to your chosen base. For wooden blocks, drill a small pilot hole and use epoxy. For ceiling mounts, use a discreet hook and secure with additional adhesive if needed.
- Position and align: Use a level to ensure the wire stands perfectly vertical. Any tilt will expose the support structure.
- Test the viewing angle: Step back 6–8 feet and view the ornament from typical eye level. Adjust lighting and background until the wire vanishes.
| Material | Best Use Case | Limitations |
|---|---|---|
| Clear acrylic rod | Straight, rigid support; excellent clarity | Fragile if bent repeatedly |
| Heavy-duty fishing line | Flexible installations; easy to hide | Can sag over time; less stable |
| Nylon filament | Balances strength and transparency | May require UV glue for best bond |
Lighting Strategies for Maximum Effect
Light isn’t just decorative—it’s essential to the illusion. A well-lit ornament distracts the eye from its support. Internal lighting works best because it turns the entire sphere into a glowing focal point.
Choose LEDs with minimal visible wiring and a flat profile. Battery packs should be concealed in the base or behind the display. Warm white creates a cozy holiday feel, while color-changing options add dynamic interest. Avoid flickering or overly bright LEDs, which can highlight imperfections.
For ambient enhancement, position indirect backlighting behind the ornament. A dark wall or velvet cloth backdrop dramatically increases contrast, making the wire nearly impossible to detect. During daylight hours, close curtains or use shaded areas to maintain the effect.
Real-World Example: A Holiday Window Display
A boutique gift shop in Portland sought to create a “magic snow globe” effect in their front window without using actual glass domes. Their solution: three clear ornaments, each 4 inches in diameter, suspended at varying heights using 2mm clear acrylic rods anchored to a black wooden base.
Each ornament contained a mini LED with slow color transitions. The base was painted matte black and partially obscured by faux snow and miniature trees. Viewers reported believing the ornaments were floating freely, with several children asking staff how they stayed in the air.
The display remained intact for six weeks with no maintenance. The key to its success? Consistent darkness in the window during evening hours, precise vertical alignment, and a clutter-free background that eliminated visual distractions.
Common Mistakes and How to Avoid Them
Even small errors can break the illusion. Awareness of these pitfalls improves outcomes significantly.
- Using opaque or reflective wire: Metal or colored wires catch light and ruin invisibility. Stick to truly transparent materials.
- Improper drying time: Rushing the adhesive curing process leads to weak joints. Wait at least 24 hours before moving the setup.
- Incorrect viewing distance: The illusion only works from a distance. Up close, the wire will always be visible. Design for typical observer positions.
- Overlooking ambient light: Bright rooms expose supports. Use dimmable lighting or schedule display times for dusk to dawn.
- Unstable base: A wobbly foundation causes vibrations that reveal movement. Secure the base firmly to a shelf or floor.
“People don’t see the wire—they see what they expect to see. Set the expectation with context.” — Lila Tran, Visual Artist and Installation Designer
Checklist: Building Your Levitating Ornament
Use this checklist to ensure every step is completed correctly:
- ☐ Select a clear, lightweight ornament with a narrow neck
- ☐ Choose a rigid, transparent support wire (acrylic rod preferred)
- ☐ Test wire visibility under display lighting conditions
- ☐ Clean ornament thoroughly before assembly
- ☐ Apply strong adhesive (E6000 or UV epoxy) to attach wire
- ☐ Allow full curing time before handling
- ☐ Insert micro LED and test illumination
- ☐ Anchor wire securely to a stable base or ceiling mount
- ☐ Align wire vertically using a level
- ☐ Position against a dark, uncluttered background
- ☐ Verify illusion works from 6+ feet away
- ☐ Conceal battery pack and wires in base or behind decor
Frequently Asked Questions
Can I use hot glue instead of E6000?
No. Hot glue is opaque and creates visible blobs that compromise the illusion. E6000 or UV-curing adhesives remain clear and form stronger bonds with glass and plastic.
How high can I safely suspend the ornament?
Up to 36 inches is generally safe with 2mm acrylic rod. Beyond that, consider additional bracing or switch to a ceiling-hang method with thin fishing line. Always test stability before final placement.
Will this work outdoors?
Only in sheltered areas. Wind causes movement that exposes the wire, and moisture can degrade adhesives over time. For outdoor use, encase connections in waterproof silicone and limit exposure to wind.
Conclusion: Bring Magic Into Your Space
The levitating ornament illusion proves that wonder doesn’t require complex technology. With clear wire, smart lighting, and attention to detail, you can create a moment of magic that captivates guests and elevates any seasonal display. Whether used in a home, storefront, or gallery, this project blends art and engineering in a way that feels both modern and timeless. The beauty lies not just in the final effect, but in the precision behind it—the care in alignment, the choice of materials, the control of light. These are the elements that transform a simple decoration into an experience.


 浙公网安备
33010002000092号
浙公网安备
33010002000092号 浙B2-20120091-4
Comments
No comments yet. Why don't you start the discussion?