
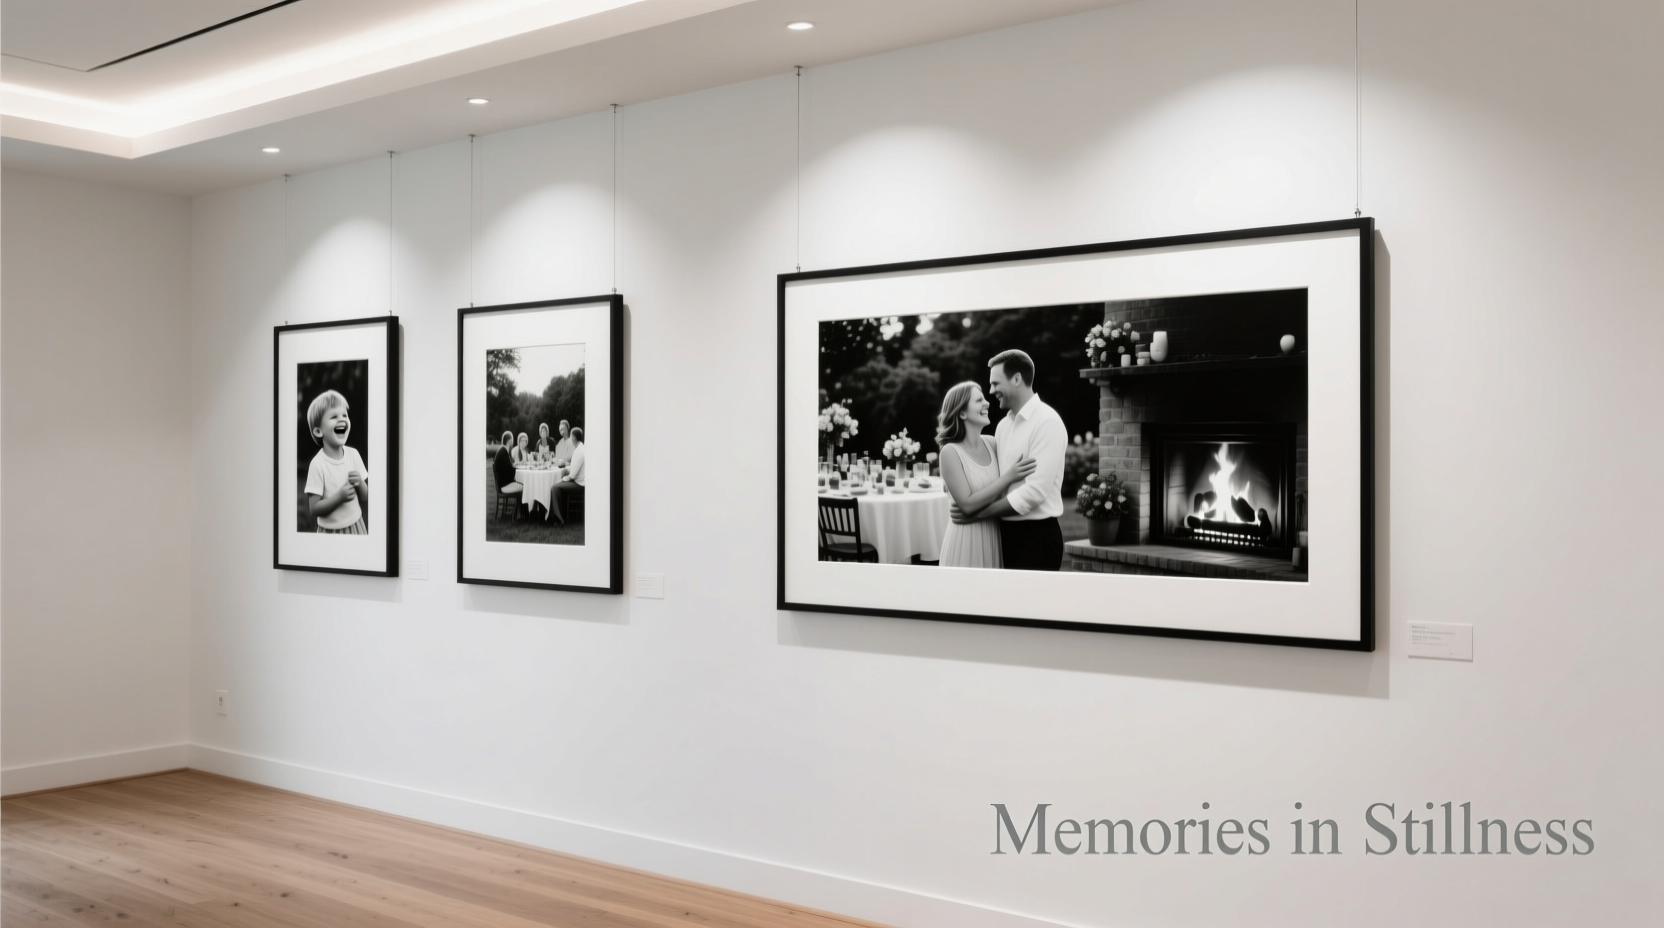
A gallery wall doesn’t need to be elaborate to feel impactful. When done with intention, a minimalist gallery wall can become a quiet celebration of memory, identity, and connection. Family photos, in particular, carry emotional weight—but when displayed without restraint, they risk overwhelming a space. The minimalist approach brings clarity: fewer frames, deliberate spacing, cohesive styling, and a focus on quality over quantity. This method transforms personal moments into curated art, allowing each image to breathe and be seen.
Minimalism in interior design is not about emptiness—it’s about editing. It's choosing what matters most and presenting it with purpose. A minimalist gallery wall honors your family’s story while maintaining visual calm. Whether you're working with vintage snapshots, modern digital prints, or a mix of both, the principles below will help you build a display that feels intentional, timeless, and deeply personal.
Define Your Minimalist Vision
Before selecting frames or hammering a nail, clarify the mood you want to create. Minimalist gallery walls vary in tone—some are monochromatic and serene, others warm and organic, and some geometrically precise. Ask yourself: What feeling should this wall evoke? Calm? Joy? Nostalgia? Simplicity?
Consider the room where the gallery will live. A bedroom might call for soft tones and intimate portraits, while a hallway or living room could support bolder compositions. Think about scale, too. A large blank wall demands more planning than a narrow nook. Sketch a rough outline on paper or use painter’s tape to map the perimeter directly on the wall.
Choose photos that represent key moments rather than every occasion. A child’s first steps, a quiet morning coffee with a partner, a candid laugh during a family dinner—these resonate more than posed group shots. Black-and-white photography often enhances minimalism by removing distractions and unifying diverse images.
Select Frames with Intention
Frames anchor the aesthetic of your gallery. In a minimalist setup, consistency is key. Use the same frame style throughout—either all black, all white, all natural wood, or all metal. Mixing materials or finishes breaks cohesion. Sleek, thin frames (like aluminum or simple matte black) reinforce modern minimalism, while unfinished oak or walnut adds warmth without clutter.
Glass vs. non-reflective glass is another consideration. Non-reflective reduces glare and feels more refined, especially in bright rooms. For a truly minimalist look, consider matless framing—this creates a clean, flush appearance between photo and edge. However, if your print is small, a subtle white or off-white mat can provide breathing room and elevate the image.
“Uniformity in framing allows the viewer to focus on the content, not the container.” — Lena Park, Interior Stylist & Gallery Curator
Frame Material Comparison
| Material | Best For | Pros | Cons |
|---|---|---|---|
| Black Metal | Modern spaces, high contrast | Sleek, durable, defines edges clearly | Can feel cold if overused |
| White Wood | Scandinavian, airy interiors | Lightens walls, blends softly | Shows dust and smudges easily |
| Natural Oak | Warm, organic spaces | Adds texture without clutter | Limited contrast with light walls |
| Matte Aluminum | Contemporary lofts, offices | Ultra-slim, modern, lightweight | Higher cost, less forgiving of imperfections |
Create a Balanced Layout
The layout determines how the eye moves across your gallery. A minimalist wall favors symmetry, grid patterns, or linear arrangements. Avoid haphazard clustering—even in asymmetry, placement should feel calculated.
Start by measuring the wall and marking the center point. Work outward from there. If hanging above furniture (like a sofa or console table), position the bottom edge of the lowest frame 6–8 inches above the surface. This maintains proportion and prevents the wall from feeling disconnected.
Popular Minimalist Layouts
- Single Column: Ideal for narrow walls. Stack 3–5 vertical photos in uniform frames.
- Grid Pattern: Four or nine frames in a perfect square. Best with identically sized photos and frames.
- Linear Row: Three horizontal frames aligned at eye level. Clean and architectural.
- Asymmetrical Cluster: One larger central photo flanked by two smaller ones. Balance through visual weight, not symmetry.
Lay out your arrangement on the floor first. Use kraft paper or cardboard cutouts the same size as your frames to test spacing. Maintain consistent gaps—2 to 3 inches between frames is standard. Use a level and measuring tape when transferring to the wall.
Step-by-Step Installation Guide
Follow this sequence to install your gallery wall with precision and confidence.
- Print and Frame Photos: Use a professional printing service for consistent color and quality. Insert photos into labeled frames.
- Map the Wall: Measure wall dimensions and mark center points with pencil. Note any electrical outlets or obstructions.
- Prepare Templates: Cut paper templates matching frame sizes. Tape them to the wall using removable adhesive.
- Adjust Spacing: Step back frequently. Adjust templates until spacing feels balanced. Use a tape measure for accuracy.
- Mark Hanger Points: Once satisfied, mark screw or nail positions behind each template.
- Install Hardware: Use appropriate anchors for your wall type (drywall, plaster, etc.). Drive nails or screws slightly upward for secure hold.
- Hang Frames: Remove templates and hang frames one by one, starting from the center or top row.
- Final Check: Use a level across multiple frames. Make micro-adjustments if needed.
For renters or those avoiding wall damage, consider picture rail systems or adhesive hooks rated for framed art. These offer flexibility and leave no permanent marks.
Real Example: The Johnson Family Entryway
The Johnsons wanted to honor their blended family with a welcoming display in their entryway. The space was narrow—just 4 feet wide—but highly visible. They chose a vertical column layout with five black metal frames, each holding a 5x7” black-and-white photo: a wedding day, two children’s graduations, a joint family hike, and a candid kitchen moment.
They printed all images through the same lab to ensure tonal consistency. Frames were purchased as a set for identical finish. Using paper templates, they tested spacing and adjusted the center frame to align with eye level. The result was a dignified, emotionally rich progression of milestones—viewed daily by family and guests alike.
“It doesn’t shout,” said Sarah Johnson. “But when people walk in, they pause. That means something.”
Maintain Visual Harmony
Once installed, your gallery wall should require little maintenance—but attention to detail ensures longevity. Dust frames monthly with a microfiber cloth. Avoid direct sunlight, which fades photos over time. If your wall faces south or west, rotate prints every 12–18 months or use UV-protective glass.
Resist the urge to add new photos impulsively. A minimalist wall loses its power when overcrowded. Instead, create a rotation system: keep a few extra framed prints in storage and swap them seasonally or annually. This keeps the display fresh while preserving its integrity.
Do’s and Don’ts of Minimalist Gallery Walls
| Do | Don’t |
|---|---|
| Stick to one frame style and color | Mix different frame widths or finishes |
| Use consistent photo orientation (all vertical or all horizontal) | Alternate orientations without rhythm |
| Leave negative space around the grouping | Crowd the wall edge-to-edge |
| Align frames by top, center, or bottom edge | Allow uneven alignment |
| Limit text or captions on photos | Add handwritten notes visible in frame |
Frequently Asked Questions
Can I include non-family photos in a family gallery wall?
Yes, but sparingly. A single travel landscape or meaningful object (like a heirloom recipe card) can add depth if it connects emotionally to your family narrative. Avoid unrelated artwork, which distracts from the theme.
What if my photos are different sizes?
Standardize them through matting. A large photo matted to match the outer dimensions of smaller ones creates unity. Alternatively, crop and reprint all images to the same aspect ratio before framing.
How high should a gallery wall be hung?
The center of the entire arrangement should sit at eye level—approximately 57 to 60 inches from the floor. This follows museum hanging standards and ensures comfortable viewing.
Final Checklist Before You Begin
- Selected 5–7 meaningful family photos
- Chosen one frame style and color
- Decided on layout (grid, column, row, etc.)
- Measured wall and marked center point
- Created paper templates for each frame
- Purchased hardware suitable for wall type
- Tested lighting and glare at different times of day
- Printed photos with consistent color and finish
Conclusion: Less Is More, But Meaning Is Everything
A minimalist gallery wall with family photos isn’t just decor—it’s curation of memory. By reducing visual noise, you amplify emotional resonance. Each photo earns its place. Each frame contributes to harmony. The result is not emptiness, but presence.
Start small. Choose one wall. Select a handful of images that speak to who you are and what you cherish. Follow the principles of consistency, balance, and restraint. Install with care. Then step back—and let the silence between the frames speak too.


 浙公网安备
33010002000092号
浙公网安备
33010002000092号 浙B2-20120091-4
Comments
No comments yet. Why don't you start the discussion?