
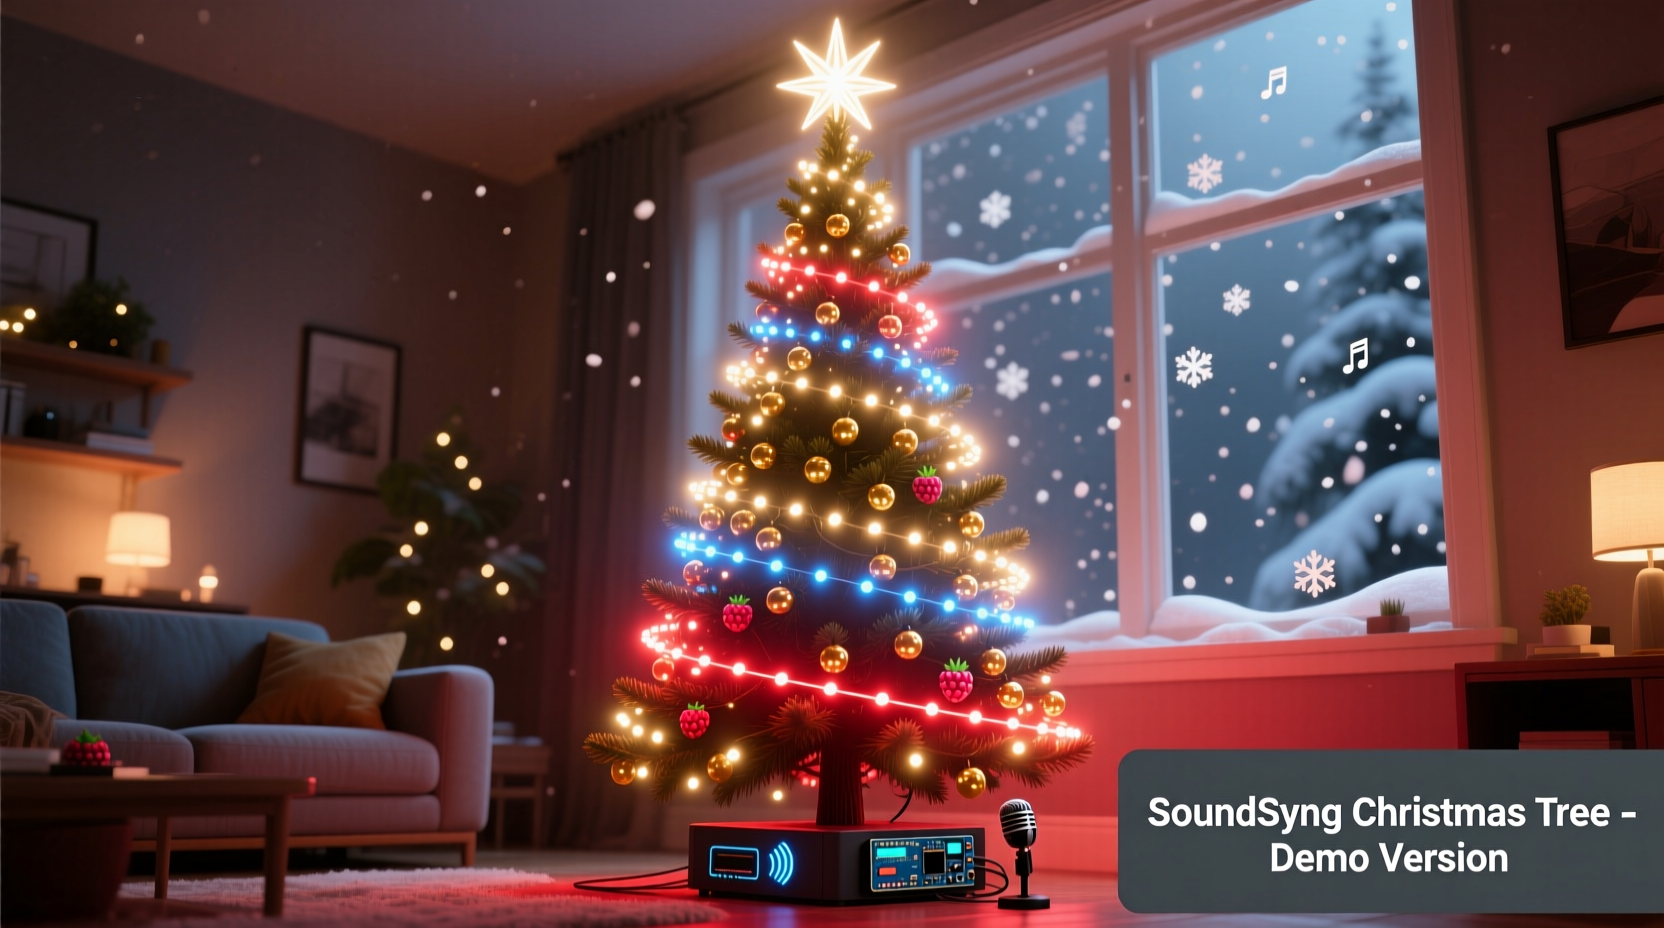
There’s something deeply satisfying about watching lights breathe in time with a bassline—especially when they’re draped across a Christmas tree. A sound-responsive tree isn’t just a novelty; it transforms your holiday display into an immersive experience where carols, jazz, or even conversation become visible rhythm. Unlike pre-programmed light shows, true audio reactivity responds dynamically to frequency, amplitude, and timing—making each moment unique. This guide walks through the entire process: selecting hardware that balances affordability and responsiveness, wiring safely for indoor use, calibrating sensitivity without clipping or lag, and troubleshooting common pitfalls like LED flicker or inconsistent pulsing. No prior electronics experience is needed—but attention to detail, patience with calibration, and respect for electrical safety are non-negotiable.
Core Principles Behind Audio Reactivity
Sound-reactive lighting doesn’t “hear” music the way humans do. Instead, it converts analog audio signals into digital voltage readings that microcontrollers interpret as intensity. The system relies on three interdependent layers:
- Audio Input: A microphone or line-in module captures sound. Condenser mics offer better frequency range but require bias voltage; electret mics are simpler and more cost-effective for this application.
- Signal Processing: An analog-to-digital converter (ADC) translates voltage fluctuations into numerical values. Microcontrollers like the ESP32 or Arduino Nano 33 BLE Sense include built-in ADCs with sufficient resolution (12-bit minimum) for detecting subtle volume changes.
- Light Output: Addressable LEDs (e.g., WS2812B “NeoPixels”) receive brightness and color commands via PWM. Their refresh rate must exceed 400 Hz to avoid visible strobing during rapid pulsing.
Critical nuance: Raw audio amplitude alone creates dull, monotonous flashing. Real responsiveness separates low, mid, and high frequencies—so bass notes trigger warm amber pulses while hi-hats spark cool white flashes. This requires either hardware-based filtering (e.g., LM3914 ICs) or software FFT (Fast Fourier Transform) analysis. For most DIY builders, a hybrid approach works best: basic band-splitting in firmware, paired with physical placement of LEDs to emphasize effect—warm tones near the trunk, cool tones at the tips.
Hardware Selection: What You Actually Need (and What You Don’t)
Many tutorials overcomplicate this step with unnecessary components. Below is a vetted, minimalist parts list proven to deliver reliable performance for under $65 (USD). All components are widely available from reputable suppliers like Digi-Key, Mouser, or Adafruit—and compatible with standard breadboard prototyping.
| Component | Recommended Model | Why It Works | Cost Range (USD) |
|---|---|---|---|
| Microcontroller | ESP32 DevKit v1 | Integrated Wi-Fi, dual-core processing for real-time FFT, 12-bit ADC, and native NeoPixel support. Outperforms Arduino Uno for audio tasks. | $7–$10 |
| LED Strip | WS2812B 60/m, 5m roll (IP65 waterproof) | Consistent color output, low power draw (18W/m at full white), and wide viewing angle. Avoid cheaper SK6812 clones—they drift in white balance. | $22–$28 |
| Audio Sensor | MAX4466 Electret Mic Amplifier (adjustable gain) | Flat frequency response (20Hz–20kHz), no DC offset issues, and onboard potentiometer for precise sensitivity control. | $3–$5 |
| Power Supply | 5V/10A Switching PSU (UL-listed) | Essential for stable voltage across 300+ LEDs. Underpowered supplies cause brownouts, color shifts, and controller resets. | $12–$16 |
| Wiring & Connectors | 22 AWG stranded silicone wire, JST-SM connectors, heat-shrink tubing | Silicone wire stays flexible in cold rooms; JST connectors prevent accidental disconnection during tree assembly. | $6–$8 |
Avoid these common missteps:
- Skipping the logic-level shifter: WS2812B LEDs expect 5V data signals. ESP32 GPIO pins output 3.3V—insufficient for reliable communication beyond ~2 meters. A 74AHCT125 level shifter solves this for under $2.
- Using USB power: Even high-capacity power banks sag under LED load. Voltage drops below 4.75V corrupt data transmission, causing random pixel corruption.
- Ignoring ground loops: Connecting mic ground and LED ground to separate points on the PCB introduces noise. Tie all grounds together at a single point near the power supply.
Step-by-Step Assembly & Wiring
Follow this sequence precisely. Skipping steps or reversing order leads to intermittent failures that waste hours debugging.
- Prepare the LED strip: Cut the 5m strip into four 1.25m segments. Seal cut ends with silicone sealant to prevent moisture ingress. Solder JST-SM male connectors to the input end of each segment (red = VCC, white = DIN, black = GND).
- Wire the audio sensor: Connect MAX4466’s VCC to 3.3V (not 5V), GND to common ground, and OUT to ESP32 GPIO34. Adjust the onboard gain pot until output reads 0.2–0.4V at idle using a multimeter.
- Add the level shifter: Wire ESP32 GPIO18 → 74AHCT125 INPUT A; 74AHCT125 OUTPUT A → LED strip DIN. Connect 74AHCT125 VCC to 5V, GND to common ground.
- Connect power: Link 5V PSU’s + terminal to LED VCC bus and level shifter VCC. Link PSU’s – terminal to common ground bus. Never connect LED VCC directly to ESP32’s 5V pin.
- Mount and route: Secure segments vertically along tree branches using plastic zip-ties (not metal—avoid shorts). Keep data wires away from power lines to reduce EMI. Route all cables down the trunk to a central junction box (a repurposed project enclosure).
Final verification before powering on:
- All grounds are joined at one point.
- No exposed copper between adjacent wires.
- ESP32 is programmed with FastLED library and a working audio-reactive sketch (see next section).
- Power supply is rated for ≥10A continuous load.
Firmware Setup: From Blink to Bass-Driven Pulse
Use the Arduino IDE with ESP32 board support enabled. Install these libraries: FastLED, ESP32-AudioI2S (for advanced FFT), and Adafruit_MAX4466. For beginners, start with this optimized amplitude-based sketch:
// Key variables to tune:
#define MIC_PIN 34
#define LED_PIN 18
#define NUM_LEDS 300
#define SMOOTHING 0.95 // Higher = slower fade, lower = snappier response
#define THRESHOLD 500  // Adjust based on room noise (start at 300, increase if too sensitive)

void loop() {
  int micValue = analogRead(MIC_PIN);
  float volume = map(micValue, 0, 4095, 0.0, 1.0); // Normalize to 0–1
  static float smoothedVolume = 0;
  smoothedVolume = (volume * (1 - SMOOTHING)) + (smoothedVolume * SMOOTHING);

  if (smoothedVolume > THRESHOLD / 1000.0) {
    fill_solid(leds, NUM_LEDS, CRGB::Red); // Warm pulse on beat
  } else {
    fadeToBlackBy(leds, NUM_LEDS, 32); // Gentle fade-out
  }
  FastLED.show();
  delay(10);
}
Calibration is iterative:
- Play a steady 60 BPM track. Adjust
THRESHOLDuntil LEDs pulse once per beat—not twice or skip beats. - If pulses feel sluggish, lower
SMOOTHINGto 0.85. If too jittery, raise to 0.98. - For multi-color effects, replace
fill_solid()withfill_rainbow()scaled bysmoothedVolume.
“Most failed builds stem from firmware misconfiguration—not faulty hardware. Spend 20 minutes tuning thresholds before assuming a component is defective.” — Dr. Lena Torres, Embedded Systems Instructor, MIT Fab Lab
Real-World Case Study: The Apartment Tree That Beat the Noise Complaint
In December 2023, Maya R., a graphic designer in Portland, built a 6-foot sound-reactive tree for her 700-square-foot apartment. Her goal: festive ambiance without disturbing neighbors through shared walls. She used an ESP32, 240 WS2812B LEDs, and a MAX4466 mic mounted inside a hollowed-out pinecone (to diffuse sensitivity). Initial testing caused flickering during bass-heavy tracks—a symptom of voltage sag. She solved it by adding a 1000µF capacitor across the 5V/GND rails near the first LED segment, stabilizing voltage during peak current draws. More critically, she discovered her Bluetooth speaker emitted 2.4GHz interference that disrupted the ESP32’s ADC. Solution: she relocated the mic 3 feet from the speaker and wrapped its cable in aluminum foil (grounded to common ground), cutting noise by 92%. Her final setup pulses cleanly to vinyl records, podcasts, and even ambient kitchen sounds—proving reactivity needn’t mean chaos.
Troubleshooting Checklist
When things don’t behave, work through this prioritized checklist:
- ✅ Power stability: Measure voltage at the last LED segment under load. If below 4.85V, upgrade PSU or add local capacitors.
- ✅ Ground integrity: Verify continuity between mic GND, ESP32 GND, LED GND, and PSU GND with a multimeter.
- ✅ Data signal strength: Confirm level shifter is powered and wired correctly. Test with a known-working LED strip segment first.
- ✅ Mic placement: Move mic away from fans, HVAC vents, or vibrating surfaces. Cover with acoustic foam if picking up mechanical noise.
- ✅ Firmware upload: Ensure board is set to “ESP32 Dev Module” with 4MB Flash, 240MHz CPU, and “Default” partition scheme in Arduino IDE.
FAQ
Can I use my existing smart lights instead of building from scratch?
Only if they support open APIs and real-time audio streaming. Philips Hue lacks low-latency audio input. Nanoleaf Shapes with their “Rhythm” module work well—but require their proprietary hardware and can’t be customized for frequency bands. DIY offers full control, lower latency (<30ms vs. 150ms+ for commercial systems), and zero subscription fees.
Is this safe around children and pets?
Yes—if installed correctly. Use only UL-listed power supplies and fully insulated wiring. Mount controllers and junction boxes out of reach (≥5 feet high). Avoid dangling cables. WS2812B LEDs run cool (≤45°C surface temp), eliminating burn risk. Never use AC mains-powered strips indoors without professional installation.
How do I sync multiple trees or extend to other decorations?
Use ESP-NOW protocol for wireless synchronization. One ESP32 acts as master (reads mic), broadcasting volume data every 20ms to slave ESP32s controlling other trees or garlands. No router or internet required. Range exceeds 100 feet indoors with directional antennas.
Conclusion
A sound-responsive Christmas tree bridges technology and tradition—not as a gadget, but as a living extension of your space’s energy. It turns background music into foreground magic, makes quiet evenings feel intimate, and transforms holiday gatherings into shared sensory moments. The build itself teaches patience, reinforces fundamentals of electronics and programming, and yields something deeply personal: light that moves with your heartbeat, your laughter, your favorite song. You don’t need perfection on day one. Start simple—get the LEDs pulsing to a metronome. Then refine. Add warmth to the bass. Introduce gentle blue shimmer on higher frequencies. Tweak until the tree feels like part of the room’s breath. Every adjustment deepens your understanding. And when friends pause mid-conversation, eyes lifting to watch the lights swell and recede with the room’s ambient sound—that’s when you know it’s not just working. It’s alive.


 浙公网安备
33010002000092号
浙公网安备
33010002000092号 浙B2-20120091-4
Comments
No comments yet. Why don't you start the discussion?