
In today’s digital landscape, video clarity is not just a luxury—it’s a necessity. Whether you’re producing content for social media, marketing, education, or personal archives, a blurry or low-quality video can undermine your message before it’s even heard. Fortunately, modern tools and techniques allow anyone to significantly improve video sharpness and reduce unwanted blur. The key lies in understanding the root causes of poor quality and applying targeted solutions at every stage—before, during, and after recording.
Understand the Causes of Blurry Video
Before attempting to fix a blurry video, it's essential to identify what caused the issue in the first place. Common culprits include:
- Camera shake: Handheld shooting without stabilization leads to motion blur.
- Poor lighting: Low light forces cameras to use slower shutter speeds and higher ISO, increasing noise and softness.
- Out-of-focus footage: Autofocus errors or shallow depth of field can result in unintended blurriness.
- Low-resolution source: Recording in 480p or compressing heavily limits clarity from the start.
- Digital zoom: Enlarging an image beyond its native resolution degrades detail.
Addressing these issues early prevents irreversible damage to video quality. Prevention is always more effective than post-production correction.
Best Practices During Filming for Maximum Clarity
The foundation of a sharp video is laid during capture. Even the most advanced editing software cannot fully compensate for poorly recorded footage. Follow these on-set strategies to ensure optimal clarity:
- Use a tripod or stabilizer: Eliminate camera shake by mounting your device securely. Gimbals are ideal for dynamic shots.
- Maximize available light: Shoot near natural light sources or use affordable LED panels. Avoid backlit scenes unless using a fill light.
- Select the highest resolution possible: Record in at least 1080p; 4K is preferable if your device supports it.
- Avoid digital zoom: Physically move closer to your subject instead of relying on zoom features that degrade image quality.
- Adjust manual focus when needed: Tap to focus on mobile devices or use focus peaking on DSLRs/mirrorless cameras.
Additionally, clean your lens regularly. A smudged or dusty lens can cause haze and softness that mimic blur.
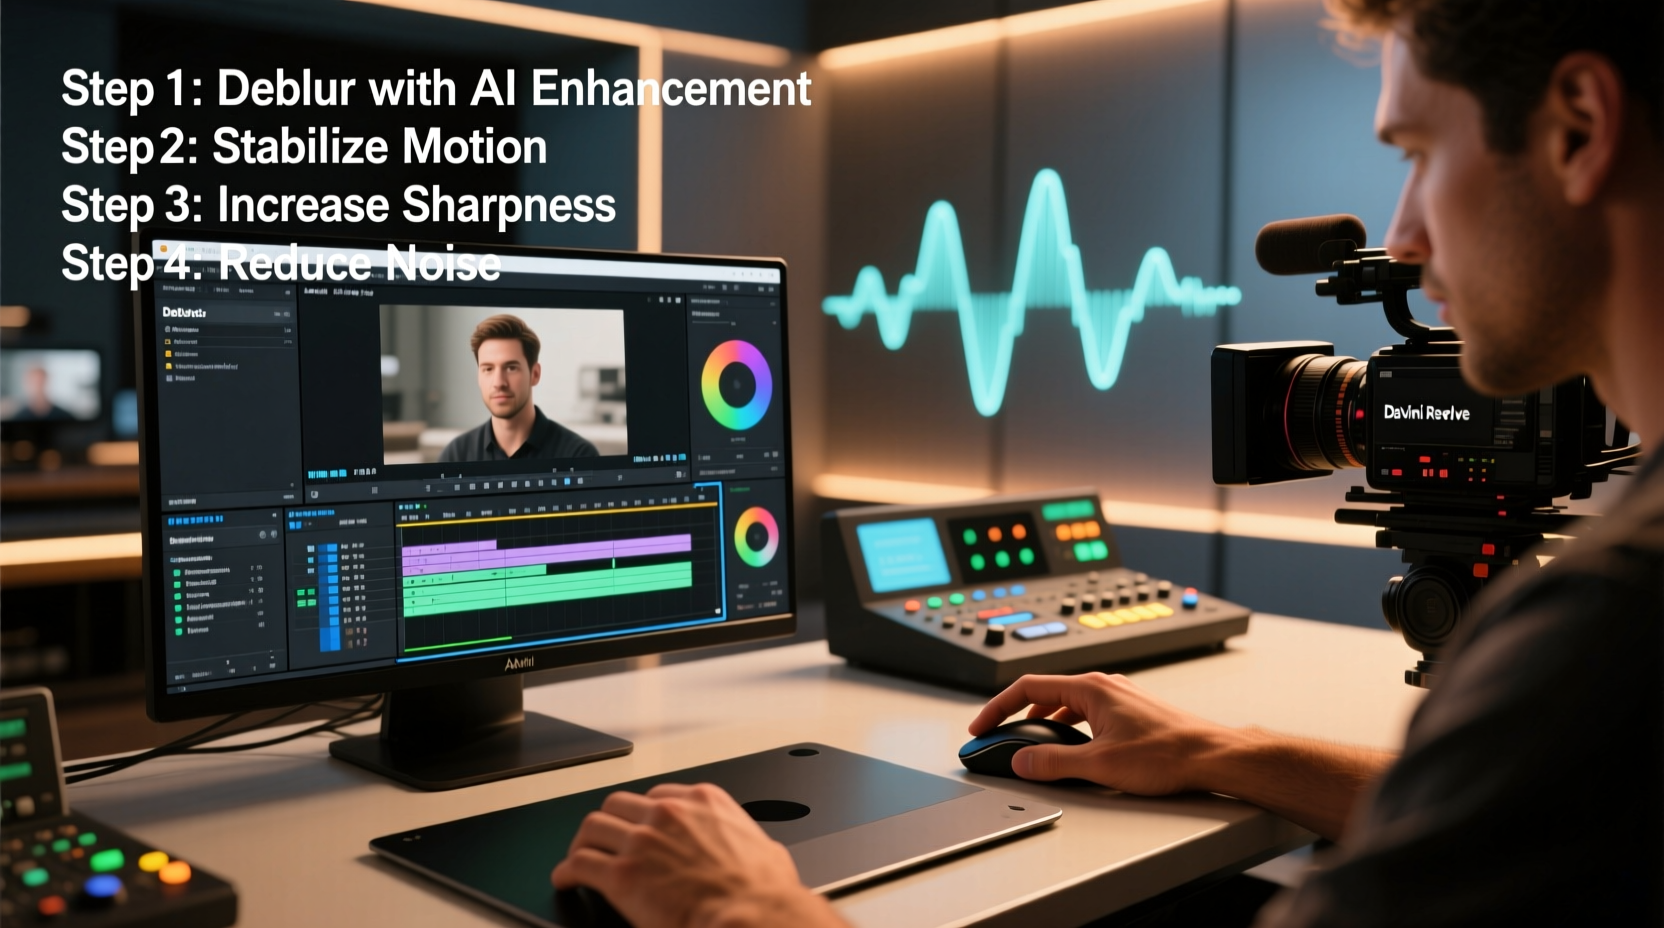
Step-by-Step Guide to Enhancing Video Quality in Post-Production
Even with careful filming, some videos still appear soft. Fortunately, post-processing offers powerful tools to sharpen and clarify footage. Here’s a step-by-step approach using widely accessible software like Adobe Premiere Pro, DaVinci Resolve, or free alternatives such as Shotcut or CapCut:
- Import and assess your footage: Review clips frame by frame to identify areas of blur, noise, or compression artifacts.
- Apply noise reduction: Use built-in plugins (e.g., Neat Video, Temporal NR) to reduce grain without sacrificing detail.
- Sharpen selectively: Apply a mild Unsharp Mask or Smart Sharpen filter. Over-sharpening introduces halos and unnatural edges.
- Adjust contrast and clarity: Increase midtone contrast and texture sliders to enhance perceived sharpness.
- Upscale intelligently: For older or low-res videos, use AI-powered upscaling tools like Topaz Video AI or AVCLabs to restore detail.
- Export wisely: Choose high bitrate settings (e.g., H.264 at 20–50 Mbps depending on resolution) to preserve quality.
Always preview changes on full screen and avoid over-processing, which can make videos look artificial.
| Tool | Best For | Key Feature |
|---|---|---|
| Topaz Video AI | Removing blur and upscaling | AI-based deblur and frame interpolation |
| DaVinci Resolve | Color grading & sharpening | Advanced noise reduction and detail controls |
| Adobe Premiere Pro | Professional editing workflow | Unsharp Mask and Lumetri adjustments |
| AVCLabs Video Enhancer | Beginner-friendly AI enhancement | One-click clarity improvement |
Real Example: Restoring a Family Home Video
Consider a scenario where Sarah wanted to digitize her father’s 20-year-old camcorder tapes. The original recordings were in standard definition, heavily compressed, and suffered from motion blur due to shaky handheld use. Her goal was to create a clear version for a family reunion slideshow.
She began by capturing the analog footage using a digital converter. Then, she imported the files into Topaz Video AI, selecting the “Proteus” model optimized for deblurring and upscaling. After processing each clip at 720p with moderate sharpening, she noticed dramatic improvements in facial details and background text legibility. Finally, she added gentle color correction in DaVinci Resolve to restore faded tones.
The final video wasn’t studio-quality, but it was watchable, emotionally resonant, and far clearer than the original. This case illustrates how combining restoration tools with thoughtful editing can breathe new life into old footage.
“Clarity isn’t just about pixels—it’s about preserving meaning. A sharp video connects viewers to moments they might otherwise miss.” — Dr. Lena Torres, Digital Archivist & Media Restoration Specialist
Checklist: How to Make a Video Clear and Remove Blur
Follow this actionable checklist to consistently produce or restore high-clarity videos:
- ✅ Film in well-lit environments to minimize noise
- ✅ Use a tripod or stabilizer to prevent motion blur
- ✅ Record at the highest resolution and bitrate your device allows
- ✅ Manually set focus when automatic fails
- ✅ Clean lenses before every shoot
- ✅ Apply noise reduction in post-production
- ✅ Use AI tools like Topaz or AVCLabs for advanced deblurring
- ✅ Sharpen moderately to avoid halo effects
- ✅ Export with sufficient bitrate to retain detail
- ✅ Test output on multiple screens before finalizing
Frequently Asked Questions
Can I fix a blurry video after recording?
Yes, to a degree. While you can't recover detail that wasn’t captured originally, AI-powered software like Topaz Video AI can reconstruct edges and textures, making blurry footage significantly clearer. Results depend on the severity of blur and the quality of the source.
Why does my video look blurry even in HD?
High definition refers to resolution, not sharpness. A video can be 1080p but still appear soft due to poor focus, low light, compression, or lack of contrast. True clarity comes from a combination of optical precision, proper exposure, and minimal digital degradation.
Is there a free way to enhance video quality?
Yes. Free tools like DaVinci Resolve offer robust noise reduction and sharpening filters. Shotcut and HitFilm Express also provide basic clarity enhancements. For AI-based upscaling, some platforms offer limited free trials (e.g., Topaz), though full versions typically require purchase.
Final Thoughts and Action Steps
Creating or restoring a clear video doesn’t require expensive gear or advanced degrees. It requires awareness, preparation, and the right techniques applied at the right time. Start by mastering the fundamentals of stable, well-lit recording. Then, leverage modern editing tools to refine and enhance your footage with precision.
Whether you're reviving old memories or producing content for a global audience, clarity amplifies impact. Don’t let technical limitations dull your message. Take control of your video quality—one sharp frame at a time.


 浙公网安备
33010002000092号
浙公网安备
33010002000092号 浙B2-20120091-4
Comments
No comments yet. Why don't you start the discussion?