
Creating handmade keychains is more than just a craft—it’s a way to express personality, boost confidence, and share joy. For girls, personalized accessories like keychains offer a fun way to showcase their favorite colors, characters, or themes while developing creativity and fine motor skills. Whether you're making them for birthday party favors, school projects, or as thoughtful handmade gifts, these little creations can bring big smiles.
The best part? You don’t need advanced crafting experience or expensive tools. With basic supplies found at any craft store—or even around the house—you can design charming, durable keychains that stand out. This guide walks you through everything from choosing materials to finishing touches, ensuring every project turns out both cute and functional.
Gather Your Materials: What You’ll Need
Before diving into creation, assemble your toolkit. Having the right supplies on hand ensures a smooth, enjoyable crafting session without interruptions. Most of these items are reusable or available in multipacks, making them cost-effective for multiple projects.
- Keyring hardware (metal or plastic, various sizes)
- Felt sheets (in pastel, bright, or patterned colors)
- Pom-poms, beads, tassels, or sequins
- Googly eyes, embroidery floss, or fabric markers
- Scissors (fabric scissors work best)
- Hot glue gun and glue sticks (or fabric-safe craft glue)
- Yarn or ribbon for hanging accents
- Clear keychain resin molds (optional, for glossy finishes)
- Printable stickers or vinyl cutouts (for themed designs)
Step-by-Step Guide to Crafting Cute Keychains
Follow this clear sequence to create three popular styles: felt animal shapes, beaded charm chains, and personalized sticker keychains. Each takes under 30 minutes and offers room for customization.
- Choose your design theme – animals, food, hearts, stars, unicorns, or emojis. Sketch a simple outline if needed.
- Cut out base shapes – For felt keychains, trace and cut two identical pieces (e.g., a cat face). Leave a small border for gluing.
- Add facial features or decorations – Glue on googly eyes, use embroidery thread for smiles, or sew on tiny buttons.
- Attach embellishments – Wrap yarn around one side for a fluffy mane, or glue pom-poms to the top for ears.
- Sandwich and seal – Apply glue around the edge of one piece, place the second on top, and press firmly. Let dry completely.
- Insert the keyring – Before sealing or after drying, loop the metal ring through a small slit or hole at the top.
- Finalize decorative chains – String beads onto thin wire or cord, attach to the keyring, and knot securely.
For resin keychains, pour a layer of clear epoxy into a silicone mold, add a sticker or drawing face-down, then fill to the top. Cure for 24 hours per manufacturer instructions.
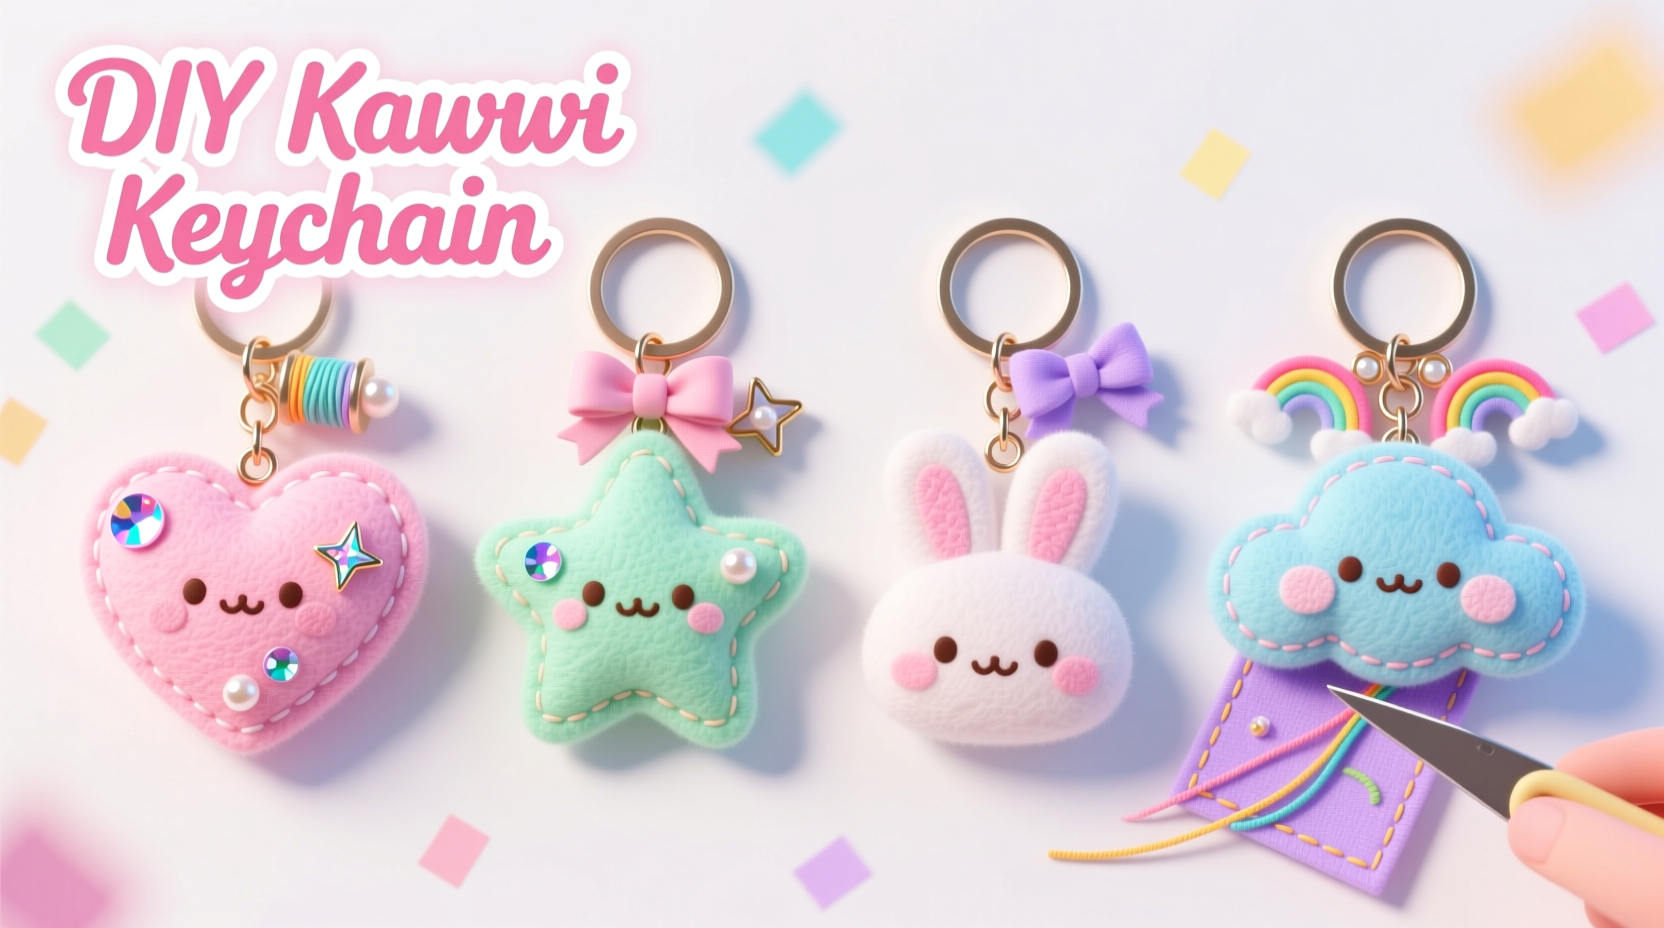
Top 5 Design Ideas Girls Will Love
Staying inspired is easy when you tap into what resonates with young creators. Here are five consistently popular themes that blend simplicity with charm.
| Design | Materials Needed | Time Required | Ideal For |
|---|---|---|---|
| Smiley Cloud Keychain | Felt, cotton balls, glue, keyring | 15 mins | Rainy day crafts |
| Rainbow Bead Chain | Assorted colored beads, elastic cord | 20 mins | Gift exchanges |
| Unicorn Horn Pendant | Foam cone, glitter glue, ribbon | 25 mins | Birthday parties |
| Mini Emoji Faces | Felt, marker, adhesive dots | 10 mins | Classroom activities |
| Personalized Initial Charm | Wooden letter, paint, sealant | 30 mins (with drying) | Keepsakes |
“Children remember not just what they made, but how they felt during the process. Pride, focus, and joy are built one craft at a time.” — Dr. Lila Nguyen, Child Development & Creative Arts Specialist
Avoid These Common Crafting Mistakes
Even simple projects can go sideways without proper attention to detail. These pitfalls are easy to miss but simple to fix.
- Using too much glue – Excess glue seeps out, creates messes, and prolongs drying time. A thin, even layer is sufficient.
- Skipping prep work – Not laying out all materials before starting leads to frustration mid-project.
- Choosing flimsy keyrings – Cheap plastic rings snap easily. Opt for nickel-plated or stainless steel options.
- Overcrowding designs – Too many elements make the keychain bulky and impractical. Less is often cuter.
- Ignoring durability – If the keychain will be used daily, seal it with Mod Podge or clear nail polish to protect against wear.
Real Example: Maya’s Birthday Party Craft Station
Maya, a 9-year-old from Portland, wanted her birthday party to feel special and interactive. Instead of goody bags, her mom set up a DIY keychain corner with pre-cut felt shapes, bins of beads, and colorful ribbons. Each guest chose a theme—butterflies, cupcakes, or rainbows—and assembled their own keepsake.
The station was a hit. Kids spent over 40 minutes focused and excited, proudly showing off their creations. Parents appreciated the take-home gift being both meaningful and mess-free. Two weeks later, Maya spotted a classmate using her cupcake keychain on her backpack—a small sign that the memory had lasted far beyond the party.
Essential Checklist Before You Begin
Use this quick-reference checklist to ensure every project starts strong.
- ☑ Decide on theme and gather inspiration images
- ☑ Prepare workspace with protective covering
- ☑ Organize materials by type and color
- ☑ Check glue temperature (especially important with hot glue guns and young crafters)
- ☑ Confirm keyrings are securely attached before declaring project complete
- ☑ Allow adequate drying time before handling or gifting
Frequently Asked Questions
What age is appropriate for making keychains?
Children as young as 5 can participate with supervision, especially using safety scissors and non-toxic glue. Ages 7–12 typically handle most steps independently. Always assess individual skill level and maturity.
How do I make a keychain waterproof?
To protect paper, stickers, or fabric, apply 2–3 coats of clear sealant such as Mod Podge Outdoor, polyurethane spray, or resin. For full water resistance, encapsulate the design in a sealed resin mold.
Can I personalize keychains for gifts?
Absolutely. Add initials with iron-on letters, use favorite colors, or incorporate hobbies like ballet shoes or soccer balls. Personalization transforms a simple craft into a cherished item.
Bring Creativity to Life—One Keychain at a Time
Making adorable keychains isn’t just about crafting accessories—it’s about building confidence, encouraging self-expression, and creating moments of shared joy. These small tokens carry big meaning, whether clipped to a backpack, given to a friend, or treasured on a nightstand.
Start with one design, let imagination lead, and watch enthusiasm grow. The process teaches patience, decision-making, and pride in handmade work—skills that extend far beyond the craft table.


 浙公网安备
33010002000092号
浙公网安备
33010002000092号 浙B2-20120091-4
Comments
No comments yet. Why don't you start the discussion?