
In today’s digital landscape, static images rarely capture attention the way dynamic visuals do. Converting still images into compelling videos is one of the most effective ways to boost engagement across social media, websites, and marketing campaigns. Whether you're a content creator, marketer, or small business owner, mastering the art of transforming images into captivating videos can significantly elevate your storytelling. This guide walks you through a detailed, practical process to create visually striking image-based videos that resonate with audiences.
Selecting the Right Images
The foundation of any powerful image video lies in the quality and relevance of the source images. High-resolution, well-composed photos not only look professional but also allow for smooth zooms and pans—key techniques in creating motion from stills.
Choose images that tell a story or evoke emotion. A sequence of images should have a logical flow: before-and-after shots, product details, lifestyle moments, or behind-the-scenes glimpses. Avoid cluttered backgrounds or poorly lit photos unless they serve a specific artistic purpose.
Planning Your Video Structure
Before editing begins, outline a clear structure. Most successful image videos follow a three-part arc: introduction, development, and conclusion. For example, a brand story might open with a wide shot of a workshop (introduction), transition to close-ups of hands crafting a product (development), and end with a customer using the item (conclusion).
- Duration: Aim for 30–90 seconds for social platforms.
- Pacing: Faster cuts for energetic content; longer holds for emotional impact.
- Narrative Flow: Ensure each image logically leads to the next.
“Visual storytelling isn’t about how many images you show—it’s about how well they connect.” — Lena Patel, Digital Media Strategist
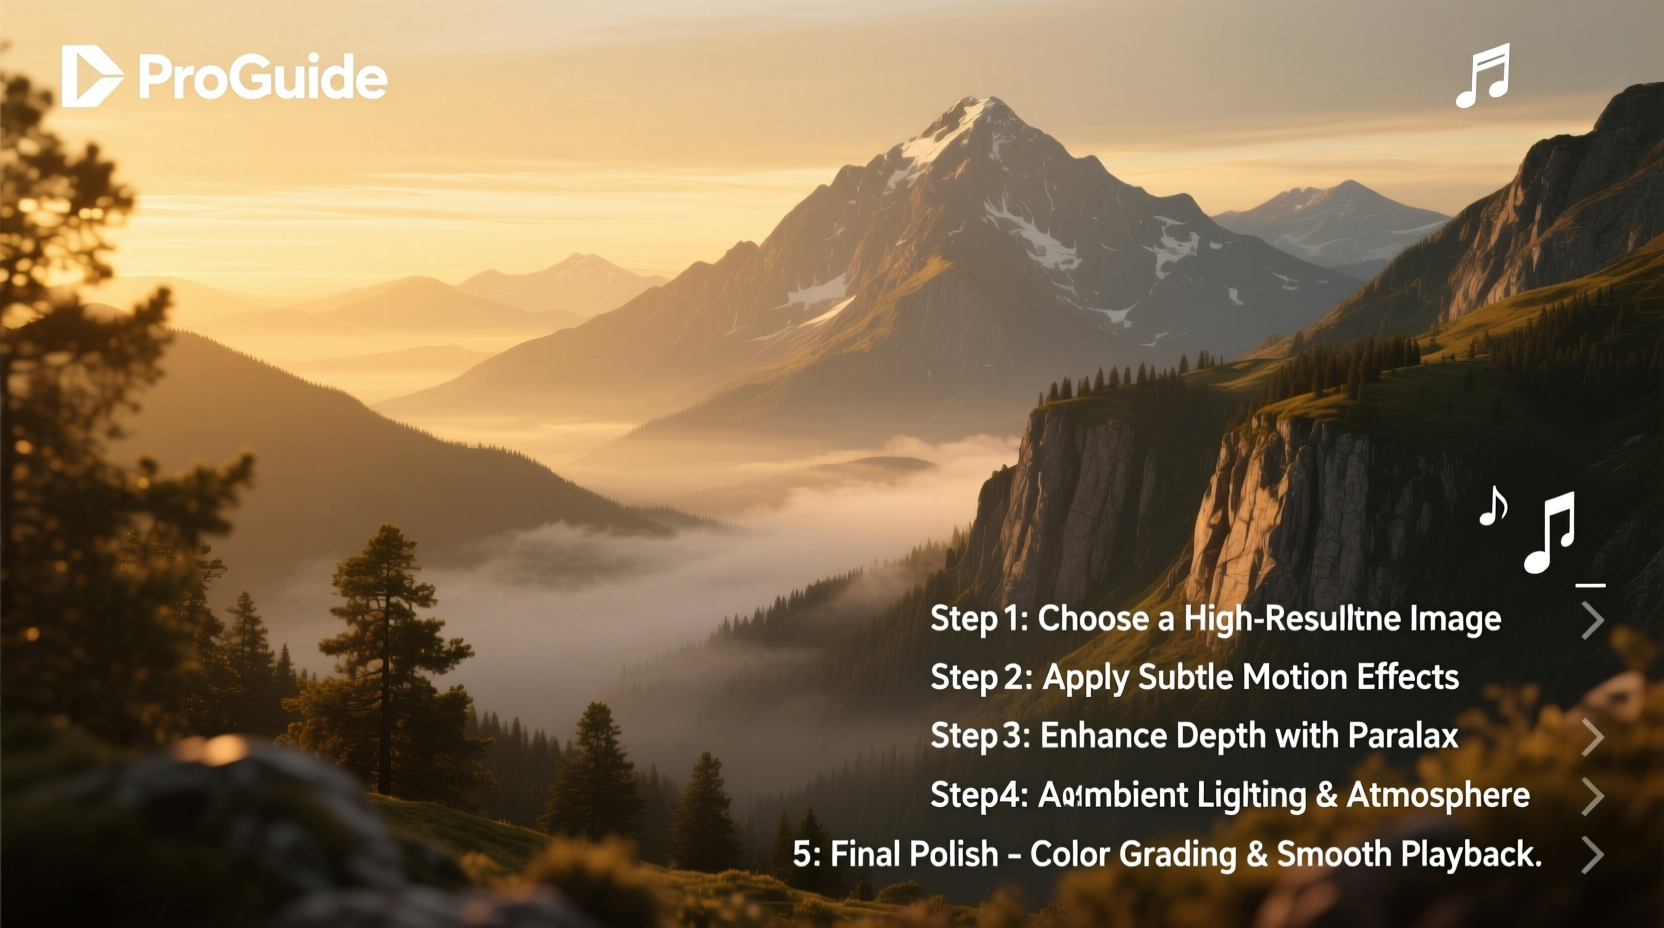
Step-by-Step Guide to Creating the Video
Follow this structured workflow to transform your curated images into a polished video.
- Organize Your Assets: Name and sort images in chronological or thematic order. Include any text overlays or voiceover scripts in the same folder.
- Choose Editing Software: Beginners can use free tools like Canva or CapCut. Professionals may prefer Adobe Premiere Pro or Final Cut Pro for advanced control.
- Set Project Settings: Match resolution (1080x1920 for vertical, 1920x1080 for horizontal) and frame rate (24fps or 30fps) to your platform’s requirements.
- Import and Arrange Images: Drag images onto the timeline. Adjust duration per clip—typically 2–5 seconds depending on complexity.
- Add Motion with Ken Burns Effect: Apply subtle zooms and pans. Start with a wide crop and slowly zoom into a focal point, or pan from left to right to simulate camera movement.
- Incorporate Text and Graphics: Overlay titles, captions, or call-to-actions. Use legible fonts and ensure contrast with the background.
- Add Background Music or Voiceover: Select royalty-free music that matches the mood. Keep volume balanced so narration remains clear.
- Adjust Transitions: Use simple crossfades or fades to black between images. Avoid flashy effects unless stylistically justified.
- Color Correct and Grade: Ensure consistent exposure, white balance, and tone across all images. Use LUTs (Look-Up Tables) for cinematic styles.
- Export in Optimal Format: Save as MP4 with H.264 encoding. Compress file size if needed without sacrificing clarity.
Optimizing for Engagement
A technically sound video won’t succeed without audience-focused optimization. Consider platform-specific behaviors: Instagram users scroll quickly, while YouTube viewers expect richer narratives.
| Platform | Recommended Duration | Aspect Ratio | Engagement Tip |
|---|---|---|---|
| Instagram Reels | 15–30 sec | 9:16 (vertical) | Start with bold text or motion to stop the scroll |
| TikTok | 20–60 sec | 9:16 (vertical) | Use trending audio and on-screen captions |
| YouTube Shorts | 30–60 sec | 9:16 | Include branding early and a subscribe prompt |
| 45–90 sec | 1:1 or 16:9 | Focus on relatable stories or value-driven messages |
Real Example: Transforming a Photo Series into a Campaign Video
A local bakery wanted to showcase its weekend sourdough process. They captured six key images: flour measurement, dough kneading, fermentation, shaping, baking, and final slicing. Using CapCut, they arranged the images in sequence, applied slow zooms on bubbling dough and golden crust, added soft acoustic music, and overlaid minimal text like “Handcrafted Daily” and “No Preservatives.” The result was a 45-second vertical video that increased their Instagram engagement by 70% in two weeks and drove a noticeable uptick in weekend foot traffic.
This success came not from expensive gear, but from intentional sequencing, emotional pacing, and platform-aware formatting.
Essential Checklist Before Publishing
Ensure your video meets professional standards with this final review:
- ✅ All images are high-resolution (minimum 1080px on shortest side)
- ✅ Audio levels are balanced (music doesn’t overpower voiceover)
- ✅ Text is readable and appears long enough to be understood
- ✅ Branding (logo, colors) is consistent
- ✅ File size is optimized for fast loading
- ✅ Video starts strong to capture attention in first 3 seconds
- ✅ Includes a clear call-to-action (e.g., “Visit our website,” “Follow for more”)
Frequently Asked Questions
Can I use copyrighted images or music in my video?
No. Using unlicensed images or music can lead to takedowns or legal issues. Always use royalty-free assets from trusted sources like Unsplash, Pexels, Pixabay, or licensed tracks from Epidemic Sound, Artlist, or YouTube Audio Library.
How many images should I include in a 60-second video?
Aim for 10 to 15 images, allowing 4 to 6 seconds per image. Complex stories may require more images with shorter durations, while minimalist videos might use fewer with extended motion effects.
Do I need expensive software to make professional-looking videos?
Not at all. Free tools like Canva, InShot, and DaVinci Resolve offer robust features for image-based videos. Skill and planning matter far more than software cost.
Final Thoughts
Creating an engaging image video is less about technical wizardry and more about intentionality—choosing the right visuals, arranging them with purpose, and delivering them where your audience spends time. By following this step-by-step approach, you can turn even a simple photo series into a powerful narrative tool that informs, inspires, and connects.


 浙公网安备
33010002000092号
浙公网安备
33010002000092号 浙B2-20120091-4
Comments
No comments yet. Why don't you start the discussion?