
Removing or customizing an image background is a fundamental skill in digital design, marketing, e-commerce, and personal projects. Whether you're preparing product photos for your online store, designing social media graphics, or creating a logo, a clean, transparent, or stylized background enhances professionalism and visual appeal. The good news? You don’t need to be a Photoshop expert to achieve polished results. With the right tools and methods, anyone can master this task—regardless of technical experience.
Why Transparent Backgrounds Matter
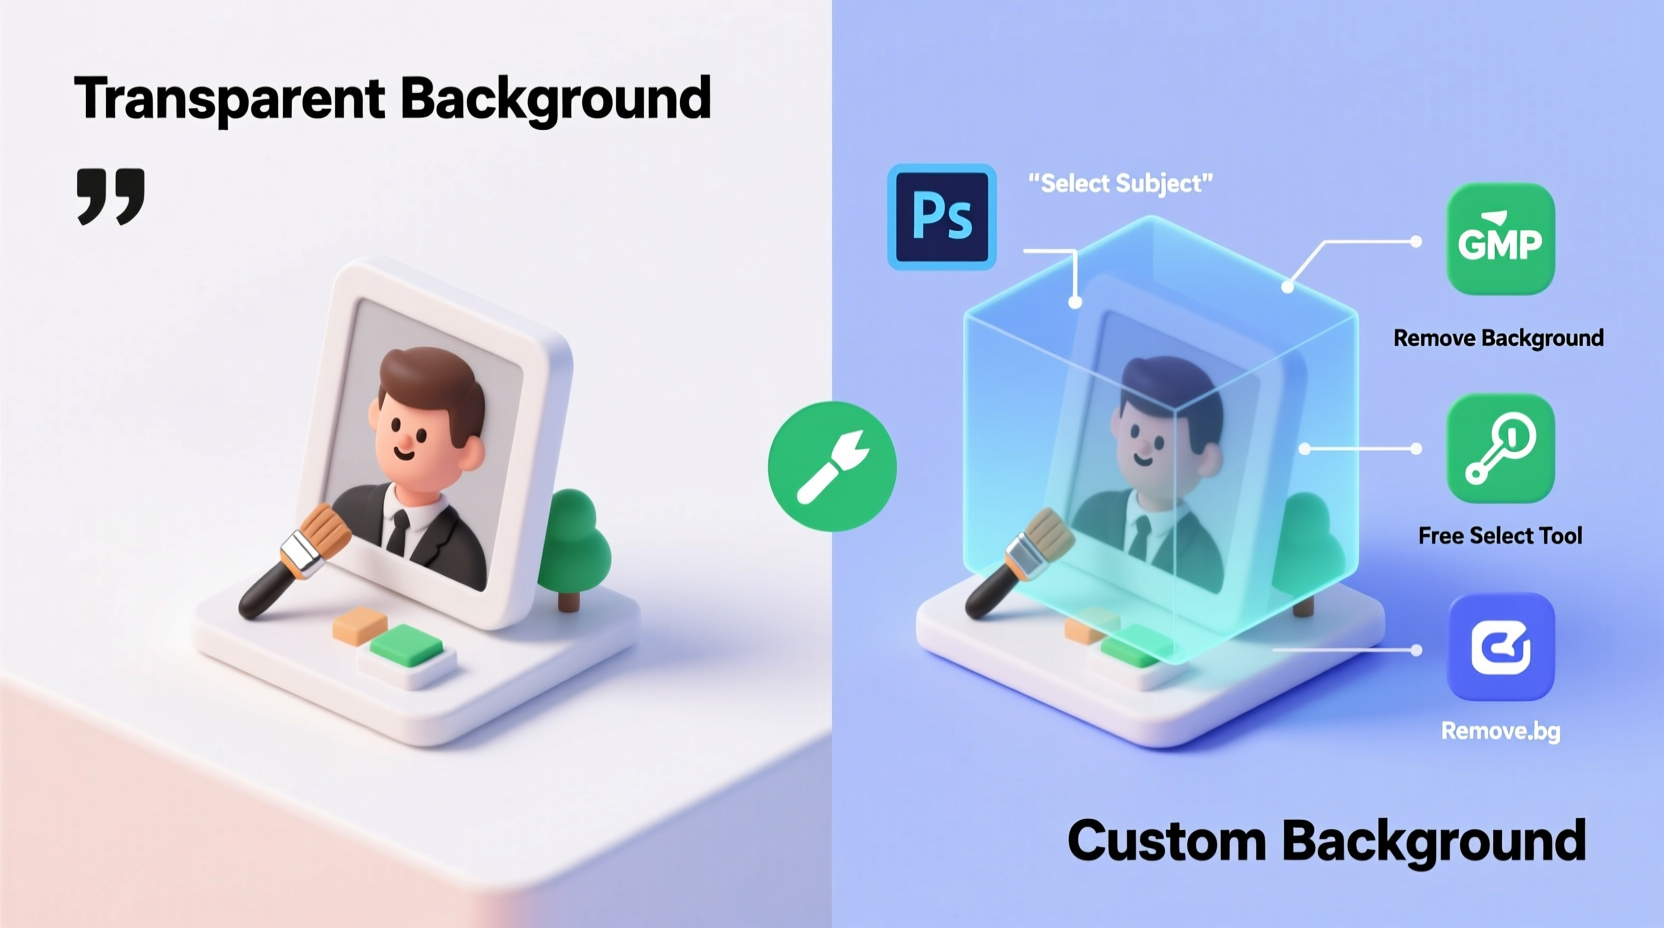
A transparent background allows an image to blend seamlessly into any design context. Without it, white or colored borders around subjects create visual distractions. For example, placing a product photo with a white background on a dark-colored website produces an awkward halo effect. Transparent backgrounds eliminate this issue, offering flexibility across themes, layouts, and branding materials.
Additionally, customized backgrounds—such as gradients, textures, or branded color overlays—can elevate storytelling in digital content. A portrait with a soft blur background feels more intimate; a product against a seasonal backdrop drives holiday campaigns. Understanding how to manipulate backgrounds empowers creators to control mood, focus, and integration.
Step-by-Step Guide to Making Backgrounds Transparent
Follow this practical workflow to remove or replace image backgrounds effectively:
- Select Your Tool: Choose based on complexity and your comfort level—online editors for quick jobs, desktop software for precision.
- Upload the Image: Open your chosen editor and import the file.
- Isolate the Subject: Use selection tools (magic wand, lasso, AI detection) to mark the foreground object.
- Remove or Refine the Background: Delete the selected background or use masking to preserve fine details like hair or fur.
- Customize if Needed: Add a new background—solid color, gradient, or imported image.
- Export Correctly: Save as PNG for transparency, or TIFF for high-end print work.
For complex shapes—such as trees with intricate branches or people with flowing hair—refinement tools like edge smoothing and feathering are essential. Take time to zoom in and manually adjust selections where automatic tools fall short.
Top Tools for Background Editing
Different tools serve different needs. Here's a comparison of popular options:
| Tool | Best For | Pros | Cons |
|---|---|---|---|
| Remove.bg | Quick, automated removal | No installation, instant results, free tier available | Limited customization, struggles with complex edges |
| GIMP (Free) | Precise manual editing | Full layer and mask support, completely free | Steeper learning curve than online tools |
| Adobe Photoshop | Professional-grade output | Advanced masking, refine edge tool, non-destructive editing | Paid subscription, resource-heavy |
| Canva Pro | Beginner-friendly designs | One-click background remover, integrates with templates | Less control over fine details, watermark on free plan |
| Figma | UI/UX and web assets | Vector-based, great for icons and app graphics | Not optimized for photo editing |
For most users, starting with Remove.bg or Canva offers a low-barrier entry point. As demands grow—especially for recurring brand assets—investing time in GIMP or Photoshop pays off in quality and control.
“Precision in background removal separates amateur visuals from professional ones. It’s not just about cutting—it’s about preserving detail and intention.” — Lena Torres, Digital Design Lead at Studio Nova
Real Example: E-Commerce Product Launch
Sophie runs a small jewelry business selling handmade earrings online. She photographs each piece on a white cloth, but shadows and slight color variations make her listings look inconsistent. To unify her store’s appearance, she uploads her photos to Remove.bg, which instantly strips the backgrounds. She downloads the transparent PNGs and imports them into Canva, where she places each earring on a soft pastel gradient background that matches her brand palette. The result? A cohesive, premium look across her website and Instagram posts—leading to a 35% increase in engagement within two weeks.
This case shows how even simple background adjustments can significantly impact perception and performance.
Checklist: Preparing Images for Transparency
- ✅ Shoot against a plain, contrasting background (e.g., white for dark objects)
- ✅ Use high-resolution images (minimum 150 DPI)
- ✅ Ensure sharp focus on the subject’s edges
- ✅ Avoid busy patterns or reflections near the object
- ✅ Save original files before editing
- ✅ Test transparency by placing image on black and white backgrounds
- ✅ Export final version in PNG format with alpha channel support
Common Mistakes to Avoid
Even experienced users can compromise quality through oversights. Watch out for these pitfalls:
- Jagged Edges: Caused by low-resolution images or poor selection tools. Always zoom in during refinement.
- White Halos: Often appear when removing white backgrounds without proper anti-aliasing. Use decontaminate color features in advanced editors.
- Over-Cropping: Cutting too close to the subject removes natural spacing and causes clipping when placed on varied backgrounds.
- Ignoring File Size: Large PNGs slow down websites. Optimize with tools like TinyPNG after export.
- Using JPEG for Transparency: It doesn’t support alpha channels. Always use PNG or WebP for transparent outputs.
Frequently Asked Questions
Can I make a background transparent on a phone?
Yes. Apps like Adobe Express, Pixelup, and Background Eraser allow you to remove backgrounds directly from iOS or Android devices. They use AI to detect subjects and offer one-tap removal with decent accuracy for simple images.
Why does my transparent image show a checkerboard pattern?
The checkerboard is a visual indicator of transparency used by design software. It doesn't appear in the final output. If you see it when placing the image elsewhere, ensure the platform supports transparency (e.g., websites using PNG, not JPEG).
How do I add a custom background after removing the original?
In most editors, create a new layer beneath your subject layer. Fill it with a color, gradient, or paste another image. In Photoshop or GIMP, use Layer > New Fill Layer. In Canva, drag a background element under your image in the stack order.
Mastery Starts with Practice
Becoming proficient at background editing isn’t about knowing every shortcut—it’s about understanding intent. Ask yourself: What should the viewer focus on? Where will this image appear? How does the background affect tone? Answering these guides better decisions than any tool ever could.
Start small. Try removing the background from a single photo today using a free tool. Then experiment: place the subject on a bold color, a blurred cityscape, or a textured paper overlay. Each attempt builds intuition. Over time, you’ll develop a keen eye for detail and efficiency, turning what once seemed technical into second nature.


 浙公网安备
33010002000092号
浙公网安备
33010002000092号 浙B2-20120091-4
Comments
No comments yet. Why don't you start the discussion?