
Cold brew coffee has earned its place as a summer staple and year-round favorite for good reason: it’s smooth, low in acidity, and naturally sweet. But many assume you need a specialized cold brew maker or an expensive gadget to get started. The truth is, you can make excellent cold brew using only basic kitchen tools you likely already own. No plastic contraptions, no filters designed for single use—just coffee, water, time, and a bit of patience.
This guide walks through every step of crafting high-quality cold brew at home, using nothing more than a jar, a sieve, and some cheesecloth or a reusable filter. Whether you're new to brewing or looking to simplify your routine, this method delivers consistent results with minimal investment.
Why Cold Brew Stands Out
Cold brew isn’t just iced coffee made differently—it’s a distinct brewing method that extracts flavor slowly over time using cold or room-temperature water. This slow extraction avoids the harsh acids and bitter compounds typically released when hot water meets coffee grounds. The result? A concentrate that’s mellow, rounded, and refreshingly drinkable even on its own.
Because it’s brewed cold, cold brew tends to have about 67% less acidity than hot-brewed coffee, according to research from Thomas Jefferson University. That makes it easier on sensitive stomachs and teeth alike. It also lasts longer in the fridge—up to two weeks—without losing quality, making it ideal for batch preparation.
“Cold brewing emphasizes sweetness and body over brightness. It’s not a shortcut—it’s a different sensory experience.” — Dr. Sarah Allen, Coffee Science Researcher at Breville Labs
What You Actually Need to Get Started
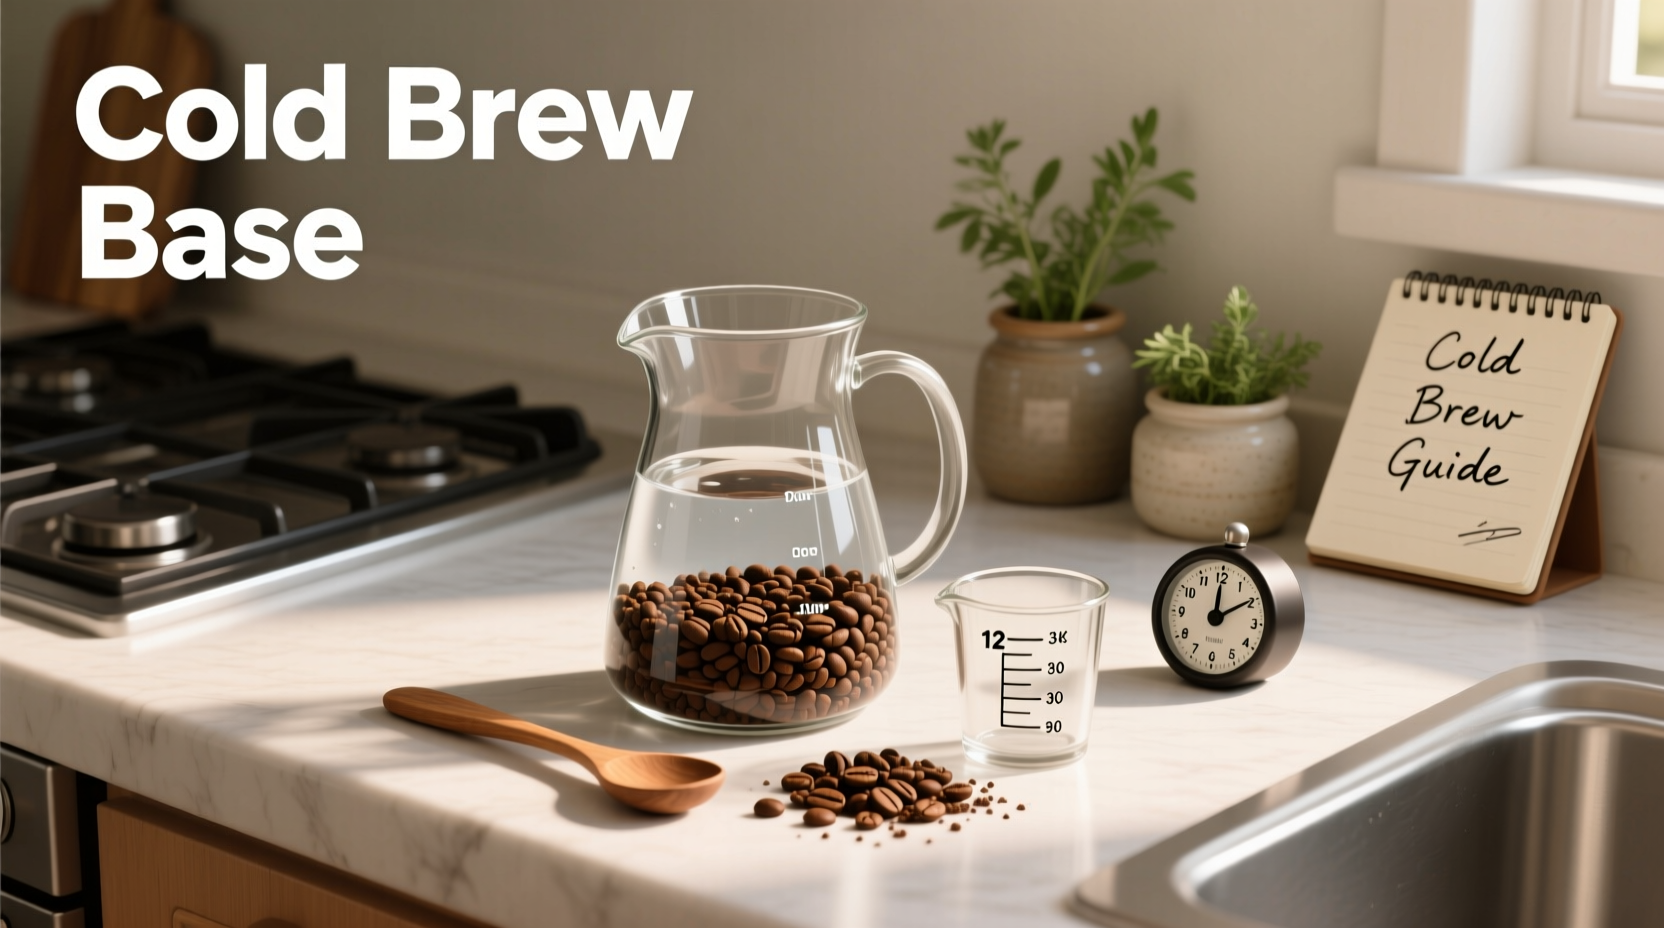
The beauty of homemade cold brew lies in its simplicity. Forget complicated machines or proprietary filters. Here’s what you really need:
- Coffee beans: Medium to coarse grind recommended. Freshly ground is best.
- Cold or room-temperature filtered water: Avoid tap water with strong odors or chlorine.
- A large jar or pitcher: A mason jar, French press, or food-safe container (32 oz / 1 liter minimum).
- A straining tool: Cheesecloth, nut milk bag, fine-mesh sieve, or even a paper coffee filter.
- A rubber band or string: To secure cloth filters if needed.
- A storage bottle or jar: For the finished concentrate.
Step-by-Step Guide to DIY Cold Brew
Follow this straightforward process to create a rich, balanced cold brew concentrate that keeps well and mixes beautifully with water, milk, or ice.
- Grind your beans. Aim for a coarse consistency, similar to breadcrumbs or sea salt. Pre-ground coffee works, but freshly ground ensures maximum freshness and control.
- Add coffee to your container. Use a ratio of 1 cup (about 85g) of coarsely ground coffee per 4 cups (32 oz / ~950ml) of water. Adjust based on desired strength.
- Pour in water. Add filtered water until all grounds are saturated. Stir gently with a wooden spoon to ensure even wetting.
- Cover and steep. Place the lid on your jar or cover with a plate. Let it sit at room temperature for 12–16 hours. Overnight is ideal—start it before bed, strain in the morning.
- Strain the mixture. Line a fine-mesh sieve with cheesecloth or a nut milk bag and place it over another clean container. Pour the coffee slowly. Allow gravity to do the work—don’t press down, as this forces fine particles through.
- Double-strain (optional). For crystal-clear cold brew, strain a second time through a paper coffee filter or finer mesh. This removes any remaining sediment.
- Store the concentrate. Transfer to a sealed glass bottle or jar. Refrigerate for up to two weeks.
- Serve. Dilute with equal parts water or milk (1:1 ratio), pour over ice, and enjoy. Adjust ratios to taste.
Timeline Summary
| Step | Time Required | Notes |
|---|---|---|
| Grinding & Mixing | 5 minutes | Use coarse grind for clean extraction |
| Steeping | 12–16 hours | Nighttime steeping fits most schedules |
| Straining | 10–20 minutes | Double-straining improves clarity |
| Storage & Serving | Instant | Dilute 1:1; keep refrigerated |
Common Mistakes and How to Avoid Them
Even simple processes can go off track. These pitfalls are common among first-time brewers—but they’re easy to fix.
- Using a fine grind: Leads to over-extraction and sludge. Stick to coarse.
- Skipping the stir after adding water: Dry clumps won’t extract evenly. Stir once at the beginning.
- Pressing during straining: Squeezing the filter introduces bitterness and fines. Let it drip naturally.
- Over-steeping: Beyond 18 hours, cold brew can turn woody or overly strong. Stick to 12–16.
- Diluting too much: Some people water it down excessively. Start with a 1:1 ratio and adjust gradually.
“We tested dozens of home setups. The best results came not from gadgets, but from attention to grind size and steep time.” — James Chen, Home Brewing Consultant, Barista Hustle
Real-World Example: Maria’s Morning Routine Upgrade
Maria, a teacher from Portland, used to buy cold brew weekly at $4.50 per bottle. She tried making it at home after seeing a friend’s setup using a mason jar and dish towel. Her first attempt was gritty and weak—she had used pre-ground espresso and strained it through a thin tea towel. After reading about grind size and double-straining, she switched to whole beans ground coarsely in a hand grinder and began using two layers of cheesecloth.
Now, she prepares a full quart every Sunday night. By Wednesday, her colleagues noticed her energy was steadier and asked what brand she was drinking. “I told them it’s my own,” she said. “They couldn’t believe I wasn’t using a ‘real’ machine.” She saves nearly $150 a month and enjoys a fresher, cleaner cup tailored to her taste.
Customizing Your Cold Brew Experience
Once you’ve mastered the base recipe, experiment to match your preferences:
- For stronger flavor: Increase coffee to 1:3 ratio (coffee to water).
- For lighter, ready-to-drink brew: Use 1:8 ratio and skip dilution.
- Add flavor during steeping: Include a cinnamon stick, vanilla bean, or citrus peel in the jar.
- Try different beans: Chocolatey dark roasts yield bold results; fruity light roasts offer nuanced complexity.
Alternative Tools You Can Use
You don’t need one specific toolset. Many household items work just as well:
- French Press: Steep and separate easily. Just plunge slowly after steeping—don’t rely on the filter alone. Follow with a secondary paper filter for clarity.
- Reusable Tea Bags: Large muslin bags can hold coffee grounds. Submerge in water and remove after 12–16 hours. Convenient but limits volume.
- Water Bottles: Mix coffee and water in a large reusable bottle. Shake, steep, then strain. Easy cleanup, portable.
- Cheap Coffee Filters + Funnel: Place a paper filter in a funnel over a jug. Slow but effective for small batches.
FAQ: Your Cold Brew Questions Answered
Can I make cold brew with instant coffee?
No. Instant coffee is already brewed and dehydrated. Reconstituting it in cold water won’t replicate true cold brew’s texture or depth. Use real ground beans for authentic results.
Is cold brew stronger than regular coffee?
As a concentrate, yes—by volume, it contains more caffeine. However, because you dilute it before drinking, the final cup may have similar or slightly higher caffeine levels than hot coffee. An 8 oz serving of diluted cold brew typically has 100–150mg of caffeine.
Why is my cold brew cloudy?
Cloudiness comes from fine coffee particles slipping through the filter. Try a coarser grind, slower straining, or a second pass through a paper filter. It doesn’t affect taste significantly, but clarity improves mouthfeel.
Bonus Checklist: Make Cold Brew Like a Pro
- Choose fresh, whole beans and grind them coarsely.
- Use filtered water at room temperature.
- Mix coffee and water at a 1:4 ratio (or adjust to taste).
- Stir once, cover, and steep 12–16 hours at room temp.
- Strain through cheesecloth or a fine sieve—no pressing.
- Optional: Double-strain through a paper filter.
- Store concentrate in a sealed container in the fridge.
- Dilute 1:1 with water, milk, or plant-based alternatives before serving.
- Label your batch with date and ratio for consistency.
- Enjoy within 14 days for peak freshness.
Final Thoughts: Simplicity Wins
Making great cold brew at home doesn’t require a countertop full of gear. In fact, the fewer tools involved, the more you learn about the fundamentals of flavor, extraction, and balance. What starts as a cost-saving hack often becomes a ritual—one that rewards attention to detail and personalization.
Every batch teaches something new: how roast level affects sweetness, how steep time changes body, how water quality influences clarity. And unlike store-bought versions loaded with preservatives or artificial flavors, your homemade cold brew is pure, customizable, and sustainable.


 浙公网安备
33010002000092号
浙公网安备
33010002000092号 浙B2-20120091-4
Comments
No comments yet. Why don't you start the discussion?