
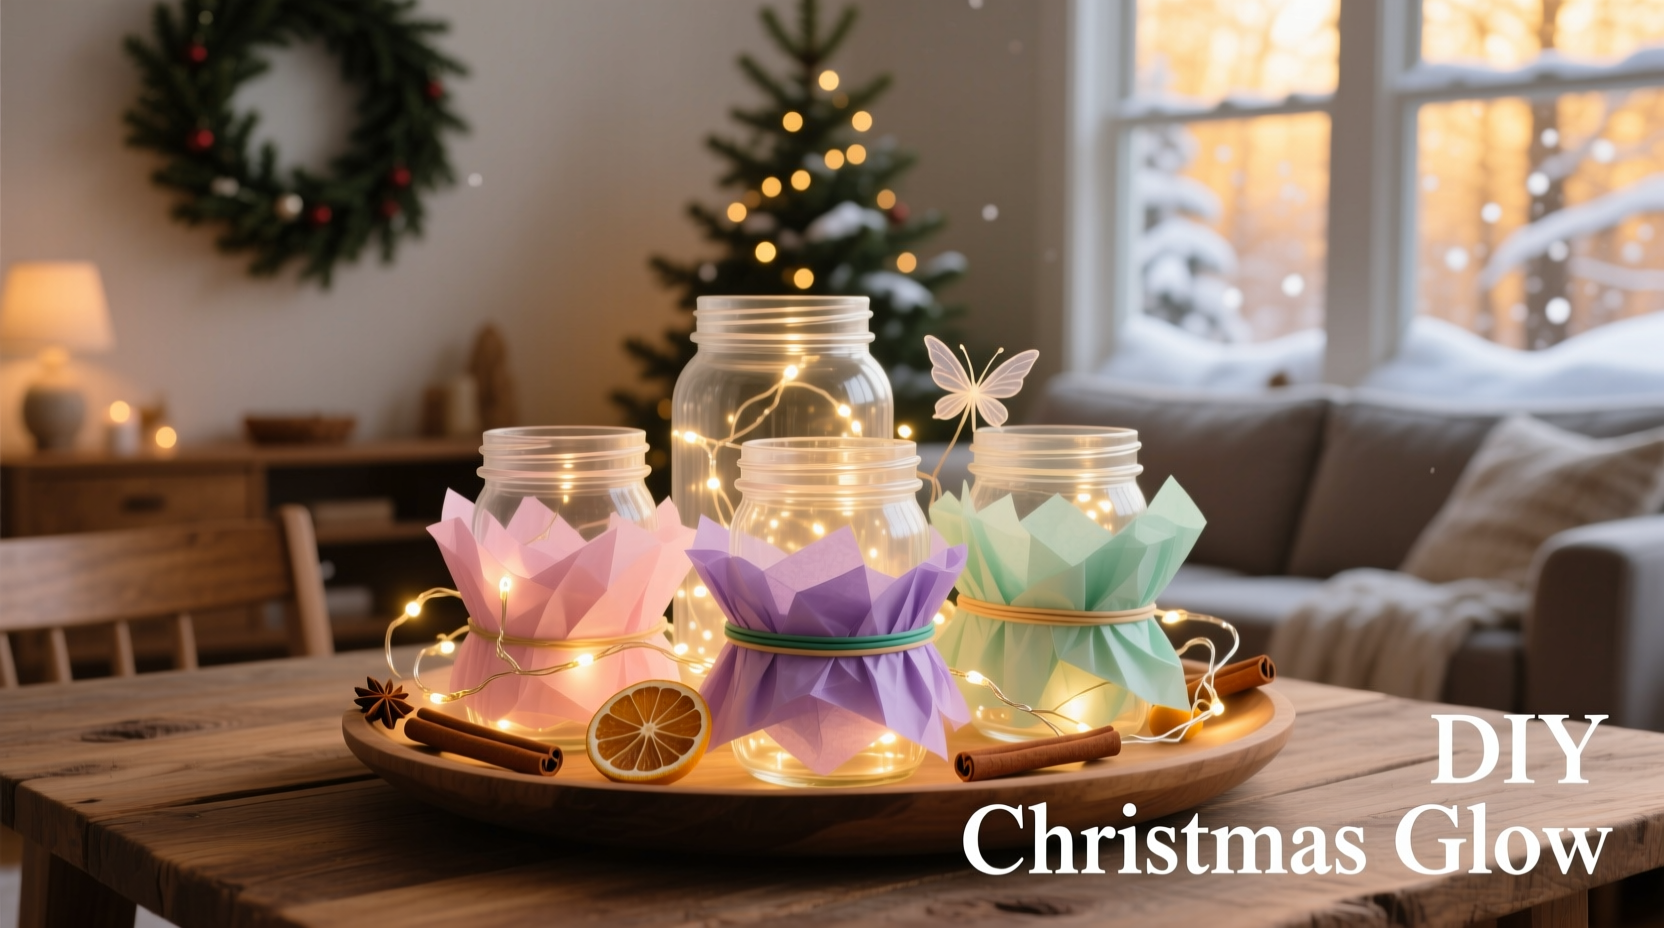
Christmas lights are a beloved part of holiday decor, but their bright, concentrated beams can sometimes feel harsh or overly intense—especially in cozy indoor spaces. A simple solution? Diffuse the light. By softening the glow, you create a more inviting ambiance that enhances warmth and comfort without sacrificing sparkle. While commercial diffusers exist, you don’t need to buy anything extra. With just a few common household items, you can craft effective, attractive light diffusers that elevate your holiday display.
This guide walks through practical, tested methods using everyday materials like plastic bottles, parchment paper, socks, and more. Whether you're decorating a mantle, wrapping a tree, or lining a staircase, these DIY solutions let you customize brightness and tone while reducing glare—all on a budget.
Why diffuse Christmas lights?
Bare LED or incandescent bulbs emit focused points of light that can strain the eyes, especially in dim rooms. Over time, this sharp illumination may disrupt relaxation or interfere with the mood you're trying to set. Light diffusion scatters the beam, spreading it evenly across a surface or space. The result is a gentle, candle-like radiance that feels more natural and festive.
Diffused lighting also minimizes hotspots—those glaring patches where multiple bulbs align—and helps blend colors more smoothly in multicolored strands. This is particularly useful for vintage-style displays or minimalist décors where subtlety matters.
“Soft lighting transforms a room’s emotional tone. It doesn't just illuminate—it invites.” — Lena Pruitt, Interior Lighting Designer
Best household materials for DIY diffusers
The key to an effective diffuser is translucency: the material should allow light to pass through while scattering it evenly. Opaque items block too much; clear ones do little to soften. The ideal candidates are semi-transparent, heat-resistant (especially near warm bulbs), and easy to shape.
Below is a comparison of commonly available household items suitable for light diffusion:
| Material | Pros | Cons | Best For |
|---|---|---|---|
| Plastic water bottles | Readily available, moldable, durable | Melts if too close to hot bulbs | Individual bulb covers, outdoor use |
| Parchment paper | Heat-resistant, soft glow, disposable | Fragile when wet, not reusable | Indoor garlands, temporary wraps |
| White cotton socks | Flexible, washable, excellent diffusion | May discolor over time | String light sleeves, indoor draping |
| Toilet paper rolls + tissue paper | Cheap, customizable shapes | Not durable, flammable | Kids’ crafts, short-term décor |
| Frosted shower curtains (cut) | Large coverage, professional look | Requires cutting/sewing, bulky storage | Backdrop panels, curtain rods |
Step-by-step: How to build diffusers from common items
Different projects call for different approaches. Below are three reliable techniques using accessible materials. Each method prioritizes safety, ease, and visual impact.
1. Plastic bottle bulb covers (for individual LEDs)
- Cut the bottom 1.5 inches off a clean, clear plastic water bottle using scissors.
- Smooth any rough edges with fine sandpaper or by lightly melting them with a lighter (do this outdoors).
- Slide the ring over a single bulb, ensuring it fits snugly around the base.
- For colored effects, paint the outside with diluted white glue mixed with food coloring or acrylic wash (let dry completely before use).
- Repeat for each bulb on the strand.
This technique works best with mini string lights where bulbs are spaced apart. The curved base of the bottle acts like a lens, spreading light in a wide hemisphere.
2. Sock sleeve diffuser (for entire light strands)
- Select a clean, thin white cotton sock (crew or knee-high length works well).
- Lay your string of lights flat on a table.
- Starting at the plug end, gently thread the sock over the wire, guiding each bulb through the fabric as you go.
- Once fully covered, secure the open end with a small rubber band or stitch loosely.
- Fluff and adjust the fabric along the strand to ensure even coverage.
The sock diffuses the entire run of lights into a continuous ribbon of soft glow—ideal for mantles, headboards, or window frames. Cotton breathes well, reducing heat buildup, and the fabric can be washed and reused year after year.
3. Parchment paper lantern wraps (for grouped bulbs)
- Cut rectangles of parchment paper measuring 3x5 inches.
- Wrap one sheet loosely around a cluster of 2–3 adjacent bulbs, forming a soft cylinder.
- Secure the edge with a small piece of washi tape or a staple (avoid metal clips near live wires).
- Overlap additional layers if a denser diffusion is desired.
- Space clusters every 6–12 inches along the strand for rhythmic lighting.
Parchment withstands moderate heat and emits a warm, golden-white tone. Because it's fire-resistant up to 420°F (215°C), it's safer than regular paper—though still not recommended for high-wattage incandescents.
Real example: Transforming a garage sale stringer
Sarah M., a teacher from Portland, Oregon, inherited a box of old Christmas lights from her aunt—bright red, green, and blue LEDs strung tightly together. “They were blinding,” she said. “I couldn’t use them indoors without getting a headache.”
Instead of discarding them, Sarah tried the sock-sleeve method using an old pair of sheer white ankle socks. She threaded each strand carefully, then draped the softened lights around her bookshelf and above her bedroom window.
“It changed everything,” she recalled. “The colors became rich and velvety, not loud. My roommate thought I bought new lights.” The project took under 45 minutes and cost nothing. Now, she reuses the same diffused strands every December.
Checklist: Building safe, effective diffusers
- ✅ Unplug all lights before starting any modification
- ✅ Choose heat-safe materials—avoid vinyl, wax paper, or flammable fabrics
- ✅ Ensure diffusers do not trap excessive heat around bulbs
- ✅ Test assembled lights for at least 20 minutes before final installation
- ✅ Keep diffused strands away from curtains, bedding, or other combustibles
- ✅ Label DIY-diffused strings separately for future use
- ✅ Store diffusers with lights in labeled bins to preserve usability
Common mistakes to avoid
Even simple DIY projects can go wrong if basic precautions are ignored. Here are frequent errors and how to prevent them:
- Using black or dark-colored materials: These absorb light rather than transmitting it. Stick to white or pastel shades.
- Over-tightening around wires: This can damage insulation or restrict heat dissipation. Allow slight airflow.
- Ignoring bulb temperature: Incandescent bulbs get far hotter than LEDs. Never use plastic near non-LED sources unless verified heat-resistant.
- Blocking ventilation holes in light casings: Some commercial sets have vents. Don’t cover these with adhesive or thick layers.
- Leaving diffusers outdoors unprotected: Rain, wind, and UV degrade most household materials quickly. Use only indoors or under cover.
“DIY doesn’t mean cutting corners on safety. If it feels too hot to touch after five minutes, it’s too hot to leave unattended.” — Rafael Nguyen, Electrical Safety Consultant
Frequently asked questions
Can I use plastic wrap or cling film as a diffuser?
No. Cling film melts easily—even at low temperatures—and poses a fire hazard. It also yellows quickly under prolonged exposure. Avoid entirely.
Will diffusing lights reduce energy efficiency?
Not significantly. Diffusion affects perceived brightness, not power consumption. You’re still using the same wattage; the light is just spread differently. However, because the glow feels softer, you may find you need fewer strands overall.
How do I clean and store my DIY diffusers?
Cotton socks can be hand-washed or machine-rinsed in cold water and air-dried. Parchment and paper items should be discarded after the season. Plastic bottle covers can be wiped with a damp cloth and stored flat or rolled. Always inspect for cracks or brittleness before reusing.
Conclusion: Soft light, big impact
Creating beautiful holiday lighting doesn’t require expensive upgrades or specialty gear. Often, the simplest materials—things already in your recycling bin or drawer—can transform harsh glares into a soothing, radiant display. By taking a few hours to build diffusers from household items, you gain control over ambiance, extend the versatility of existing lights, and add a handmade touch to your décor.
More importantly, you craft an environment that feels welcoming—not just visually striking. That warmth, that sense of calm joy, is what the season is truly about. So dig out those spare socks, save the next plastic bottle, and start experimenting tonight. Your coziest Christmas yet might be just one diffuser away.


 浙公网安备
33010002000092号
浙公网安备
33010002000092号 浙B2-20120091-4
Comments
No comments yet. Why don't you start the discussion?