
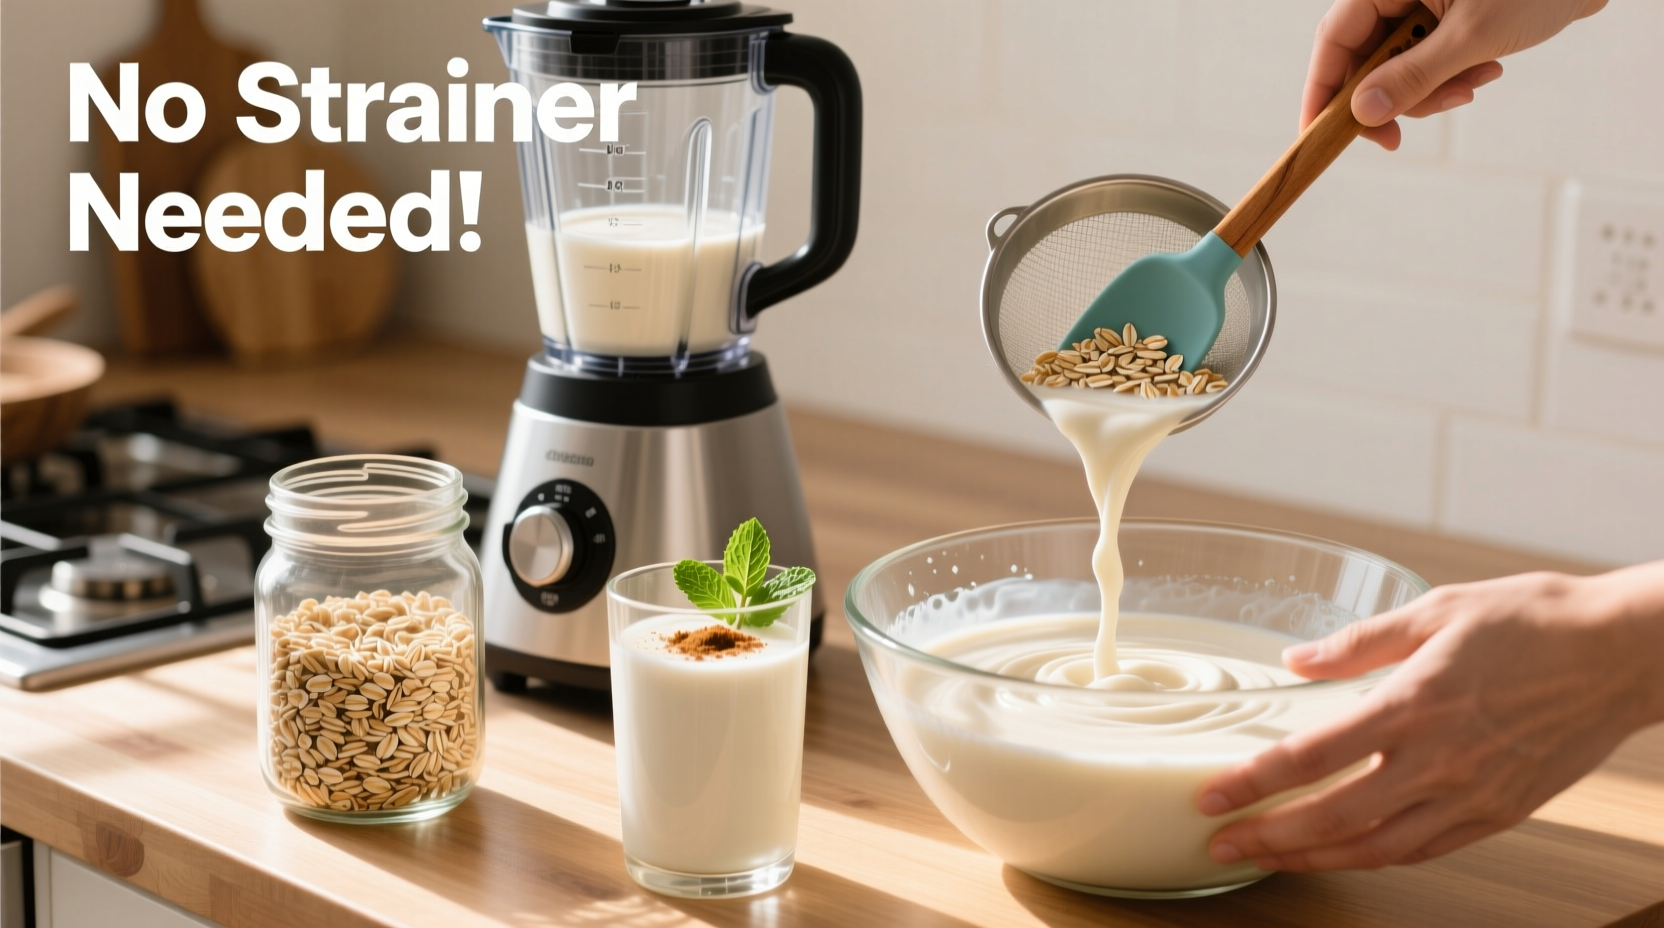
Making your own oat milk has become a go-to practice for health-conscious households, eco-aware consumers, and anyone looking to cut down on packaging waste. While most recipes call for a nut milk bag or fine mesh strainer, what if you don’t have one? The good news is that you can still create smooth, creamy oat milk using only a high-powered blender—no extra tools required.
This method leverages the power of modern blenders to break down oats so finely that straining becomes unnecessary. With the right technique, ratio, and timing, you’ll produce a silky, neutral-tasting plant milk ideal for coffee, cereal, baking, or drinking straight from the glass.
The Science Behind Blending Without Straining
Oat milk traditionally involves soaking oats in water, blending them, then filtering out the solids. But skipping the straining step doesn't mean compromising quality. The key lies in understanding particle size and emulsification.
A high-speed blender (such as Vitamix, Blendtec, or similarly powerful models) can pulverize oats into microscopic particles—so small they remain suspended in liquid rather than settling quickly. This suspension mimics the texture of filtered oat milk. Additionally, blending introduces air into the mixture, helping stabilize the colloidal solution and improve mouthfeel.
However, not all blenders perform equally. Lower-wattage models may struggle to achieve this level of refinement, potentially leaving behind gritty residue. If your blender isn’t high-powered, consider extending blend time or reducing the amount of oats used per batch.
Step-by-Step Guide to No-Strain Oat Milk
- Gather Ingredients and Equipment
You'll need:- ½ cup rolled oats (organic preferred)
- 4 cups cold filtered water
- Pinch of sea salt
- Optional: 1–2 pitted dates, ½ tsp vanilla extract, or 1 tbsp maple syrup for sweetness
- One high-speed blender
- Airtight glass jar or bottle for storage
- Rinse the Oats Thoroughly
Place the oats in a fine-mesh sieve (if available) and rinse under cold running water for 20–30 seconds. This removes excess starch and enzyme inhibitors, which can contribute to sliminess and digestive discomfort. Even without a strainer later, rinsing now helps prevent gummy textures. - Add Ingredients to Blender
Combine the rinsed oats, 4 cups of cold water, salt, and any optional flavorings into the blender. Cold water is crucial—it prevents the oats from releasing too much starch during blending, which is a common cause of slimy homemade oat milk. - Blend on High for 30–45 Seconds
Start at low speed and gradually increase to maximum power. Blend continuously for 30 to 45 seconds. Do not over-blend—exceeding 60 seconds can heat the mixture and activate more starch, leading to a gluey consistency. - Let It Rest for 1–2 Minutes
After blending, allow the mixture to sit undisturbed for 1–2 minutes. Heavier particles will begin to sink slightly, while the finest particles stay suspended. This short rest improves overall texture when poured. - Pour Directly Into Storage Container
Carefully pour the milk into a clean glass bottle or jar. Avoid disturbing the very bottom layer where sediment collects. You may notice a thin layer of foam on top—this is normal and adds creaminess. - Chill Before Use
Refrigerate for at least 1 hour before serving. Chilling allows flavors to meld and further separates any residual sediment, making it easier to avoid pouring the last ounce.
Why Cold Water Matters
Using cold water instead of room temperature or warm water is non-negotiable in no-strain methods. Warm water activates beta-glucans, soluble fibers in oats responsible for thickening. While beneficial for heart health, these fibers turn viscous when heated, creating an unappealing, slimy texture. Cold water minimizes this reaction, preserving drinkability without filtration.
Do’s and Don’ts of No-Strain Oat Milk
| Do’s | Don’ts |
|---|---|
| Use cold, filtered water | Use warm or hot water |
| Rinse oats before blending | Skip rinsing (increases starch risk) |
| Limit blend time to 45 seconds | Blend longer than 60 seconds |
| Add a pinch of salt for balance | Add oil or thickeners (unnecessary) |
| Store in a sealed container for up to 5 days | Keep beyond 5 days (spoilage risk) |
| Shake well before each use | Pour the very last sip (contains sediment) |
Flavor Variations and Customization Ideas
Once you’ve mastered the base recipe, customization opens up creative possibilities. All variations follow the same no-strain process but include additional ingredients during blending.
- Vanilla Cinnamon Oat Milk: Add ½ tsp vanilla extract and ¼ tsp ground cinnamon.
- Chocolate Oat Milk: Blend in 1 tbsp cocoa powder and 1–2 pitted dates.
- Coffee-Ready Barista Style: Include 1 tsp sunflower lecithin (for better frothing) and a touch of maple syrup.
- Savory Oat Milk (for soups/sauces): Skip sweeteners; add a clove of garlic and a sprig of rosemary—strain only if needed.
For sweeter versions, pitted dates work better than sugar—they add fiber and blend smoothly. Maple syrup integrates well but may separate slightly after chilling; simply shake before use.
“Homemade oat milk made without straining can rival store-bought versions—if you respect the temperature and timing. It’s not just about convenience; it’s about control over ingredients.” — Dr. Lena Torres, Plant-Based Nutrition Researcher
Real Example: How Sarah Made Oat Milk During a Power Outage
Sarah, a sustainability consultant living off-grid in northern Vermont, found herself without access to stores for nearly a week after a winter storm knocked out roads and electricity. With her usual supply of almond milk gone and no way to strain, she turned to her battery-powered blender and pantry staples.
She used organic rolled oats, melted snow water (boiled and cooled), a pinch of salt, and one date for sweetness. Following the cold-water, short-blend method, she produced two quarts of drinkable oat milk. Though slightly thicker than commercial brands, it worked perfectly in tea, overnight oats, and even pancake batter. She poured carefully, leaving the last inch behind, and stored the rest in repurposed mason jars.
“I was skeptical at first,” she said, “but after shaking the jar before each use, I barely noticed any difference. It saved me from having to drive 30 miles just for milk.”
Frequently Asked Questions
Can I use a regular blender instead of a high-speed model?
You can, but results vary. Standard blenders often leave behind noticeable grit. To compensate, reduce the amount of oats to ⅓ cup per 4 cups of water and blend in shorter bursts with pauses to stir. Even then, expect a slightly coarser texture. Consider blending longer (up to 1 minute), but monitor temperature—warm mixtures become slimy faster.
Why does my oat milk taste slimy?
Sliminess usually comes from one of three causes: using warm water, over-blending (beyond 60 seconds), or not rinsing the oats. Beta-glucan release is the culprit. Always start with cold water, rinse the oats, and keep blending under 45 seconds. If your milk turns out slimy, try freezing it for smoothies instead of drinking it plain.
How long does homemade oat milk last without preservatives?
Properly stored in a sealed glass container in the refrigerator, no-strain oat milk lasts 4–5 days. Separation is normal—just shake gently before use. Discard if it develops sour smell, fizziness, or mold. For longer shelf life, freeze in ice cube trays for later use in cooking or smoothies.
Checklist: Make Your First Batch Successfully
- ☐ Choose rolled or quick oats (not steel-cut)
- ☐ Rinse oats thoroughly under cold water
- ☐ Measure ½ cup oats to 4 cups cold water
- ☐ Add pinch of salt (and optional flavorings)
- ☐ Blend on high for exactly 30–45 seconds
- ☐ Let sit 1–2 minutes before pouring
- ☐ Pour carefully, avoiding bottom sediment
- ☐ Chill for at least 1 hour before serving
- ☐ Label container with date and store for max 5 days
- ☐ Shake well before every use
Environmental and Economic Benefits
Beyond convenience, making oat milk without a strainer reduces both cost and environmental impact. A single batch costs approximately $0.50–$0.75 to make, compared to $3.50–$5.00 for a store-bought carton. Over a year, that’s a potential saving of $150 or more for a daily user.
Additionally, eliminating the need for disposable nut milk bags or paper filters cuts down on microplastic shedding and waste. Many reusable straining bags are made from synthetic fabrics that degrade over time, releasing tiny fibers into water systems. By relying solely on mechanical blending, you minimize resource use and simplify cleanup—rinse the blender once, and you're done.
Final Thoughts and Call to Action
Making oat milk at home without a strainer proves that simplicity and effectiveness can go hand in hand. With just a blender, some basic ingredients, and attention to detail, you can enjoy fresh, additive-free oat milk anytime—without investing in special equipment or generating extra waste.
This method empowers people in urban apartments, remote locations, or minimal kitchens to embrace plant-based alternatives on their own terms. Whether you're motivated by health, sustainability, or curiosity, this technique puts control back in your hands.


 浙公网安备
33010002000092号
浙公网安备
33010002000092号 浙B2-20120091-4
Comments
No comments yet. Why don't you start the discussion?