
Making oat milk at home is a cost-effective, eco-friendly alternative to store-bought versions. However, many people encounter a common problem: their homemade oat milk turns out gummy, slimy, or separates within hours. These issues stem from improper soaking, incorrect blending times, or using the wrong type of oats. The good news is that with the right technique, you can produce smooth, creamy, stable oat milk that rivals commercial brands—without additives or gums.
The key lies in understanding the science behind oat composition and applying precision in preparation. Oats contain beta-glucan, a soluble fiber that contributes to creaminess but can also cause sliminess when over-extracted. By controlling variables like water temperature, blending duration, and filtration methods, you can harness the benefits of beta-glucan while avoiding its pitfalls.
Why Homemade Oat Milk Turns Gummy or Separates
Gumminess and separation are the two most frequent complaints when making oat milk at home. Both issues arise from similar root causes:
- Over-blending: Blending oats for too long releases excessive beta-glucan, which creates a viscous, gel-like texture.
- Using warm or hot water: Heat accelerates the release of starches and fibers, increasing sliminess.
- Wrong oat variety: Instant or flavored oats often contain additives that destabilize the emulsion.
- Inadequate straining: Failing to remove fine particulates leads to sedimentation and faster separation.
- Improper storage: Exposure to temperature fluctuations or acidic environments (like coffee) can trigger curdling.
“Homemade oat milk fails not because of the ingredients, but because of process errors. Control the extraction, and you control the texture.” — Dr. Lena Torres, Food Scientist & Plant-Based Formulation Specialist
Understanding these factors allows you to adjust your method for optimal results. The goal isn’t just to make oat milk—it’s to make one that’s stable, neutral in flavor, and suitable for both drinking and frothing in lattes.
Step-by-Step Guide to Smooth, Stable Oat Milk
Follow this detailed process to consistently produce creamy, non-gummy oat milk that resists separation for up to five days.
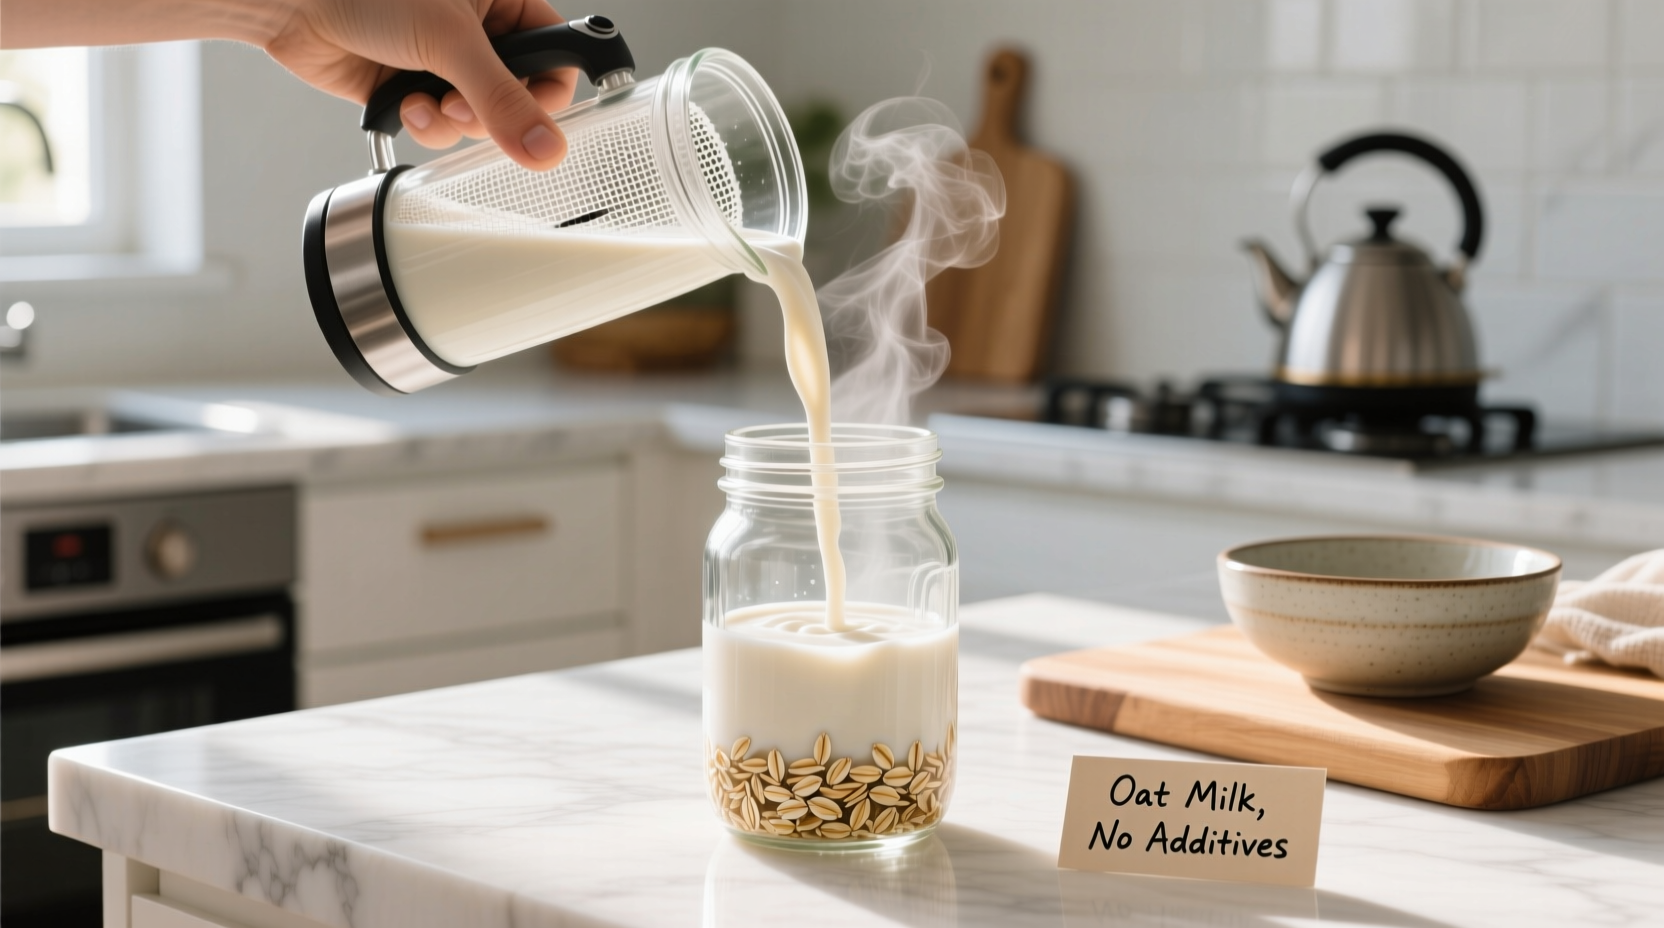
- Select the right oats: Use raw, whole rolled oats (old-fashioned oats). Avoid instant, quick-cook, or flavored varieties, as they are pre-cooked and break down too easily, releasing excess starch.
- Measure precisely: Use a 1:4 ratio of oats to cold water. For example, 1 cup (80g) of oats to 4 cups (950ml) of cold, filtered water. This ratio balances creaminess and dilution.
- Soak briefly (optional): Soak oats in cold water for 10–15 minutes only. Longer soaking increases enzymatic activity and starch breakdown, leading to sliminess. Do not soak overnight.
- Blend cold and fast: Blend on high speed for exactly 30–40 seconds. Use a high-powered blender. Over-blending beyond 45 seconds significantly increases viscosity due to beta-glucan extraction.
- Straight away, strain through a nut milk bag: Pour the mixture through a fine-mesh nut milk bag or tightly woven cheesecloth. Squeeze gently—do not over-press, as this forces fine particles into the milk.
- Dilute if needed: If the milk is too thick, add an additional ½ cup of cold water and stir. Do not re-blend.
- Store properly: Transfer to a glass bottle or jar with a tight lid. Refrigerate immediately. Shake well before each use.
Do’s and Don’ts of Homemade Oat Milk
| Do’s | Don’ts |
|---|---|
| Use cold water and cold oats | Never use warm or hot water |
| Blend for only 30–40 seconds | Avoid blending longer than 45 seconds |
| Strain through a nut milk bag | Don’t use a regular kitchen sieve alone |
| Add a pinch of salt for flavor balance | Don’t add oil unless emulsifying for barista use |
| Refrigerate immediately after straining | Never leave oat milk at room temperature for over an hour |
| Shake before every use | Don’t expect it to stay homogenized without shaking |
Natural separation is normal—even in commercial products—but proper technique minimizes it. With this method, separation occurs slowly and can be easily remedied with a quick shake.
Enhancing Stability and Flavor Without Additives
While commercial oat milks rely on gums (like gellan gum or xanthan gum) and enzymes to stabilize texture, you can achieve excellent results naturally. Here’s how:
- Pinch of sea salt: Enhances overall flavor and helps balance sweetness.
- Vanilla extract (¼ tsp per batch): Adds subtle aroma without overpowering. Use alcohol-based extract, not imitation.
- Medjool date (½, pitted): For sweetness. Add during blending but reduce blending time slightly to avoid over-processing.
- Lemon juice (⅛ tsp): A tiny amount can help prevent browning and slight oxidation, but use sparingly to avoid curdling.
For barista-style frothing, consider adding ½ teaspoon of sunflower lecithin powder. It acts as a natural emulsifier, improving foam stability without altering flavor. Unlike gums, lecithin is derived from plants and doesn’t contribute to digestive discomfort in sensitive individuals.
Real Example: From Gummy Fail to Creamy Success
Sarah, a plant-based baker in Portland, initially struggled with her homemade oat milk. Her first batches were so slimy she couldn’t use them in coffee or baking. She used instant oats, blended for a full minute, and soaked them overnight “to soften them.” Each batch separated within two hours and developed a sour aftertaste.
After researching beta-glucan behavior, she switched to rolled oats, reduced soaking to 10 minutes, and limited blending to 35 seconds with ice-cold water. She began straining through a dedicated nut milk bag and storing the milk in a sterilized glass bottle. The result? A silky, neutral milk that stayed consistent for four days and frothed beautifully in her morning lattes.
“I was ready to give up on homemade,” she said. “But once I treated it like a science experiment—controlling time, temperature, and tools—it worked every time.”
Checklist: Perfect Oat Milk in 7 Steps
Print or bookmark this checklist for consistent results:
- ☐ Use 1 cup cold rolled oats (not instant)
- ☐ Measure 4 cups ice-cold filtered water
- ☐ Soak oats for 10 minutes max (optional)
- ☐ Blend on high for exactly 30–40 seconds
- ☐ Strain through a nut milk bag—gentle squeeze only
- ☐ Add flavorings (salt, vanilla, date) if desired
- ☐ Store in sealed glass container; refrigerate immediately
Following this checklist eliminates guesswork and ensures reproducibility. Batch size can be scaled, but maintain the 1:4 ratio and timing.
Frequently Asked Questions
Can I use a food processor instead of a blender?
No. Food processors do not generate the same vortex or shear force as high-speed blenders, resulting in uneven extraction and more particulate matter. This increases grittiness and instability. A blender like Vitamix, Blendtec, or any 1000+ watt model is strongly recommended.
Why does my oat milk curdle in coffee?
Curdling is a reaction between plant proteins and the acidity/heat of coffee—not a sign of spoilage. To minimize this, pour the oat milk into the cup first, then slowly add hot coffee. Using a slightly thicker, lecithin-enhanced version also improves heat stability.
How long does homemade oat milk last?
Properly stored in a clean, airtight container, it lasts 4–5 days in the refrigerator. Discard if it develops a sour smell, off taste, or visible mold. Separation is normal and not an indicator of spoilage.
Conclusion: Take Control of Your Oat Milk Quality
Making oat milk at home without gumminess or separation is entirely achievable with attention to detail. By selecting the right oats, respecting temperature and time, and using proper equipment, you can create a fresh, additive-free milk that suits your taste and lifestyle. No more wasted batches or slimy disappointments. This method empowers you to customize flavor, reduce packaging waste, and enjoy a product tailored to your needs—whether for cereal, smoothies, or steamed lattes.


 浙公网安备
33010002000092号
浙公网安备
33010002000092号 浙B2-20120091-4
Comments
No comments yet. Why don't you start the discussion?