
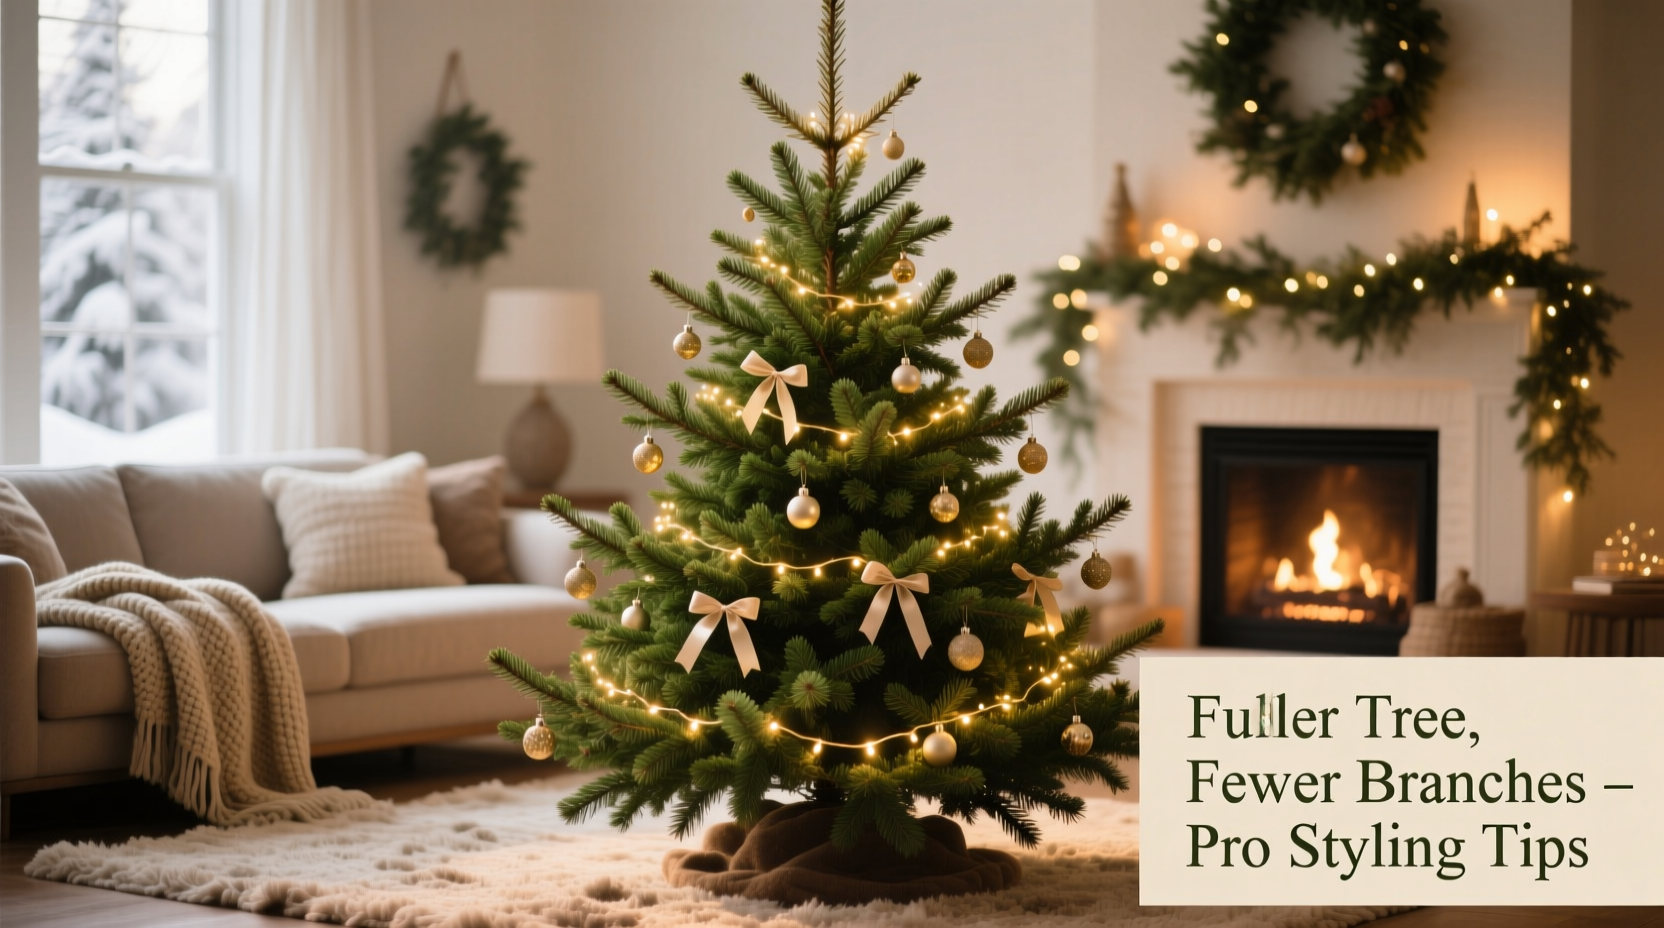
Many homeowners face the same quiet holiday dilemma: a real or artificial Christmas tree that arrived looking sparse, lopsided, or disappointingly thin—especially after years of use or during budget-conscious seasons when premium fullness isn’t an option. You don’t need to replace the tree, buy more ornaments, or invest in expensive filler garlands to achieve that rich, traditional, forest-floor density. What you *do* need is intentionality in branch placement, strategic layering, and an understanding of how light, color, and visual weight shape perception. This isn’t about illusion—it’s about intelligent styling rooted in decades of professional tree dressing experience used by set designers, florists, and holiday display specialists.
Why “Fewer Branches” Doesn’t Mean “Less Impact”
A common misconception is that fullness equals quantity. In reality, fullness is a perceptual phenomenon driven by continuity, rhythm, and depth. A tree with 300 well-distributed, outward-facing tips can read as denser than one with 500 tangled, inward-curving branches. Real trees lose lower branches over time; pre-lit artificial trees often have stiff, upright tips that create vertical gaps instead of rounded volume. The solution lies not in adding mass—but in redirecting attention, enhancing silhouette, and maximizing what’s already present.
The 5-Step Branch Activation Method
This repeatable, tool-free sequence works on both real and artificial trees and takes under 25 minutes. It’s been refined through seasonal installations for boutique hotels and historic homes where preserving original tree integrity is non-negotiable.
- Assess & Isolate Weak Zones: Stand back 6 feet and note where gaps occur (e.g., front-right quadrant at eye level, left side near base). Mark them mentally—not with tape or pins—as physical markers disrupt natural flow.
- Reorient Primary Branches: Grasp each major limb at its midpoint (not the tip) and rotate it 15–25° outward, away from the trunk. Prioritize lower branches first—they anchor the visual weight. Avoid bending beyond flexibility; real pine will snap, and PVC stems may kink.
- Layer Inner-to-Outer: Identify inner branches that point straight up or down. Gently bend them sideways into adjacent empty zones. Use the natural spring of the branch—not force—to hold position. On artificial trees, this often means rotating hinge joints rather than flexing rods.
- Create Depth with Tip Variation: Trim or tuck no more than 3–5% of outermost tips (real only) to expose layered mid-canopy foliage. On artificial trees, flip select tips so their textured underside faces forward—creating subtle shadow contrast.
- Lock Shape with Strategic Anchoring: Place heavier ornaments (wood, ceramic, mercury glass) at branch ends in sparse areas. Their weight holds the branch in its new, outward position while adding focal points that draw the eye *away* from gaps behind them.
Ornament Strategy: Density Through Design, Not Quantity
Over-ornamenting a thin tree amplifies its sparseness—like wearing oversized jewelry on a delicate frame. Instead, treat ornaments as dimensional tools. Size, finish, and placement must serve the goal of visual mass.
| Ornament Trait | Fullness-Boosting Use | What to Avoid |
|---|---|---|
| Size | Use 3–5 large (3.5–5\") ornaments per major section to anchor volume; cluster 2–3 medium (2–2.75\") in gaps | Dozens of tiny (under 1.5\") baubles—they emphasize space between branches |
| Finish | Mattes (velvet, ceramic, matte glass) absorb light and recede, making background foliage appear denser | High-gloss or mirrored ornaments—they reflect emptiness and highlight gaps |
| Color | Deep tones (forest green, burgundy, charcoal) visually expand; pair with 1–2 warm metallics (antique gold, copper) for depth | Overuse of white/silver—it flattens dimension and increases perceived transparency |
| Placement | Hang ornaments *on the outer edge* of branches, not tucked in; position some at slight angles to catch light from multiple directions | Hanging all ornaments perpendicular to the floor—they create flat, uniform rows that accentuate vertical gaps |
Garland & Light Tactics That Trick the Eye
Traditional stringing methods—vertical drops or tight spirals—often worsen thinness by emphasizing negative space. The most effective techniques work *with* the tree’s natural architecture.
- Horizontal Layering: Drape garlands in wide, loose horizontal loops—not tight spirals—starting 12 inches above the base and spacing each loop 8–10 inches apart. This mimics natural conifer layering and adds rhythmic fullness without bulk.
- Asymmetrical Lighting: Use 2–3 strands of warm-white micro LED lights. Wrap the first strand tightly around the trunk base, then spiral upward with increasing looseness. Add a second strand *only* on the front two-thirds of the tree, concentrating density at eye level (4–6 ft height). Leave the rear quarter minimally lit or unlit—depth is created by contrast, not uniform brightness.
- Faux-Foliage Anchors: Tuck small, realistic-looking faux pine sprigs (4–6\" long) into sparse zones *at the branch junction*, not the tip. Secure with discreet floral wire or twist ties hidden beneath existing foliage. Choose sprigs with slightly varied needle lengths to avoid artificial uniformity.
“Professional tree stylists rarely add volume—they redistribute attention. A single well-placed velvet ornament at the end of a rotated branch does more for perceived fullness than 20 ornaments crammed onto stiff, upright limbs.” — Marcus Bellweather, Lead Designer, The Holiday Studio NYC (17 years styling for The Plaza Hotel, Radio City Music Hall, and The White House Blue Room)
Real-World Case Study: The 2022 Maple Street Revival
In December 2022, the historic Maple Street Townhouse in Portland, Oregon, faced a last-minute challenge: their 12-year-old Fraser fir—traditionally displayed in the grand foyer—arrived with significant lower-branch loss due to early-season shipping stress. Replacement wasn’t possible within 48 hours. Using only materials on hand (existing ornaments, 2 strands of vintage LED lights, leftover burlap ribbon, and dried eucalyptus), stylist Lena Cho applied the branch activation method and horizontal garlanding technique described here.
She began by rotating all remaining lower branches outward and securing three heavy, handmade clay ornaments (each weighing ~180g) at the ends of the strongest limbs. She draped burlap ribbon in wide, uneven horizontal loops—leaving 4–6 inches of space between each—and tucked dried eucalyptus clusters into bare trunk zones where needles had dropped. Finally, she wrapped lights only on the front-facing half of the tree, using tighter coils at the base and looser ones toward the top.
The result? Guests consistently described the tree as “lush,” “ancient,” and “abundant”—despite having 30% fewer visible branches than previous years. Local news coverage noted, “It looked less like a rescued tree and more like a deliberate, artful choice.” No new materials were purchased. The entire transformation took 22 minutes.
Essential Do’s and Don’ts Checklist
- ✅ DO start styling from the base upward—foundation stability affects all upper layers.
- ✅ DO use matte-finish ornaments in deep, earthy tones for 70% of your decorative load.
- ✅ DO hang ornaments at varying depths—not just on the surface plane—to simulate natural growth.
- ✅ DO test branch flexibility before bending: if resistance feels brittle or hollow, stop and reposition elsewhere.
- ✅ DO step back every 5 minutes to reassess silhouette—your eyes adapt quickly to minor adjustments.
- ❌ DON’T use heavy metal ornaments on weak or dry real branches—they accelerate breakage.
- ❌ DON’T overload the top third of the tree—this creates a top-heavy look that exaggerates thinness below.
- ❌ DON’T rely solely on flocking or snow spray—they coat needles, mute texture, and highlight inconsistencies when light hits.
- ❌ DON’T force artificial branch hinges beyond their intended range—micro-fractures weaken structure permanently.
- ❌ DON’T ignore the trunk—wrap it with textured material (burlap, woven rope, or bundled cinnamon sticks) to ground the composition and hide bare wood.
FAQ: Addressing Common Concerns
Can these techniques damage a real tree?
No—if applied with awareness. Real conifers are remarkably resilient when handled at cool room temperatures (below 68°F/20°C). Gentle rotation and tip-tucking cause no harm; snapping occurs only when branches are dry, overheated, or bent too sharply. Always hydrate your tree daily—the fresher the cut, the more pliable the branches.
Will this work on a slim or pencil-style artificial tree?
Yes—with adaptation. Slim trees lack lateral spread, so focus shifts to vertical layering: use longer garlands draped in wide, overlapping U-shapes; cluster ornaments in staggered vertical lines rather than spirals; and add 2–3 slender, tall faux-spruce picks (18–24\") inserted vertically along the trunk to mimic natural taper and add implied width.
How do I keep the branches from springing back after styling?
For real trees: hydration is key—well-hydrated branches retain new positions longer. For artificial trees: use discreet floral wire or twist ties *only* at branch junctions (not tips), covered by ribbon or foliage. Never use tape or glue—it leaves residue and damages coatings. Most quality artificial trees hold adjusted positions for weeks once settled.
Conclusion: Fullness Is a Choice, Not a Condition
Your Christmas tree doesn’t need to be perfect to feel abundant. Fullness is cultivated—not inherited. It emerges from patience with branch angles, respect for material limits, and confidence in design principles over decoration volume. Whether you’re working with a cherished family heirloom tree, a budget-friendly artificial model, or a real fir that weathered a tough season, the techniques here return agency to your hands and vision to your eyes. You’re not compensating for scarcity—you’re curating presence. Start with one section of your tree tonight: rotate three branches, place one substantial ornament at the end, and step back. Notice how the space around it changes. That’s the moment fullness begins—not as something added, but as something revealed.


 浙公网安备
33010002000092号
浙公网安备
33010002000092号 浙B2-20120091-4
Comments
No comments yet. Why don't you start the discussion?