
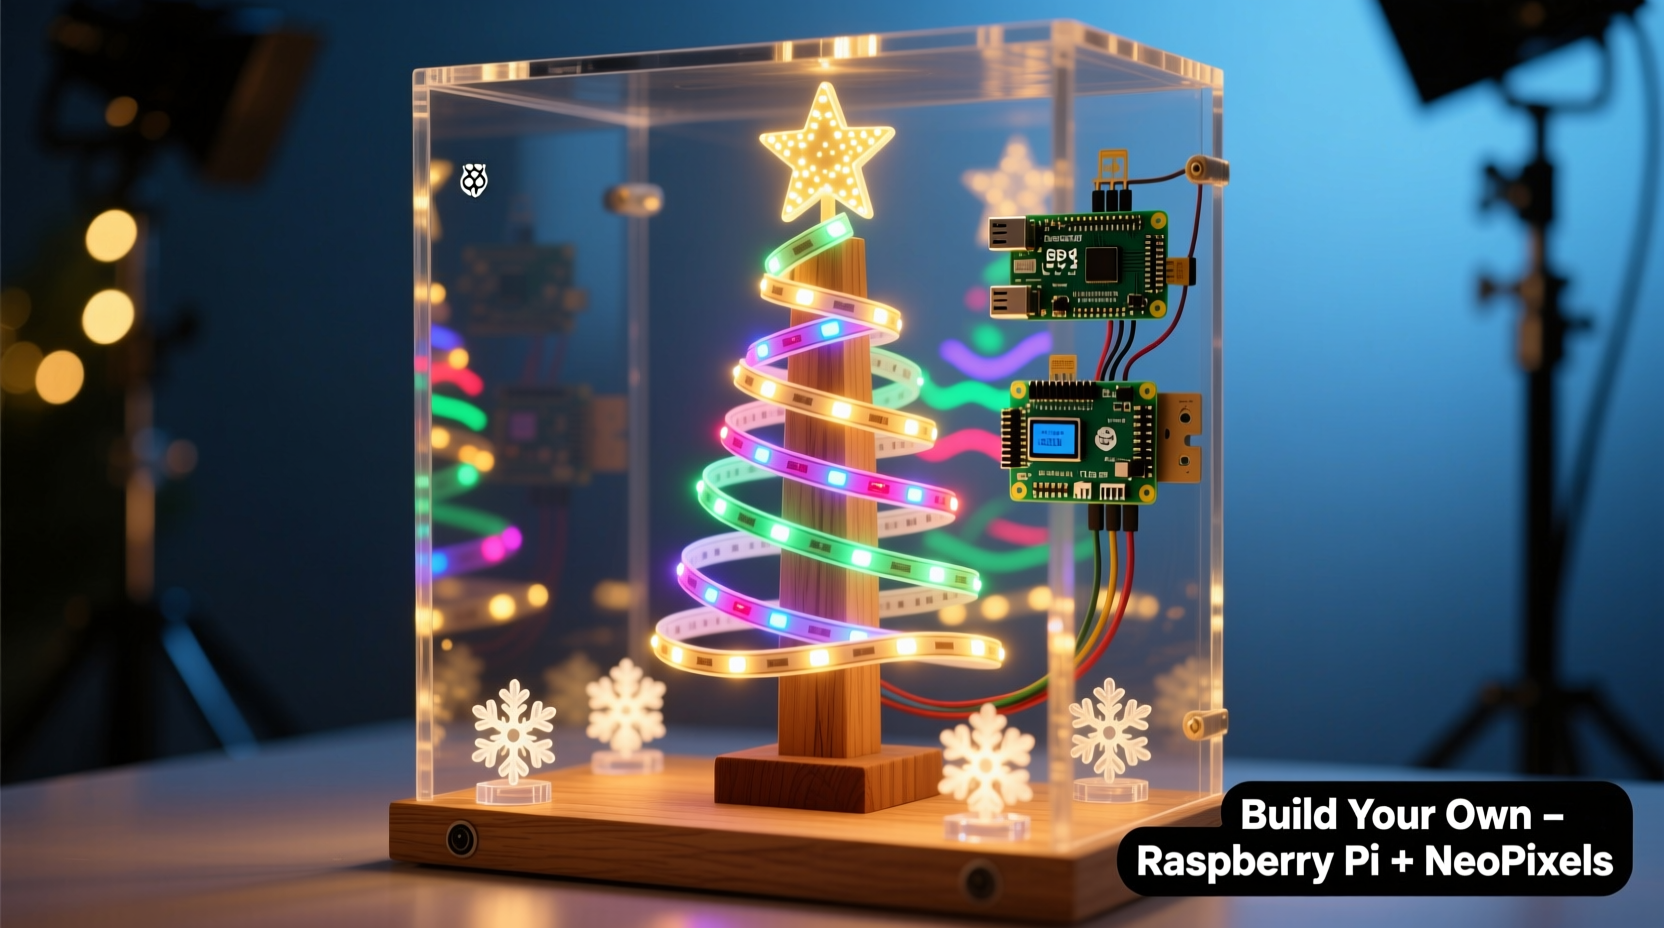
Transform your holiday season with a dazzling, custom-built animated Christmas light display powered by a Raspberry Pi and programmable LEDs. No longer limited to pre-programmed store-bought sets, you can now design synchronized animations, color waves, and music-reactive effects that turn your home into a neighborhood sensation. This project blends electronics, coding, and creativity—offering both a rewarding DIY experience and a stunning seasonal centerpiece.
With affordable components and open-source software, even beginners can build a professional-grade light show in under a weekend. Whether you're aiming for subtle elegance or full-on spectacle, this guide walks you through every phase—from selecting hardware to deploying dynamic animations.
Why Build a Custom Animated Display?
Commercial Christmas lights often lack flexibility. They blink on timers, offer limited patterns, and rarely sync with music. A Raspberry Pi-driven LED setup removes those constraints. You gain full control over brightness, timing, colors, and motion. More importantly, you can program sequences that respond to sound, change with the time of day, or follow holiday themes.
The core advantage lies in customization. Want a slow rainbow fade across your roofline? Done. Need a strobe effect during a favorite song? Easy. With Python scripts and addressable LEDs, the only limit is your imagination.
Essential Components and Tools
Before writing a single line of code, gather the right hardware. Most parts are reusable for future projects, making this a worthwhile investment.
- Raspberry Pi (any model from Pi 3 onward recommended; Pi Zero W works for smaller displays)
- Programmable LED strip (WS2812B or SK6812, commonly sold as NeoPixels)
- Power supply (5V, high-amperage—e.g., 5V 10A for 300 LEDs)
- Logic level shifter (to convert Pi’s 3.3V signal to 5V for LEDs)
- Breadboard and jumper wires (for prototyping)
- MOSFET transistor (optional) (for controlling power via GPIO)
- Weatherproof conduit or tubing (if installing outdoors)
- Soldering iron and heat shrink tubing (for durable connections)
For software, install Raspberry Pi OS (previously Raspbian) with desktop environment. You’ll also need Python 3 and libraries like neopixel and adafruit-circuitpython-neopixel.
Component Comparison Table
| Component | Recommended Option | Budget Alternative | Notes |
|---|---|---|---|
| Raspberry Pi | Pi 4 (2GB+) | Pi Zero W | Pi 4 handles complex animations better; Zero W saves space and power |
| LED Strip | WS2812B 60 LEDs/m | SK6812 RGBW strips | RGBW adds white channel; higher density = smoother gradients |
| Power Supply | 5V 10A (for ~300 LEDs) | USB power bank (for testing) | Always overspecify amperage; undervoltage causes flickering |
| Signal Protection | 74HCT125 level shifter | Resistor divider (not ideal) | Level shifters prevent data corruption and protect Pi GPIO |
Step-by-Step Setup Guide
- Prepare the Raspberry Pi
Flash Raspberry Pi OS Lite or Desktop onto an SD card using Raspberry Pi Imager. Enable SSH and set Wi-Fi if using headless mode. Boot the Pi and update packages:sudo apt update && sudo apt upgrade -y - Install Required Libraries
Use the Adafruit CircuitPython library for reliable LED control:
pip3 install adafruit-circuitpython-neopixel
Also installrpi_ws281xif working directly with C-based drivers. - Wire the Hardware
Connect:- LED Data In → GPIO 18 (PWM-capable pin)
- Level shifter input (3.3V side) → GPIO 18
- Level shifter output (5V side) → LED Data In
- LED 5V → Power supply positive
- LED GND → Power supply negative AND Pi GND (common ground required)
- Test a Basic Animation
Create a Python script (christmas_test.py):
import board
import neopixel
import time

# Configuration
NUM_PIXELS = 50
PIN = board.D18

pixels = neopixel.NeoPixel(PIN, NUM_PIXELS, auto_write=False, pixel_order=\"GRB\")

def wheel(pos):
    if pos < 85:
        return (pos * 3, 255 - pos * 3, 0)
    elif pos < 170:
        pos -= 85
        return (255 - pos * 3, 0, pos * 3)
    else:
        pos -= 170
        return (0, pos * 3, 255 - pos * 3)

def rainbow_cycle(wait):
    for j in range(256):
        for i in range(NUM_PIXELS):
            pixel_index = (i * 256 // NUM_PIXELS) + j
            pixels[i] = wheel(pixel_index & 255)
        pixels.show()
        time.sleep(wait)

# Run once
rainbow_cycle(0.01)
Run with sudo python3 christmas_test.py. If the strip lights up with a smooth rainbow cycle, your setup is functional.
Designing Advanced Animations
Once basic control is confirmed, expand into themed sequences. Create functions for snowfall effects, twinkling stars, pulsing hearts, or synchronized chases.
Use modular code design—separate animation logic into functions so they can be called conditionally. For example:
snow_effect()– Random white pixels flash brieflychase_pattern(color, spacing)– Moving blocks of colormusic_sync(audio_input)– Reacts to microphone or audio stream
To enable music synchronization, use the pyaudio library to sample ambient sound or play a track while analyzing frequency bands. Map bass levels to brightness or trigger fireworks animations on beats.
“We’ve seen hobbyists use FFT analysis to drive LED intensity per frequency band—turning carols into visual spectacles.” — David Lin, Embedded Systems Engineer at HolidayTech Labs
For scheduling, use cron jobs to start animations at sunset or during specific hours. Example cron entry to launch a show nightly at 5 PM:
0 17 * * * /usr/bin/python3 /home/pi/xmas_show.py
Real-World Example: The Johnson Family Front Yard
The Johnsons in Portland, Oregon, built a 400-LED display wrapping their porch railing and roofline using two Raspberry Pi Zeros. One Pi controls the main strip; the second manages a separate tree animation. Both are triggered simultaneously via MQTT messages from a central controller Pi inside the house.
They programmed seasonal themes: “Santa’s Workshop” (warm golds and reds), “Winter Wonderland” (blues and whites), and “Candy Cane Lane” (alternating red/white chases). Using a web interface hosted on the Pi, family members select themes via smartphone. Their display runs nightly from December 1–31, drawing visitors and local news coverage.
Total cost: under $180. Time invested: one weekend for assembly, plus five evenings refining animations.
Deployment and Outdoor Installation Tips
When moving from prototype to permanent installation, weatherproofing is critical. Solder all connections and seal with heat shrink tubing. Enclose the Raspberry Pi in a ventilated, IP-rated case—especially if mounted outside.
Route LED strips through UV-resistant silicone tubing or PVC conduit to protect against sun and moisture. Use adhesive-backed aluminum channels for rigid mounting and diffused lighting.
Power considerations:
- Never daisy-chain more than 500 LEDs on a single strip without signal regeneration
- Inject power at multiple points along long runs to avoid voltage drop
- Use thick gauge wire (16 AWG or lower) for power lines over 3 meters
Checklist: Pre-Installation Verification
- ✅ All solder joints inspected and secured
- ✅ Common ground established between Pi and power supply
- ✅ Level shifter installed for data line
- ✅ Waterproof enclosures ready for Pi and connections
- ✅ Backup power supply tested
- ✅ Animation scripts debugged and scheduled
- ✅ Neighbor notification sent (if display is bright or audible)
Frequently Asked Questions
Can I run this display without a monitor or keyboard?
Yes. Set up the Raspberry Pi in headless mode using SSH or VNC. Once configured, it can operate independently, launching animations automatically on boot via ~/.bashrc or systemd services.
How many LEDs can a single Raspberry Pi control?
Theoretically, thousands—limited mainly by memory and power delivery. Practical limits depend on animation complexity. A Pi 4 can smoothly drive 1,000+ WS2812Bs with optimized code. For larger installations, segment control across multiple Pis.
Is it safe to leave the display running unattended?
Yes, if properly installed. Use fused power supplies, avoid indoor extension cords for outdoor use, and ensure all electronics are protected from moisture. Consider adding a relay to cut power remotely if needed.
Conclusion: Light Up Your Holidays with Code and Creativity
Building your own animated Christmas display with a Raspberry Pi and programmable LEDs is more than a tech project—it's a celebration of innovation and tradition. You’re not just hanging lights; you’re crafting an experience that brings joy to your family and community.
From the first flicker of a rainbow cycle to a full symphony of synchronized color, each step deepens your understanding of embedded systems and creative coding. And when neighbors stop to watch, children point, and carolers pause mid-song—you’ll know the effort was worth it.


 浙公网安备
33010002000092号
浙公网安备
33010002000092号 浙B2-20120091-4
Comments
No comments yet. Why don't you start the discussion?