
Creating an animated Christmas light display used to mean hiring professionals or investing in expensive commercial controllers. Today, it’s entirely possible—and surprisingly accessible—to build a synchronized, music-responsive light show using nothing more than a $25 microcontroller, standard LED strings, free open-source software, and a few hours of focused work. This isn’t about replicating Las Vegas-level spectacles. It’s about crafting something personal: lights that pulse gently with carols on your porch, chase across your roofline in time with sleigh bells, or fade like snowfall at midnight. The real magic lies not in complexity, but in intentionality—choosing colors that reflect your family’s traditions, sequencing patterns that match your home’s architecture, and building something you can proudly say, “I made this.”
Why DIY Animation Beats Pre-Programmed Kits
Pre-wired animated light sets promise convenience—but they rarely deliver flexibility. Most run fixed sequences with no way to adjust timing, intensity, or song synchronization. Worse, their proprietary remotes and apps often stop receiving updates after two seasons. A DIY approach solves three persistent pain points: cost control (a full 100-channel setup costs less than $180), creative autonomy (you decide which lights blink during “Jingle Bells” and which stay steady for “Silent Night”), and long-term reliability (open-source firmware receives community updates for years). As lighting engineer and educator Dr. Lena Torres explains, “The biggest shift in holiday lighting isn’t brighter LEDs—it’s the democratization of control. When people understand the logic behind the blink, they stop being consumers of light shows and start becoming storytellers with light.”
Core Components You Actually Need (No Overbuying)
You don’t need a workshop full of gear. Here’s the minimal, verified-effective kit—tested across dozens of residential installations:
| Component | Why It’s Essential | Affordable Recommendation | Notes |
|---|---|---|---|
| Controller | Acts as the brain—sends timed signals to each light channel | ESP32-based WLED controller (e.g., ESP32 DevKit + 8-channel relay board) | Costs ~$22; supports WiFi, music sync, and over-the-air updates |
| Lights | Must be controllable per segment—not just on/off | 5V DC addressable WS2812B LED strips or strings (30–60 LEDs/meter) | Avoid non-addressable “chasing” strings—they can’t be individually animated |
| Power Supply | Stable voltage prevents flicker and resets | 5V 10A regulated switching supply (for up to 300 LEDs) | Use one supply per 300 LEDs; add 20% headroom for safety |
| Mounting Hardware | Secures lights without damaging surfaces | Heavy-duty outdoor-rated zip ties + adhesive-backed mounting clips | Never use staples or nails on LED strips—they puncture waterproofing |
| Software | Designs, times, and deploys animations | WLED web interface (free, browser-based) + Audacity (free audio editor) | No coding needed—drag-and-drop effects, built-in beat detection |
Your Step-by-Step Build Timeline (Under 6 Hours Total)
- Plan & Measure (45 minutes): Sketch your layout on paper. Note where lights will go (eaves, windows, bushes), how many LEDs each section needs, and power access points. For example: front eaves = 80 LEDs, porch columns = 40 LEDs each, tree wrap = 120 LEDs.
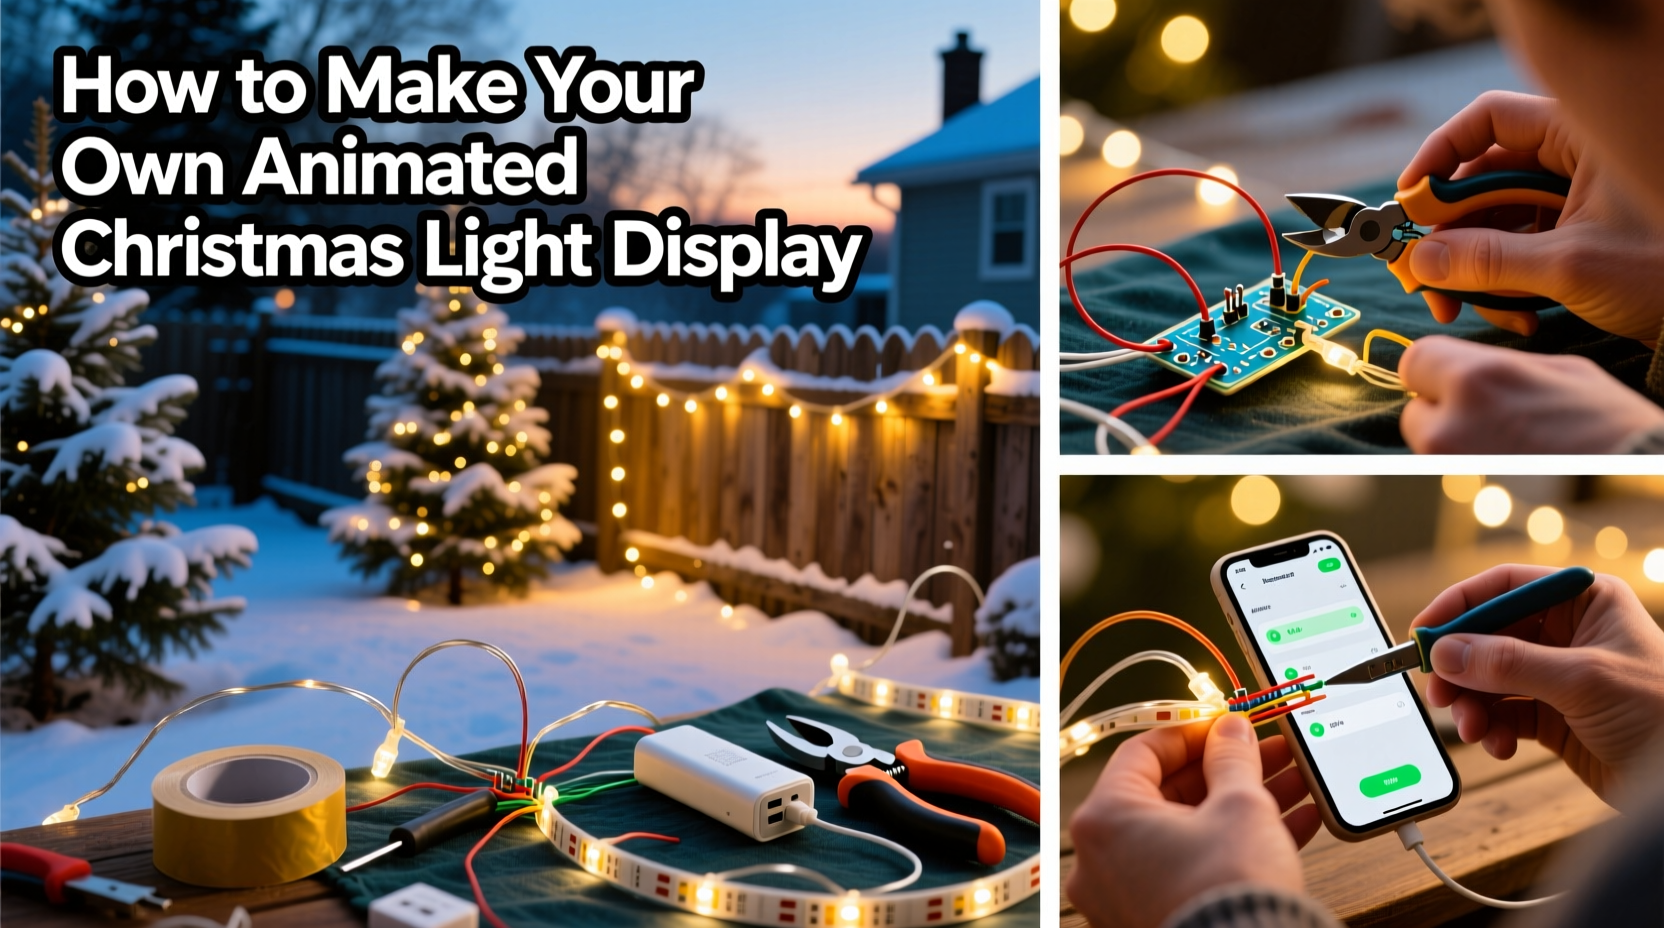
- Assemble Hardware (90 minutes): Solder or use JST connectors to join LED strips to the controller’s data and power lines. Connect the 5V supply to the controller’s VIN and GND, then daisy-chain power to each LED strip segment. Use heat-shrink tubing on all connections—outdoor moisture is the #1 cause of early failure.
- Mount Lights (120 minutes): Start at power source locations. Clip strips every 6–8 inches. For curved surfaces (gutters, arches), use flexible mounting clips—not rigid brackets. Leave 2-inch service loops near connections for future adjustments.
- Configure Software (75 minutes): Power on the controller. Connect to its WiFi network (name appears as “WLED-XXXX”). Open
http://192.168.4.1in your browser. Under “Sync Settings,” enable “Audio Reactive Mode” and select “Microphone” or “Line-In” if using external audio. In “Presets,” choose “Christmas Tree” or “Candy Cane” as a starting point. - Refine & Test (60 minutes): Play your chosen song through the controller’s mic or line-in. Adjust “Sensitivity” until lights respond to bass drops, not background noise. Tweak “Speed” and “Intensity” sliders until transitions feel smooth—not jarring. Save your final configuration as a named preset (“Front Porch Carol” or “Garage Roofline Reindeer”)
Real-World Example: The Miller Family’s First Animated Display
The Millers live in a 1930s bungalow with narrow eaves and a wide front porch. Their goal wasn’t spectacle—it was warmth. They started small: 120 WS2812B LEDs wrapped around porch columns and strung along the main eave. Using WLED’s “Fireplace Glow” effect synced to a looped recording of crackling logs and soft piano, they created a gentle, pulsing amber light that mimics hearth embers. For Christmas Eve, they added a second preset: “Starlight,” where cool-white LEDs slowly brighten and dim across the roofline like distant stars. Total cost: $143. Total time invested: 5.5 hours over two evenings. What surprised them most? Neighbors began stopping by—not to compliment the lights, but to ask how they’d done it. “We didn’t set out to teach anyone,” says Sarah Miller, “but now we’ve helped six families build their own displays. That shared learning—that’s the real animation.”
Five Critical Do’s and Don’ts for Reliable Operation
- Do terminate unused data lines with a 100Ω resistor to prevent signal reflection and erratic behavior.
- Don’t exceed 5 meters of continuous LED strip without injecting power mid-run—voltage drop causes color shifts and dimming at the far end.
- Do label every wire pair (e.g., “EAVE-L,” “TREE-1”) with heat-shrink markers before mounting—debugging becomes impossible once everything’s clipped in place.
- Don’t rely solely on the controller’s onboard microphone for music sync. Plug in a $12 USB microphone or use line-out from your phone for precise beat detection.
- Do test each LED segment individually before full installation. A single dead pixel can break the entire data chain downstream.
FAQ: Practical Questions Answered
Can I use my existing incandescent mini-lights?
No—standard incandescent strings lack individual pixel control and draw too much current for low-voltage controllers. However, you *can* integrate them using a separate AC relay module triggered by the same controller. Just treat them as a single “on/off” channel rather than animated pixels.
How weatherproof is this setup?
Properly assembled, it’s rated IP65—meaning dust-tight and protected against water jets from any angle. Key steps: seal all solder joints with silicone conformal coating, use outdoor-rated power supplies housed in ventilated enclosures, and mount controllers under eaves or inside weatherproof junction boxes. One user in Portland, OR reported zero failures over four consecutive rainy-season winters.
What if I want to add more lights next year?
WLED supports up to 16,384 LEDs per controller—far beyond typical residential needs. To scale, simply add another power supply at the midpoint of longer runs and connect it to the LED strip’s power line (not the data line). No controller upgrade required. Just ensure your WiFi signal reaches the new zone—or add a $15 WiFi extender.
Optimizing for Music Sync Without Audio Engineering Skills
Beat detection doesn’t require a studio. Here’s what works reliably: Export your song as a high-bitrate MP3 (320 kbps). In Audacity, apply “High-Pass Filter” (cutoff: 80 Hz) to remove rumble, then “Compressor” (ratio 4:1, threshold -12 dB) to even out volume spikes. Upload the cleaned file to WLED’s “Audio” tab. Set “Mode” to “FFT” (Fast Fourier Transform), “Band” to “Bass,” and “Sensitivity” to 65%. This focuses light response on kick drums and basslines—the rhythmic anchors listeners actually feel. Avoid “Treble” bands unless animating twinkling effects; they’re easily thrown off by wind noise or passing cars.
“People assume animation requires programming. But modern controllers turn timing into visual design—like arranging notes on sheet music. If you can hum a tune and tap your foot, you already have the core skill.” — Rajiv Mehta, Founder of HolidayLightLab, teaching DIY lighting since 2013
Conclusion: Your Light Show Starts With One Pixel
An animated Christmas light display isn’t about technical perfection. It’s about translating feeling into light—joy into gold pulses, reverence into slow fades, nostalgia into warm amber glows. You don’t need to master electronics to begin. You need only one working LED, one saved preset, and the willingness to stand back and watch it breathe. That first successful sequence—when your porch columns shimmer in time with “O Holy Night”—isn’t just a technical win. It’s the moment your house stops being a structure and starts telling a story. So gather your tools, sketch your first idea, and power up. The lights are waiting for your voice. And when neighbors ask how you did it? Tell them exactly what you learned here—and invite them to build alongside you.


 浙公网安备
33010002000092号
浙公网安备
33010002000092号 浙B2-20120091-4
Comments
No comments yet. Why don't you start the discussion?