
Creating an animated Christmas light display used to mean renting commercial-grade equipment or hiring professionals. Today, thanks to affordable smart lighting controllers, open-source sequencing software, and standardized protocols like DMX and E1.31, homeowners can design, build, and run fully synchronized, music-driven light shows from their garage or living room. This isn’t just about blinking LEDs—it’s about storytelling with light: gentle snowfall on the roof, pulsing rhythm in the tree, chasing patterns across the eaves, all timed precisely to your favorite holiday playlist.
The key shift is accessibility. Five years ago, building such a system required electrical certifications, custom firmware, and thousands of dollars in hardware. Now, a reliable starter setup costs under $400—and scales seamlessly from 50 lights to 2,000+. What matters most is understanding the architecture: how controllers talk to each other, how sequences translate into pixel data, and how to avoid common pitfalls that turn festive ambition into tangled frustration.
Understanding the Core Components
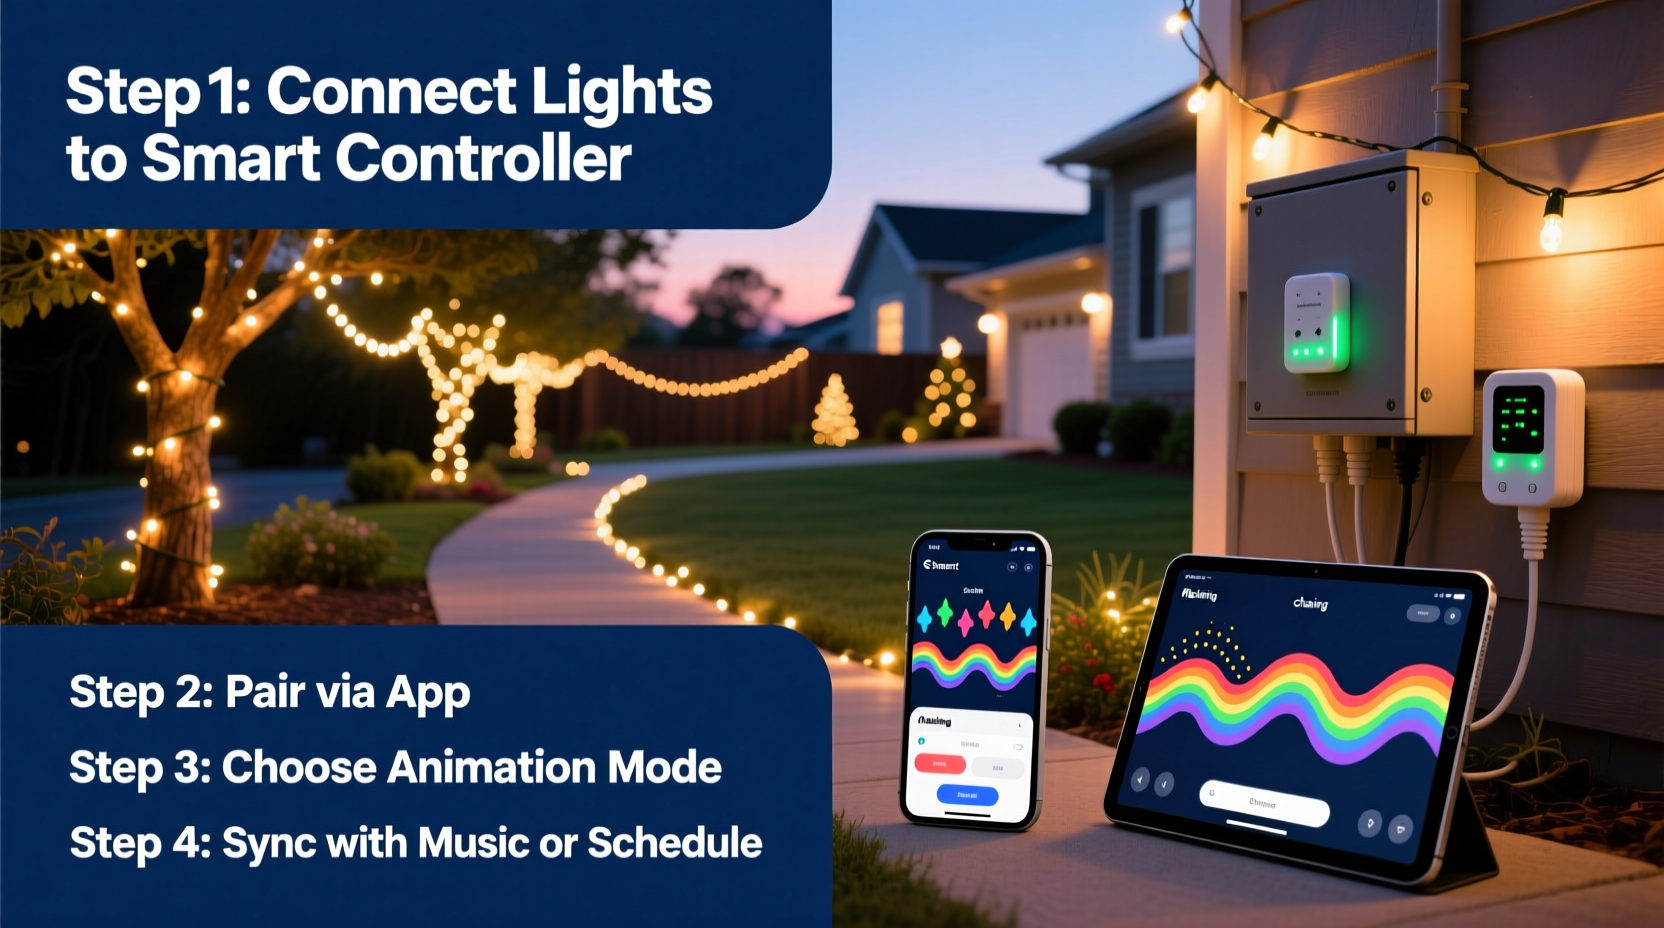
A successful animated display rests on four interdependent layers: physical lights, intelligent controllers, network infrastructure, and sequencing software. Each must be selected with compatibility and scalability in mind—not just for this season, but for future expansions.
- Lights: Use WS2811 or WS2812B (NeoPixel) addressable LEDs. These are individually controllable RGB pixels, typically sold as strips, nodes, or pre-wired strings. Avoid non-addressable “smart” bulbs marketed for home use—they lack the timing precision and frame-rate consistency needed for smooth animation.
- Controllers: Devices like the Falcon F16v3, xLights-compatible ESP32-based Pixel Controllers (e.g., J1SYS or DoItYourselfLED), or even Raspberry Pi + Pi Hat combos convert digital commands into electrical signals for the pixels. Choose based on channel count: one controller output can drive up to 170 WS2812B pixels at 30 fps (more at lower refresh rates).
- Network: A dedicated local area network (LAN) is non-negotiable. Run Ethernet cables—not Wi-Fi—to every controller. Wi-Fi introduces latency, packet loss, and synchronization drift. For larger displays, use a managed switch with IGMP snooping enabled to prevent broadcast storms.
- Software: xLights is the industry-standard free platform for designing, sequencing, and scheduling animations. It supports audio analysis, visual preview, real-time testing, and export to multiple controller formats. Its learning curve is real—but its documentation, community forums, and built-in tutorials are among the best in DIY lighting.
Wiring & Power Best Practices
Improper power delivery causes more failed displays than any other issue—flickering, color shifts, and controller resets are almost always power-related. Addressable LEDs draw significant current, especially at full white brightness (60mA per pixel). A string of 100 pixels at full white draws 6 amps at 5V—or 30 watts. At 12V (used by many commercial strips), that same string draws only 2.5A—but requires compatible controllers and careful voltage-drop management.
Follow these rules rigorously:
- Inject power every 50–70 pixels on 5V strips; every 100–150 pixels on 12V strips. Never rely on the strip’s copper traces to carry full load over long distances.
- Use separate power supplies for each segment. Daisy-chaining power from one supply to the next creates voltage drop and instability. Each segment should have its own regulated supply connected directly to both power and ground lines.
- Match ground connections. Connect the ground wire from every power supply to the controller’s ground terminal—even if the supplies are independent. This prevents floating reference voltages that distort signal integrity.
- Use thick gauge wire. For runs over 10 feet, use 14 AWG for 5V and 16 AWG for 12V main feeds. Thin wires heat up, drop voltage, and introduce noise.
| Issue | Symptom | Root Cause | Solution |
|---|---|---|---|
| First 10–15 pixels flicker or show wrong colors | Signal degradation at start of strip | Weak data line drive or poor solder joint | Add a 300–500Ω resistor between controller data out and strip data in; verify solder joints |
| Pixels dim progressively down the strip | Fading brightness toward end | Voltage drop across long trace | Power inject at midpoint; use thicker power wires or switch to 12V |
| Entire display freezes or resets during animation | Controller reboots mid-show | Power supply overload or brownout | Measure voltage under load; upgrade to higher-amp supply; add bulk capacitors (1000µF+) |
| Random pixel corruption (e.g., green turns magenta) | Inconsistent color rendering | Noisy ground or EMI interference | Ensure common ground; shield data lines near motors or transformers; use ferrite cores |
Building Your First Sequence in xLights
xLights operates on a timeline-based model where each light channel (or group of pixels) is assigned effects that evolve over time. Unlike consumer apps, it doesn’t use pre-built “themes”—you construct motion, color, and intensity manually. That sounds daunting, but its visual grid interface makes spatial design intuitive.
Here’s how to create a simple, effective 60-second tree animation:
- Create a new model. In xLights, go to Models > Add Model. Select “RGB Pixels”, define layout (e.g., 100 pixels vertical for a tree trunk), and assign a unique name (“Tree_Trunk”). Repeat for branches, roofline, and window outlines.
- Import audio. Drag your .wav or .mp3 file into the timeline. xLights will automatically generate beat and bar markers using its built-in analyzer. Adjust sensitivity if needed—holiday instrumentals often require lowering threshold to catch subtle chimes or harp arpeggios.
- Apply effects. Select your Tree_Trunk model, then click the “Effects” tab. Choose “Color Wash” for steady base color, then layer “Twinkle” (set density to 15%, duration 0.8s) and “Pulse” (speed 0.3, intensity 40%). Use the “Preview” window to see real-time rendering—no hardware needed yet.
- Sync to music. Right-click on any effect and select “Set Timing to Beat”. Then drag the effect’s start point to align with a drum hit or chord change. Layer multiple effects on the same model—e.g., slow “Rainbow Chase” underneath fast “Sparkle”—to create depth.
- Test on hardware. Connect your controller via Ethernet, set its IP address in xLights (Controllers > Configure Controllers), and click “Send to Controller”. Watch the real-time response. If timing feels off, adjust the “Output Delay” setting (typically 10–30ms) to compensate for network latency.
“Most people underestimate how much time they’ll spend refining timing—not writing code. A single second of perfect synchronization between light and music can take 20 minutes of tweaking. That’s not a bug—it’s where artistry lives.” — Derek Lin, Founder of LightShowPro and xLights contributor since v2015
Real-World Deployment: The Miller Family Display
In 2022, the Millers in suburban Columbus, Ohio, built their first animated display: 320 pixels across porch columns, roofline, and a 7-foot tree. They started with two ESP32-based controllers (one for house outline, one for tree), a 12V/60A Mean Well power supply, and Cat6 cable run through PVC conduit along the eaves.
Week one was troubleshooting: inconsistent twinkle timing pointed to mismatched firmware versions across controllers. Week two revealed grounding issues—lights near the garage door motor would glitch during operation. They solved it by installing a dedicated ground rod and bonding all controller grounds to it.
By Thanksgiving, they had three synchronized sequences: a gentle “snowfall” on the roofline, a warm “candle glow” pulse in the windows, and a rhythmic “jingle bell chase” around the tree. Their secret? They sequenced each element separately, then layered them in xLights’ “SuperGroup” feature—allowing independent control while maintaining tight sync. Neighbors began requesting specific songs. By December 20th, they’d added a small speaker and ran their entire show live with holiday classics. Total cost: $387. Total time invested: 42 hours over six weeks—including three evenings spent untangling extension cords in the rain.
Common Pitfalls & How to Avoid Them
Every seasoned builder has stories of melted connectors, corrupted SD cards, and holiday mornings spent debugging UDP packets. Here’s what actually derails most first-time builders—and how to sidestep them.
- Assuming “plug-and-play” works. Even branded kits require firmware updates, static IP configuration, and signal-level calibration. Always test each controller independently before connecting to the network.
- Ignoring ambient temperature. Outdoor-rated controllers still fail below -15°C if enclosures trap condensation. Use desiccant packs inside weatherproof boxes and mount controllers in shaded, ventilated locations—not inside sealed plastic bins on south-facing walls.
- Overlooking electrical codes. Most municipalities require GFCI protection on all outdoor circuits powering displays. If using multiple 120V outlets, ensure total load stays under 80% of circuit capacity (e.g., max 14.4A on a 15A breaker). Never daisy-chain power strips.
- Skipping backup exports. xLights projects contain hours of work. Export your final sequence as an .xseq file *and* as a .zip containing all associated assets. Store backups on cloud and local drive. One corrupted project file has ended more than one December display before it began.
FAQ
Do I need to know programming to use xLights?
No. xLights uses a visual, drag-and-drop interface. While advanced users can write custom effects in C++ or Python via plugins, 95% of displays are built using built-in effects, timing tools, and the grid editor. No coding is required to create professional-quality animations.
Can I use my existing LED strings?
Only if they’re individually addressable and use a supported protocol (WS2811, WS2812B, APA102, or DMX512). Non-addressable “smart” strings (like many Bluetooth holiday lights) cannot be synchronized or sequenced—they respond only to proprietary remotes or apps and lack frame-accurate timing.
How do I handle wind, rain, and snow on outdoor pixels?
Use IP65-rated or higher pixels with silicone-filled ends. Seal all wire entry points with liquid electrical tape or silicone caulk. Mount strips with UV-resistant adhesive and avoid tension points where wind can whip connectors loose. For heavy snow regions, angle roofline strips downward slightly so snow slides off rather than accumulating.
Conclusion
Building your own animated Christmas light display is less about electronics expertise and more about disciplined execution: choosing interoperable components, respecting power fundamentals, embracing iterative testing, and trusting the process. The magic isn’t in the technology—it’s in the moment you press “Play” on December 1st and watch your front yard transform from ordinary to extraordinary, all because you understood how to speak the language of light.
You don’t need perfection on day one. Your first sequence might only last 30 seconds. Your first controller may reboot twice before holding steady. That’s not failure—that’s calibration. Every flicker corrected, every timing offset refined, every neighbor who pauses mid-walk to smile at your display adds meaning far beyond the pixels.
Start small. Wire cleanly. Document everything. And when your lights finally dance in unison to “Carol of the Bells,” remember: you didn’t just install lights—you composed light. You engineered joy. You built tradition.


 浙公网安备
33010002000092号
浙公网安备
33010002000092号 浙B2-20120091-4
Comments
No comments yet. Why don't you start the discussion?