
Creating a book has long been seen as the domain of traditional publishers and large printing houses. But with today’s accessible tools and services, anyone can produce a professional-quality book from home. Whether you're writing a memoir, compiling family recipes, self-publishing a novel, or producing a workbook for your course, the process of making your own book is more achievable than ever. This guide walks you through every stage—from planning and formatting to printing and binding—with practical advice that ensures your final product looks polished and reads beautifully.
Planning Your Book: Define Purpose, Audience, and Structure
Before typing a single word, clarify your book’s purpose. Is it meant to inform, entertain, inspire, or educate? Knowing this shapes everything from tone to design. Next, identify your target audience. A children’s activity book requires different language and layout than a technical manual for engineers.
Once you’ve defined these elements, outline your structure. Most books follow a logical flow:
- Front matter: Title page, copyright, dedication, table of contents
- Main content: Chapters or sections in a coherent sequence
- Back matter: Index, glossary, author bio, or resources
A clear outline prevents gaps in logic and helps maintain consistency throughout the writing process. Use digital tools like Google Docs, Scrivener, or Notion to organize chapters and track progress.
Writing and Editing: Craft Clarity and Coherence
Start writing without aiming for perfection. Focus on getting ideas down. Once the first draft is complete, shift into editing mode. This phase is critical—no book is great in its first version.
Edit in stages:
- Structural edit: Assess overall flow, chapter order, and argument strength.
- Line edit: Refine sentence structure, tone, and clarity.
- Copy edit: Correct grammar, punctuation, and consistency.
- Proofread: Catch typos and formatting errors before finalizing.
Consider enlisting a second reader or hiring a freelance editor. Fresh eyes often spot issues you’ve overlooked. As writer Stephen King famously said:
“Kill your darlings, kill your darlings, even when it breaks your egocentric little scribbler’s heart.” — Stephen King
Design and Formatting: From Manuscript to Layout
A well-written book deserves a clean, readable layout. Avoid simply exporting a Word document and calling it a day. Professional formatting enhances readability and credibility.
Choose a legible font like Garamond, Georgia, or Minion Pro for body text. Keep font size between 10–12 pt. Set margins generously—especially the inner margin (gutter)—to accommodate binding. Use consistent heading styles and paragraph spacing.
You have several options for layout:
- Microsoft Word: Suitable for simple projects; use built-in styles and section breaks.
- Adobe InDesign: Industry standard for precise control over typography and layout.
- Canva or Vellum: User-friendly tools with templates optimized for print and ebook formats.
If designing a cover, ensure it reflects the book’s genre and includes essential elements: title, subtitle, author name, and optional tagline. Matte or glossy finishes affect perception—matte feels sophisticated, glossy stands out on shelves.
| Format | Best For | Limitations |
|---|---|---|
| Final print-ready files | Not reflowable for e-readers | |
| EPUB | E-books (Kindle, Apple Books) | Layout control is limited |
| MOBI | Older Kindle devices | Largely replaced by EPUB |
Printing Options: Choose What Fits Your Needs
With your manuscript finalized and formatted, it’s time to print. You have three main paths:
- Home Printing: Ideal for prototypes or small batches (1–5 copies). Use a high-quality inkjet or laser printer on 70–90 gsm paper. Fold and bind manually with staples or stitching.
- Local Print Shop: Offers better quality and binding options like perfect binding, coil, or saddle-stitch. Great for 10–50 copies at reasonable cost.
- Print-on-Demand (POD) Services: Platforms like Amazon KDP, IngramSpark, or Lulu allow global distribution without inventory. They handle printing, shipping, and sales—you upload files and set the price.
For perfect-bound books (standard paperback look), most POD services require:
- Trim size (e.g., 5.5\" x 8.5\")
- High-resolution cover (300 DPI, CMYK color)
- Spine width calculation based on page count and paper thickness
- Proper bleed (typically 0.125 inches on all sides)
Mini Case Study: Sarah’s Self-Published Cookbook
Sarah, a culinary instructor, wanted to compile her class recipes into a keepsake for students. She wrote the content in Google Docs, then used Canva to design an elegant layout with food-safe parchment-style backgrounds. After editing with a colleague, she exported the interior as PDF and designed a matte-finish cover with a hand-drawn illustration.
She printed 25 copies at a local shop using 80 gsm cream paper and perfect binding. Priced at $19.99, the book sold out within two weeks. Encouraged, she later uploaded it to Amazon KDP, where it now reaches customers worldwide. Her total investment was under $100, and she earned back her costs within a month.
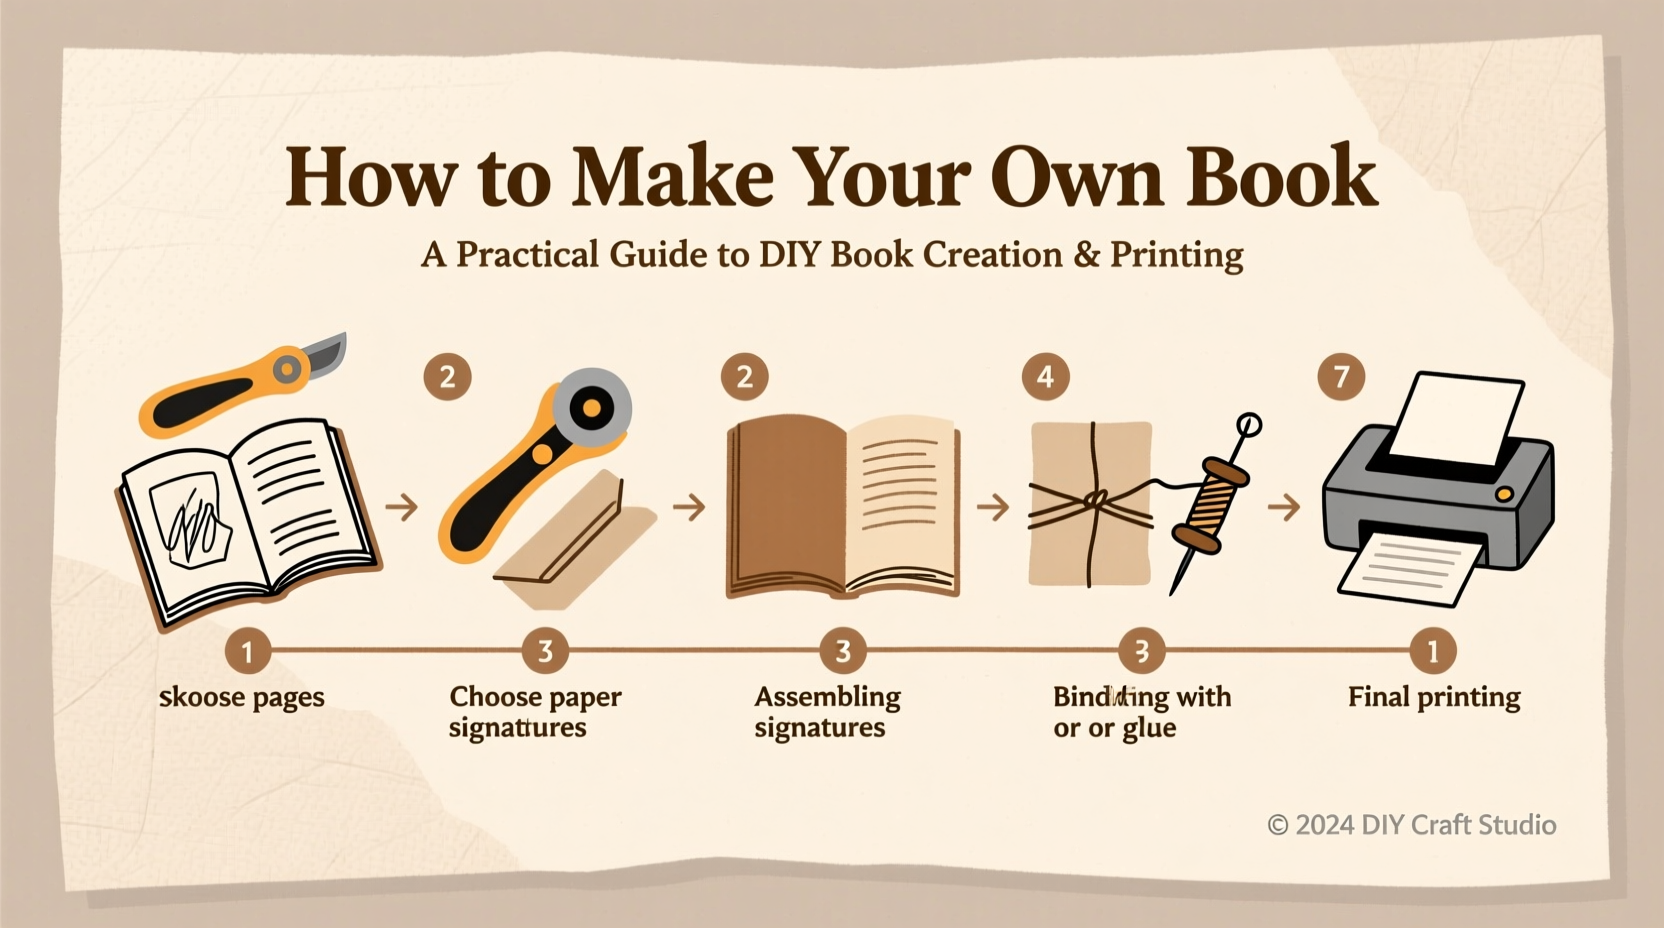
Binding Methods: Match Durability to Use
The binding method affects how your book opens, lies flat, and withstands use. Choose based on function:
- Saddle-stitch: Stapled spine; best for booklets under 60 pages.
- Perfect binding: Glued spine; standard for paperbacks. Requires minimum 50 pages.
- Coil or comb binding: Plastic or metal spiral; allows 360-degree flipping. Ideal for workbooks or manuals.
- Sewn binding: Stitched signatures; most durable, used in hardcovers.
If binding at home, consider a thermal binding machine for perfect-bound books or a simple stapler for small zines. For a handmade touch, Japanese stab binding offers decorative flair for journals or gift books.
“The physicality of a book—the weight, the texture, the smell—creates an emotional connection no digital format can replicate.” — Maya Tran, Independent Publisher & Book Artist
Checklist: Steps to Create and Print Your Book
Follow this concise checklist to stay organized:
- Define your book’s purpose and audience
- Create a detailed outline
- Write the first draft without self-editing
- Revise in multiple passes (structural, line, copy, proof)
- Format the interior with proper margins, fonts, and headers
- Design a compelling cover (title, author, genre-appropriate imagery)
- Select trim size and paper type
- Choose a printing method (home, local shop, POD)
- Upload files and order a proof copy
- Launch and distribute—share with readers!
Frequently Asked Questions
How much does it cost to print my own book?
Costs vary widely. Home printing may cost $5–$10 per copy. Local shops charge $15–$30 depending on binding and paper. Print-on-demand services have no upfront cost—you earn royalties per sale. A typical 200-page paperback on Amazon KDP might retail for $12.99, with you earning $3–$5 per copy.
Can I sell my DIY book legally?
Yes. You retain copyright unless you sign it away. Include a copyright page stating © [Year] [Your Name]. If using third-party content (photos, quotes), ensure you have permission or use public domain/creative commons material with proper attribution.
What’s the best software for beginners?
For writing: Google Docs or Microsoft Word. For formatting: Canva (simple), Vellum (Mac-only, intuitive), or Reedsy Editor (free online tool). For advanced design: Adobe InDesign.
Take the Leap: Your Story Deserves to Be Printed
Making your own book is no longer reserved for the traditionally published. With planning, attention to detail, and the right tools, you can hold a professionally produced book with your name on the cover. The process builds discipline, creativity, and pride. Whether you’re printing one copy for a loved one or launching a full-scale self-published title, every book begins the same way—with a single page.


 浙公网安备
33010002000092号
浙公网安备
33010002000092号 浙B2-20120091-4
Comments
No comments yet. Why don't you start the discussion?