
For decades, holiday lighting meant static strings or pre-programmed controllers with three blinking patterns: twinkle, chase, and fade. Today, anyone with a Raspberry Pi, a $20 controller, and free open-source software can design synchronized light shows that pulse to carols, ripple like falling snow, or spell out “MERRY” in real time—all from their living room desk. Custom light animation isn’t reserved for theme parks or professional installers anymore. It’s accessible, affordable, and deeply rewarding when done right. This guide walks through the full process—not as theory, but as practiced by thousands of home animators who’ve transformed driveways, porches, and even apartment balconies into immersive seasonal experiences.
Understanding the Core Components
Before writing a single line of code or plugging in a wire, grasp the four interdependent layers that make custom animations possible:
- Lights: Not all LEDs are equal. For animation, you need individually addressable LEDs—most commonly WS2811, WS2812B (NeoPixel), or APA102 (DotStar). These chips allow each bulb to be controlled independently for color, brightness, and timing.
- Controller: The brain that sends instructions to the lights. Options range from microcontrollers (Arduino, ESP32) to single-board computers (Raspberry Pi 4/5) and dedicated commercial units (Falcon F16v3, SanDevices E682).
- Software: Tools to design sequences visually or programmatically. xLights is the industry-standard free platform for home users; it supports timeline-based editing, audio synchronization, and hardware output protocols.
- Power & Wiring: Addressable strips draw significant current—especially at full white brightness. A 5m strip of 300 LEDs may require up to 18A at 5V. Undersized power supplies or daisy-chained connections cause flickering, color shifts, or controller resets.
Getting any one layer wrong breaks the entire chain. A beautiful animation in xLights won’t play if the controller lacks firmware support—or if the power supply sags under load. That’s why successful home animators treat this as an integrated system—not a collection of parts.
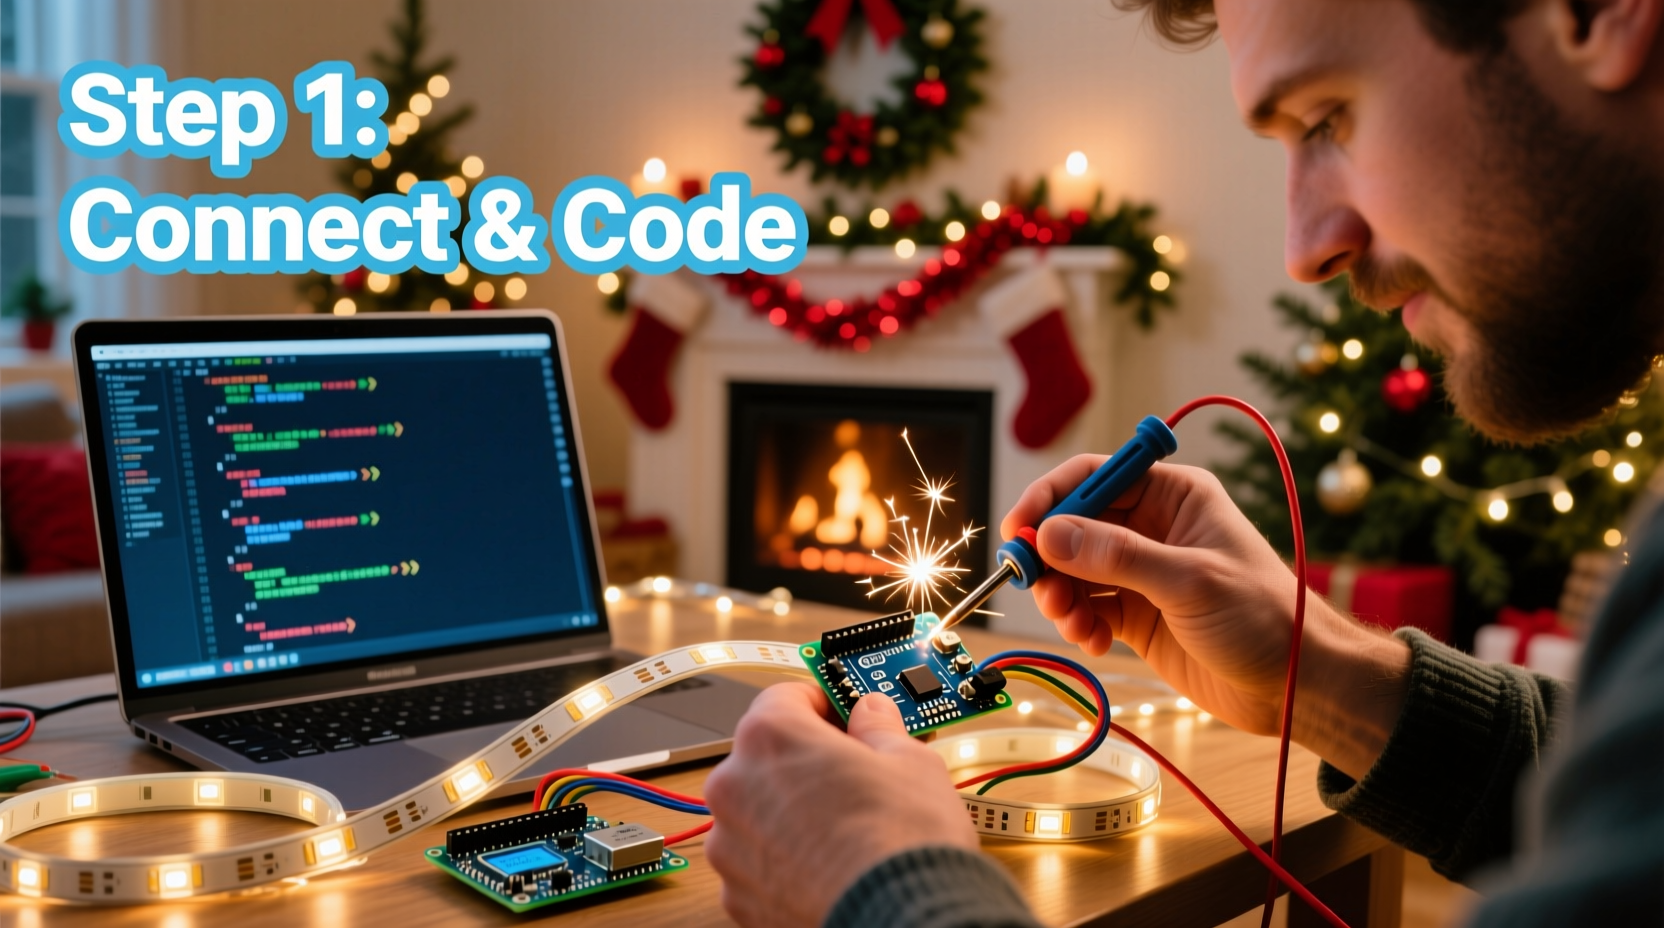
Hardware Setup: From Strip to Stable Signal
Start simple: one 2m strip of WS2812B LEDs (60/m = 120 pixels), a 5V 10A power supply, and a Raspberry Pi 4 (4GB RAM). Avoid USB-powered controllers for anything beyond testing—they lack stable timing and GPIO reliability.
Wiring must follow best practices—not just pinouts. Connect power *first* at the strip’s input end, then run a separate 5V and ground wire (“power injection”) every 1m thereafter. This prevents voltage drop that turns distant pixels yellow or dim. Use 18-gauge stranded wire for power runs longer than 1.5m. Never rely solely on the thin copper traces on the LED strip itself for long-distance power delivery.
For the Raspberry Pi, install xLights’ official RPi image (xLightsPi v2024.1 or later). It boots directly into the xLights environment, bypassing desktop overhead. Configure the GPIO pin (usually GPIO10 or GPIO18) to match your controller’s data input—and verify signal integrity using an oscilloscope or logic analyzer if flicker persists. Most issues traced to “jittery” animations stem from electrical noise, not software bugs.
Designing Your First Animation in xLights
xLights uses a visual timeline where each row represents a channel (a single LED or group), and columns represent time in milliseconds. Unlike video editors, it treats light control as discrete events—not continuous frames. This makes it precise but demands rhythm awareness.
Begin with audio synchronization. Import a 90-second holiday track (e.g., “Carol of the Bells” instrumental). xLights auto-detects beat intensity, but manual beat marking is essential: zoom to 10ms resolution, listen for snare hits or chime accents, and place beat markers with the “B” key. Aim for 8–12 manually verified beats per 10 seconds—not just the loudest ones, but rhythmic anchors that drive motion.
Now build a simple “pulse wave”: select 20 consecutive channels, click “Effect” > “Pulse”, set duration to 1.2 seconds, and apply a sine wave curve. Duplicate that effect down the timeline, shifting start times by 150ms per row. The result? A smooth, traveling wave of warm white light—like breath moving across a pine bough.
“Most beginners overcomplicate early animations. A single well-timed wave, perfectly synced to a bass drum hit, feels more magical than ten chaotic effects layered at once.” — Derek Lin, Founder of Light-O-Rama Community Forum and 12-year home animator
Step-by-Step: Building a 3-Minute Animated Display
This practical sequence takes under two hours for first-time builders. No prior coding needed.
- Prepare hardware: Mount one 3m WS2812B strip (180 pixels) vertically on a porch post. Inject power at both ends and midpoint. Connect data line to GPIO18 on Raspberry Pi. Power supply: 5V 30A (over-spec’d for stability).
- Create xLights model: In xLights, go to “Model” > “Add Model” > “RGB Lights” > “Generic RGB”. Name it “Porch Post”, set pixel count to 180, and orientation to “Vertical Top-to-Bottom”.
- Import and sync audio: Drag your .wav file into the Audio tab. Click “Analyze Audio”, then manually adjust 12 beat markers within the first 30 seconds using headphones.
- Build three core effects:
- A “snowfall” (Effect > “Snow”): Apply to top 60 pixels, duration 4s, speed 0.7, opacity 60%. Set repeat every 8 seconds.
- A “candle flicker” (Effect > “Flicker”): Apply to middle 60 pixels, intensity 45%, variation 30%.
- A “color wave” (Effect > “Color Wash”): Apply to bottom 60 pixels, cycle through amber → crimson → gold over 6 seconds.
- Export and test: Click “Export” > “Export All Sequences”. Select your controller type (e.g., “FPP – Falcon Player”). Copy the exported folder to the Pi’s /home/fpp/media/sequences directory. Reboot FPP service. Watch it run live—no laptop required.
Refine timing in 50ms increments. If the snowfall feels rushed, lengthen its interval. If candle flicker clashes with music, offset its start by one beat. Iteration is part of the craft—not a sign of failure.
Common Pitfalls & How to Avoid Them
Home animators consistently trip over the same five issues. Here’s how to sidestep them:
| Issue | Root Cause | Solution |
|---|---|---|
| Flickering or random pixel resets | Insufficient power or shared ground loops | Add dedicated ground wire between controller and PSU; use separate 5V lines for data and power rails |
| Animations lagging behind audio | Incorrect audio sample rate or unsynced clock | Convert audio to 44.1kHz WAV; enable “Use System Clock” in xLights Preferences > Timing |
| Colors appearing muted or shifted | Gamma correction mismatch or cheap LED bins | Enable “Apply Gamma Correction” in xLights Output Settings; use premium-tier strips (e.g., Adafruit NeoPixel 5050) |
| Controller unresponsive after upload | Firmware version conflict or corrupted SD card | Always update FPP firmware *before* importing new sequences; re-flash SD card quarterly |
| Effects overlapping chaotically | Overlapping effect timelines without masking | Use “Effect Masking” to restrict regions; never stack >3 effects on same channels without testing |
Mini Case Study: The Apartment Balcony Project
Maria, a graphic designer in Chicago, had zero outdoor space—just a 4’x6’ balcony with a metal railing. She wanted animation but feared HOA complaints about brightness or noise. Her solution: 4x 1m strips of warm-white-only WS2811 (non-RGB, 50 pixels each), mounted discreetly inside railing caps. Using xLights’ “Dimming Curve” effect, she programmed gentle, slow-brightening pulses timed to wind chimes recorded on her phone. No music, no flash—just organic, breathing light that responded to ambient sound. She ran it for 47 nights, drawing notes from neighbors asking “How did you make it feel so calm?” Her total cost: $89. Her biggest insight? “Animation isn’t about complexity—it’s about intention. I spent more time listening to wind than coding.”
FAQ
Do I need to learn programming to create custom animations?
No. xLights offers drag-and-drop effects, visual timelines, and pre-built templates. You’ll use configuration menus—not syntax—but understanding basic concepts like “channels”, “timing resolution”, and “pixel mapping” is essential. Think spreadsheet logic, not Python.
Can I use smart bulbs like Philips Hue for custom animations?
Technically yes, but practically no. Hue bulbs have ~100ms latency, limited refresh rates (~10fps), and no frame-accurate audio sync. They work for mood lighting—not choreographed shows. Stick to addressable LED strips for true animation.
How much time does a 5-minute show take to build?
A first-time 5-minute show with 3–4 effects takes 8–12 hours spread over a weekend—including hardware setup, testing, and refinement. By show #3, most animators reduce that to 3–4 focused hours. The learning curve flattens fast once signal integrity and workflow rhythm are established.
Conclusion
Custom Christmas light animation merges artistry, engineering, and quiet celebration. It asks you to listen closely—to music, to electricity, to the subtle language of light itself. You don’t need a workshop or a degree. You need curiosity, a willingness to measure voltage with a multimeter, and the patience to adjust a single pixel’s timing until it lands exactly on the third beat of a measure. Every flicker you fix, every wave you smooth, every neighbor who pauses mid-walk to watch—that’s where the magic lives. Not in flawless perfection, but in the care embedded in each decision.
Start small: one strip, one effect, one song. Let your first animation breathe for a week—watch it at dusk, at midnight, in rain and frost. Notice what moves you. Then build from there.


 浙公网安备
33010002000092号
浙公网安备
33010002000092号 浙B2-20120091-4
Comments
No comments yet. Why don't you start the discussion?