
Creating a memorable Christmas light display doesn’t require expensive equipment or professional-grade installations. With thoughtful planning and just a few basic tools, you can design a personalized holiday spectacle that draws attention and spreads joy—without breaking the bank. Whether you're working from a tight budget, have limited storage space, or simply want a hands-on project, building your own custom setup is more accessible than most people think. This guide walks through practical methods, material alternatives, and clever strategies to help you craft a standout display using only what’s readily available.
Planning Your Layout Without Specialized Software
The foundation of any successful light display is a clear plan. You don’t need design software or engineering blueprints to map out your layout. Start by sketching your home’s exterior on graph paper or using a free digital tool like Google Drawings. Mark key features such as rooflines, windows, doors, and trees. Then, decide which areas you’d like to highlight—perhaps outlining the eaves, framing the front door, or wrapping porch railings.
Consider symmetry and balance. A balanced arrangement feels more polished and visually appealing. For example, if you’re lighting both sides of the house, mirror the pattern on each side. If you’re focusing on a single feature—like a large tree in the yard—use it as a centerpiece and build outward.
Think about power access early. Most displays rely on standard outdoor outlets. Plan your design so strands can reach these without requiring excessive extension cords. If necessary, use one heavy-duty extension cord to feed multiple light strings rather than daisy-chaining too many together, which can overload circuits.
Essential Tools and Affordable Alternatives
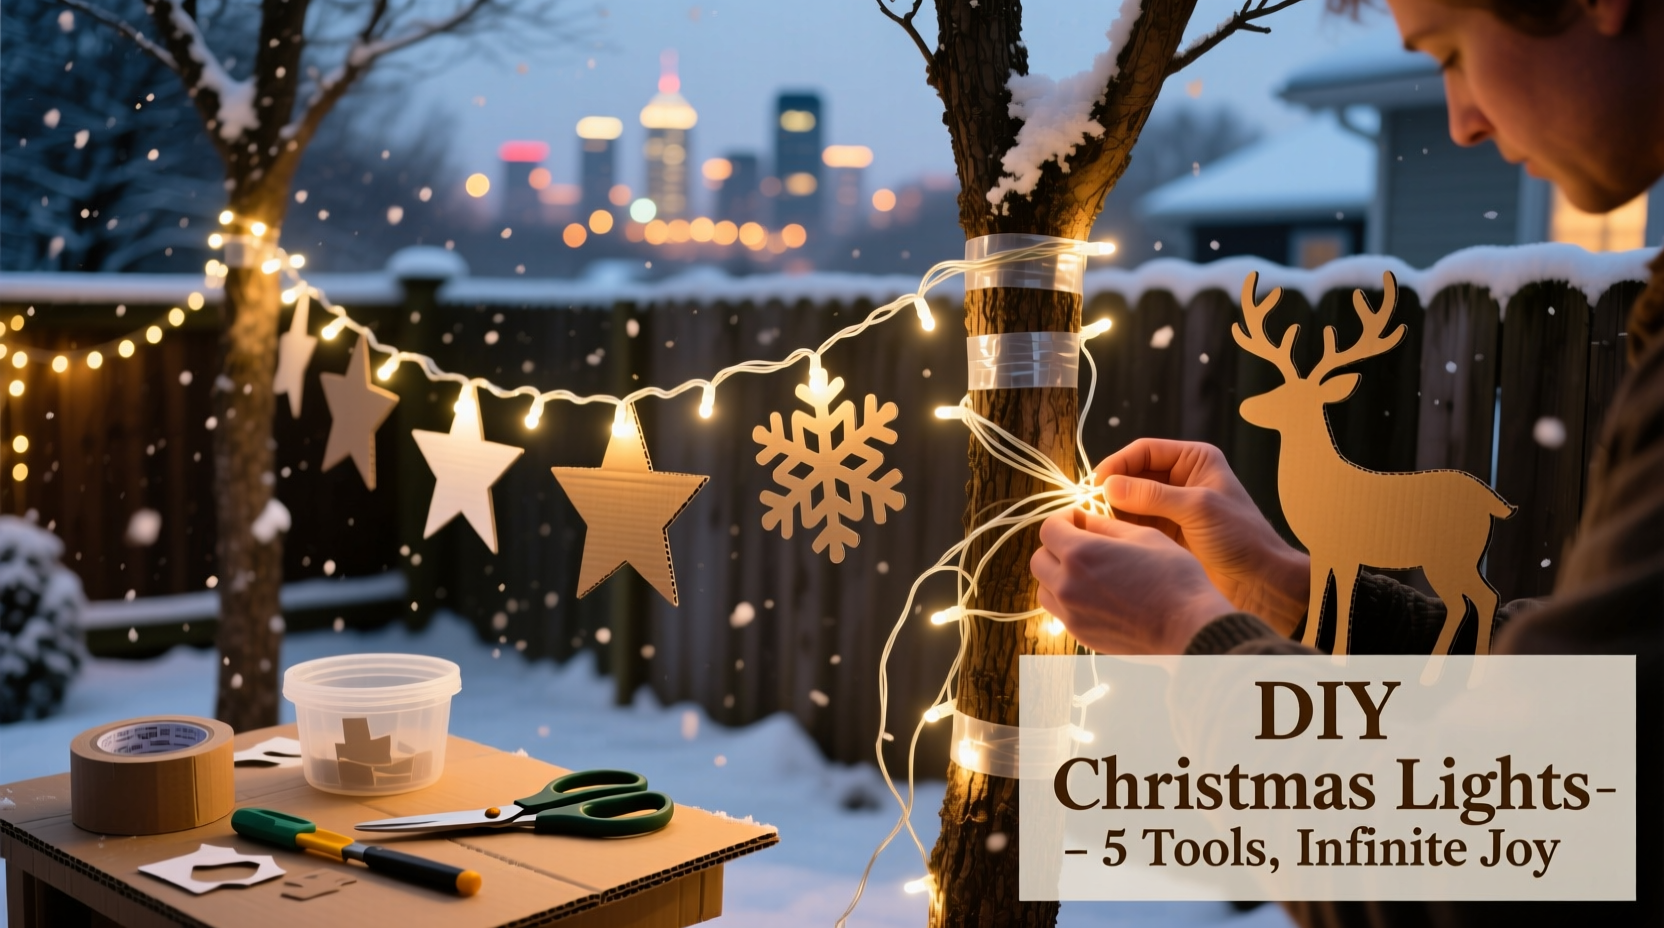
One of the biggest misconceptions about DIY lighting is that you need a full toolkit. In reality, most installations can be completed with just a handful of common household items. Here’s what you actually need—and some creative substitutes if you’re missing something:
| Tool/Item | Purpose | Budget-Friendly Alternative |
|---|---|---|
| Ladder | Reaching rooflines and high fixtures | Sturdy step stool + helper for stability |
| Zip Ties | Securing lights to gutters, rails, trees | Craft wire (floral or twist ties), reusable Velcro straps |
| Extension Cords | Power delivery | Use existing outdoor-rated cords; avoid indoor-only types |
| Work Gloves | Protection from cold, rough surfaces | Winter gloves with grip |
| Measuring Tape | Estimating strand length | Use a rope or string to pre-measure runs |
LED mini lights are ideal for custom designs because they’re energy-efficient, cool to the touch, and come in flexible lengths. Opt for sections that allow you to connect 50–100 bulbs per run. Avoid older incandescent sets—they consume more power, generate heat, and are more fragile.
“Some of the best neighborhood displays started with nothing more than a box of spare lights and a vision. Creativity beats complexity every time.” — Marcus Lin, Community Holiday Coordinator, Portland Lights Festival
Step-by-Step Installation with Minimal Equipment
Follow this streamlined process to install your display safely and efficiently—even if you’ve never done it before.
- Assess Power Sources: Identify all accessible outdoor outlets. Test them with a lamp or radio to confirm they’re functional and GFCI-protected.
- Unpack and Test Lights: Before installation, plug in every strand to ensure all bulbs work. Set aside any with dead sections.
- Start at the Outlet: Begin running your first strand from the outlet location. Use zip ties or twist ties every 12–18 inches along gutters, downspouts, or fencing.
- Follow Roofline or Perimeter: Work clockwise or counterclockwise around the house. Keep tension light—don’t pull strands taut, as temperature changes cause materials to expand and contract.
- Incorporate Yard Features: Wrap tree trunks or low bushes with coiled lights. For larger trees, drape strands from top to bottom in a spiral or zigzag pattern.
- Connect Strategically: Never exceed the manufacturer’s maximum connection limit (usually 3–5 sets per circuit). Use separate extension cords for different zones if needed.
- Secure Cords: Prevent tripping hazards by routing cords along edges of driveways or walkways. Use cord covers or small garden stones to hold them in place.
- Test the Full Display: Once everything is connected, turn on the system during evening hours to evaluate brightness and coverage.
Real Example: The Apartment Balcony Transformation
Sarah Kim, a resident of a third-floor apartment in Chicago, wanted to join her building’s holiday spirit but had no access to ground-level outlets or ladders. Her solution? A minimalist yet striking balcony display using only two strands of 100-count warm-white LED lights, a single outdoor-safe extension cord routed through a cracked window, and reusable adhesive hooks.
She began by measuring the perimeter of her wrought-iron railing. Using fishing line and small zip ties, she strung lights horizontally across the front and vertically along the posts. She added a handmade star outline using a bent coat hanger wrapped with spare lights. The entire project took under two hours and cost less than $25. Neighbors began stopping by to take photos, and the local news featured her balcony in a “Small Spaces, Big Spirit” segment.
Sarah’s success wasn’t due to advanced tools—it came from smart adaptation. She used what was available, prioritized visibility from street level, and focused on clean lines over quantity. Her story proves that even constrained spaces can host meaningful displays.
Custom Design Ideas That Don’t Require Expertise
You don’t need to replicate massive inflatable scenes to make an impact. Subtle, intentional designs often stand out more. Consider these ideas that rely on creativity, not complexity:
- Window Frames: Outline living room or bedroom windows with cool-white LEDs for a glowing effect at night.
- Door Canopy: Hang crisscrossed strands above your front door using suction cup hooks or removable adhesive clips.
- Stair Rail Accents: Drape short strands along porch railings in a garland-like fashion.
- Tree Silhouettes: Create flat shapes from cardboard or wire and wrap them with lights. Mount against a wall or fence for a 2D effect.
- Message Boards: Use letter-shaped light forms (available affordably online) to spell “JOY,” “NOEL,” or family names.
For dynamic effects without controllers, try staggering when you plug in different sections. Plug one set into a timer set for 5 PM, another at 6 PM. This creates a gradual “light-up” sequence that mimics professional shows.
Checklist: Pre-Installation Essentials
Before heading outside, verify you’ve covered these critical steps:
- ✅ Tested all light strands for functionality
- ✅ Confirmed outlet availability and safety (GFCI protection)
- ✅ Measured key areas (roofline, trees, porch dimensions)
- ✅ Gathered fasteners (zip ties, twist ties, or adhesive hooks)
- ✅ Acquired outdoor-rated extension cords (if needed)
- ✅ Checked weather forecast for installation day
- ✅ Planned storage method for post-holiday season
Frequently Asked Questions
Can I use indoor lights outside?
No. Indoor lights are not rated for moisture or temperature fluctuations and pose electrical hazards when exposed to rain or snow. Always use lights labeled “for outdoor use” or check the packaging for UL certification with outdoor approval.
How many lights do I need for my house?
A general rule is 100 lights per linear foot of roofline or 50 lights per vertical foot of tree height. However, density depends on desired brightness. For subtle glow, fewer strands suffice; for bold impact, double up in layers.
What if I don’t have outdoor outlets?
You can safely extend power from an indoor outlet using a single heavy-duty extension cord run through a closed window or door. Seal gaps with rolled towels to prevent drafts. Ensure the circuit isn’t overloaded—consult an electrician if unsure.
Final Tips for Longevity and Reuse
A well-maintained display can last five years or more. After the holidays, remove lights carefully. Avoid yanking strands—disconnect at the plugs and cut zip ties with scissors instead of pulling. Clean dust off with a dry cloth before storing.
Label each component: “Front Porch – 3 Strands,” “Tree Wrap – Blue LEDs,” etc. Use plastic bins with dividers or repurposed coffee cans for small parts. Store in a dry, temperature-stable area like a closet or shelf—avoid attics or garages where extreme heat or cold can damage wiring.
Take photos of your final layout each year. These visuals serve as installation guides for future seasons and help you refine your design incrementally.
Conclusion: Shine Bright with What You Have
Creating a custom Christmas light display isn’t about having the most tools or the biggest budget—it’s about intention, effort, and imagination. With basic supplies, a little planning, and attention to detail, you can transform your home into a festive landmark that brings cheer to your street. Thousands of people have started exactly where you are now: standing in their garage with a tangled box of lights and a dream. The difference is they took the first step.


 浙公网安备
33010002000092号
浙公网安备
33010002000092号 浙B2-20120091-4
Comments
No comments yet. Why don't you start the discussion?