
Transforming your home into a holiday spectacle doesn’t require a six-figure budget or professional installation. With the rise of accessible smart lighting technology and user-friendly control systems, homeowners across the country are creating dazzling animated Christmas light displays that sync to music, pulse with color, and delight neighbors—all from the comfort of their garage or backyard workshop. The key? Affordable DIY kits and a little planning.
This guide walks you through building your own synchronized light show using cost-effective components, open-source software, and practical techniques used by seasoned hobbyists. Whether you're aiming for a modest porch setup or an elaborate yard-wide animation, this approach scales to fit your ambition and budget.
Understanding the Components of an Animated Light Display
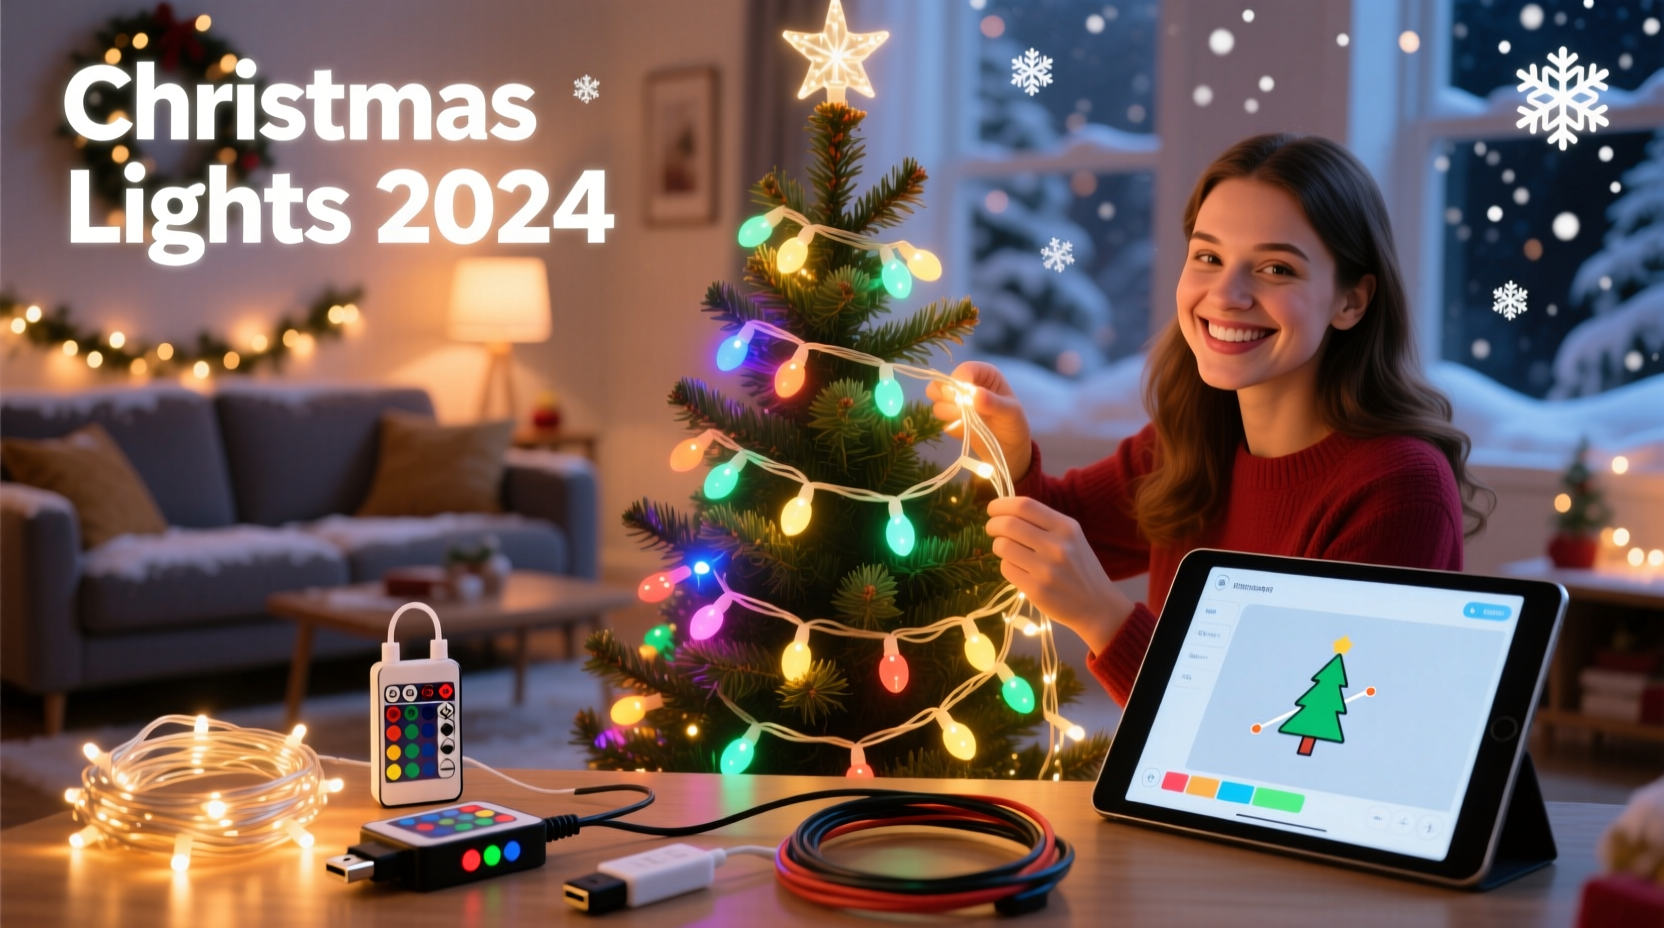
An animated Christmas light display is more than just blinking bulbs. It involves coordinated sequences where lights turn on, off, fade, or change color in rhythm with music or ambient effects. At its core, such a system relies on four main components:
- LED Lights: Preferably addressable (like WS2811 or WS2812B) so each bulb can be controlled individually.
- Controllers: Devices that translate digital signals into light commands. Examples include ESP8266-based boards like Wemos D1 Mini or dedicated controllers such as Falcon F16v3.
- Power Supplies: Stable DC power sources matched to voltage and amperage needs of your LEDs.
- Software: Programs like xLights or Vixen Lights used to design animations and schedule playback.
The magic happens when these parts work together. A song plays, the software sends timing data to the controller via Wi-Fi or Ethernet, and the controller activates specific LEDs at precise moments—creating waves, chases, snowflakes, or even full-motion scenes.
Step-by-Step Guide to Building Your Display
Follow this timeline to go from concept to a working animated display in under three weeks—even if you’re new to electronics or programming.
- Week 1: Plan & Purchase
- Determine the scope: porch outline, roofline, tree wrap, yard props?
- Sketch a layout showing where lights will go.
- Calculate total number of LEDs needed (e.g., 50 per strand × 6 strands = 300 LEDs).
- Order components online. Recommended starter kit:
- One 5-meter strip of WS2812B LEDs (300 pixels)
- One Wemos D1 Mini (~$5)
- One 5V 10A power supply (~$25)
- Jumper wires, soldering iron, heat shrink tubing
- Week 2: Assemble Hardware
- Cut and connect LED strips to fit your layout (if required).
- Solder data lines between controller and first LED pixel.
- Connect power wires securely; ensure polarity is correct.
- Test all connections using a simple blink pattern uploaded via Arduino IDE.
- Week 3: Program & Animate
- Install xLights (free, open-source software) on your computer.
- Create a virtual model of your display in xLights, mapping each LED’s position.
- Import a holiday song (MP3/WAV), then use the timeline editor to create light effects synced to beats.
- Export sequence to your controller via E1.31 (sACN) protocol over Wi-Fi.
- Run a live test outdoors during evening hours.
Once functional, expand incrementally—add more strings, controllers, or props like inflatable reindeer with internal pixel strips.
Budget Comparison: Kits vs. Custom Builds
You don't need to buy expensive pre-assembled kits. Many commercial “smart” light packages charge premium prices for basic components you can source independently at a fraction of the cost.
| Component | Premade Kit (e.g., Holiday Coro) | DIY Equivalent Cost | Savings |
|---|---|---|---|
| 150-Pixel Tree Ring + Controller | $120 | $32 | $88 |
| Controller (ESP8266 + Case) | $75 | $12 | $63 |
| Power Supply (5V 10A) | $60 | $25 | $35 |
| Total for 3 Elements | $255 | $69 | $186 |
As shown, DIY construction reduces costs by up to 75%. While premade kits offer convenience and plug-and-play simplicity, they rarely justify the markup unless time is extremely limited.
Real Example: How One Suburban Home Built a Viral Light Show
In Mechanicsburg, Pennsylvania, Mike Tran, a high school physics teacher, launched his first animated display in 2022 using less than $200 in materials. He began with two roofline runs of addressable LEDs connected to a single Wemos D1 Mini. Using free tutorials on YouTube and the xLights Facebook group, he learned to map his layout and choreograph a 90-second version of \"Jingle Bell Rock.\"
By year three, Mike had expanded to 18 channels of lighting—including a driveway tunnel, animated snowman, and synchronized starburst over the garage. His entire system now runs off four low-cost controllers linked via Wi-Fi to a central Raspberry Pi running xLights Nightly. Neighbors drive miles to see it, and local news featured him last December.
\"I thought I’d need engineering skills,\" Mike said. \"But most of it is drag-and-drop once you get past the wiring. Now my kids help design the sequences—it’s become a family tradition.\"
“We’ve seen a massive shift toward democratized lighting tech. What used to take $10K and pro installers now fits in a weekend project box.” — David Lin, Founder of DIYLightAnimation.org
Essential Checklist for Success
Before powering up your display, verify the following:
- ✅ All LED strips are tested individually before final installation
- ✅ Data lines are shielded or kept short to prevent signal interference
- ✅ Power injection points are added every 100–150 pixels to avoid voltage drop
- ✅ Controllers are housed in weatherproof enclosures with ventilation
- ✅ Network connection (Wi-Fi/Ethernet) is stable and within range
- ✅ Sequences are previewed in xLights simulation mode before outdoor testing
- ✅ Extension cords and outlets are rated for outdoor use and protected by GFCI
Skipping any of these steps risks flickering lights, burnt controllers, or electrical hazards. Take time to double-check each element.
Common Pitfalls and How to Avoid Them
Even experienced builders encounter issues. Here are frequent problems and proven fixes:
- Flickering Pixels: Often caused by insufficient power or poor grounding. Add additional ground wires back to the power supply and consider using a capacitor across the power rails.
- Lost Sync During Playback: Usually due to Wi-Fi congestion. Switch to wired Ethernet with an ESP32-Ethernet adapter or reduce packet rate in xLights settings.
- First Few LEDs Misbehaving: Known as “startup spike,” this occurs when power surges at boot. Install a 1000µF capacitor across the +5V and ground terminals near the first pixel.
- Colors Appearing Wrong: Check RGB order in software settings. Not all strips use the same color channel sequence (GRB vs RGB).
Always label your controllers and note IP addresses on a physical sheet taped inside your equipment box. This saves hours during troubleshooting.
FAQ
Can I run this display without Wi-Fi?
Yes. Once sequences are loaded onto a standalone player (like a Pi with xLights), the display can operate autonomously. Some users set up a local offline network or use SD card-based players for complete internet independence.
How much electricity does an animated display use?
A typical 500-pixel setup consumes about 1.5 amps at 5 volts (7.5 watts per meter). Running 4 hours per night for 30 days uses roughly 9 kWh—less than $1.50 on average U.S. rates. Even large 3,000-pixel displays rarely exceed $10/month.
Is it safe to leave these lights outside all winter?
Only if properly protected. Use only outdoor-rated LED strips with silicone coating, seal all wire connections with waterproof connectors or silicone gel, and mount controllers off the ground in ventilated enclosures. Avoid leaving exposed circuit boards in damp areas.
Final Thoughts and Next Steps
Creating your own animated Christmas light display isn’t just about holiday cheer—it’s a rewarding blend of creativity, technology, and community engagement. With affordable kits, free software, and growing online support networks, anyone can bring professional-grade lighting magic to their front yard.
Start small, learn the basics, and scale up over time. Each season becomes an opportunity to refine your craft, add new elements, and share joy with your neighborhood. The initial effort pays dividends in smiles, social media tags, and lasting memories.


 浙公网安备
33010002000092号
浙公网安备
33010002000092号 浙B2-20120091-4
Comments
No comments yet. Why don't you start the discussion?