
Dry shampoo has become a staple in modern hair care routines—especially for those with busy lifestyles, oily scalps, or textured hair that benefits from extended styling time between washes. While store-bought versions are convenient, many contain alcohol, synthetic fragrances, and propellants that can irritate the scalp or damage hair over time. The good news? You don’t need a lab or specialty ingredients to refresh your hair. With just a few common household items, you can create an effective, customizable dry shampoo that’s gentle, cost-efficient, and free of harsh chemicals.
This guide walks through the science behind dry shampoo, explains how simple pantry staples absorb oil and add volume, and provides multiple recipes tailored to different hair colors and types. Whether you're dealing with fine strands, curls, or dark tresses, there's a DIY solution that works for you.
The Science Behind Dry Shampoo
Dry shampoo functions by absorbing excess sebum—the natural oil produced by your scalp. When sebum builds up, hair appears greasy, flat, and lifeless. Traditional washing removes this oil with water and surfactants, but dry shampoo offers a temporary alternative by using fine powders that bind to oil molecules, lifting them from the hair shaft.
Common household powders like cornstarch, arrowroot, and baking soda have high absorbency rates. They disperse easily into the roots and can be brushed out after sitting for a few minutes. Unlike aerosol sprays, which may leave residue or require shaking, homemade versions give you full control over ingredients and application.
It's important to note that while dry shampoo extends time between washes, it doesn't replace cleansing. Overuse without proper washing can lead to scalp buildup, clogged follicles, and irritation. Use it as a supplement—not a substitute—for regular shampooing.
“Using natural absorbents like cornstarch allows people to avoid silicones and alcohols found in commercial products, which can strip moisture and disrupt scalp balance.” — Dr. Lena Patel, Trichologist and Hair Health Researcher
Basic Ingredients and Their Benefits
The foundation of any DIY dry shampoo is a base powder. From there, optional additives enhance performance, scent, or cosmetic appearance. Below is a breakdown of commonly used ingredients and their roles:
| Ingredient | Absorbency Level | Best For | Notes |
|---|---|---|---|
| Cornstarch | High | All hair types, especially light to medium tones | Widely available; may leave white cast on dark hair |
| Arrowroot Powder | High | Fine or sensitive hair | Softer texture than cornstarch; less likely to irritate scalp |
| Baking Soda | Moderate | Oily scalps | Can be drying; use sparingly or mix with other powders |
| Cocoa Powder | Low (but blends well) | Dark brown to black hair | Natural tint masks powder residue; adds mild fragrance |
| French Green Clay or Kaolin Clay | High | Thick, oily, or curly hair | Detoxifies scalp; improves volume |
| Essential Oils (e.g., lavender, rosemary) | None (aromatic only) | All hair types | Adds scent and potential scalp benefits; always dilute |
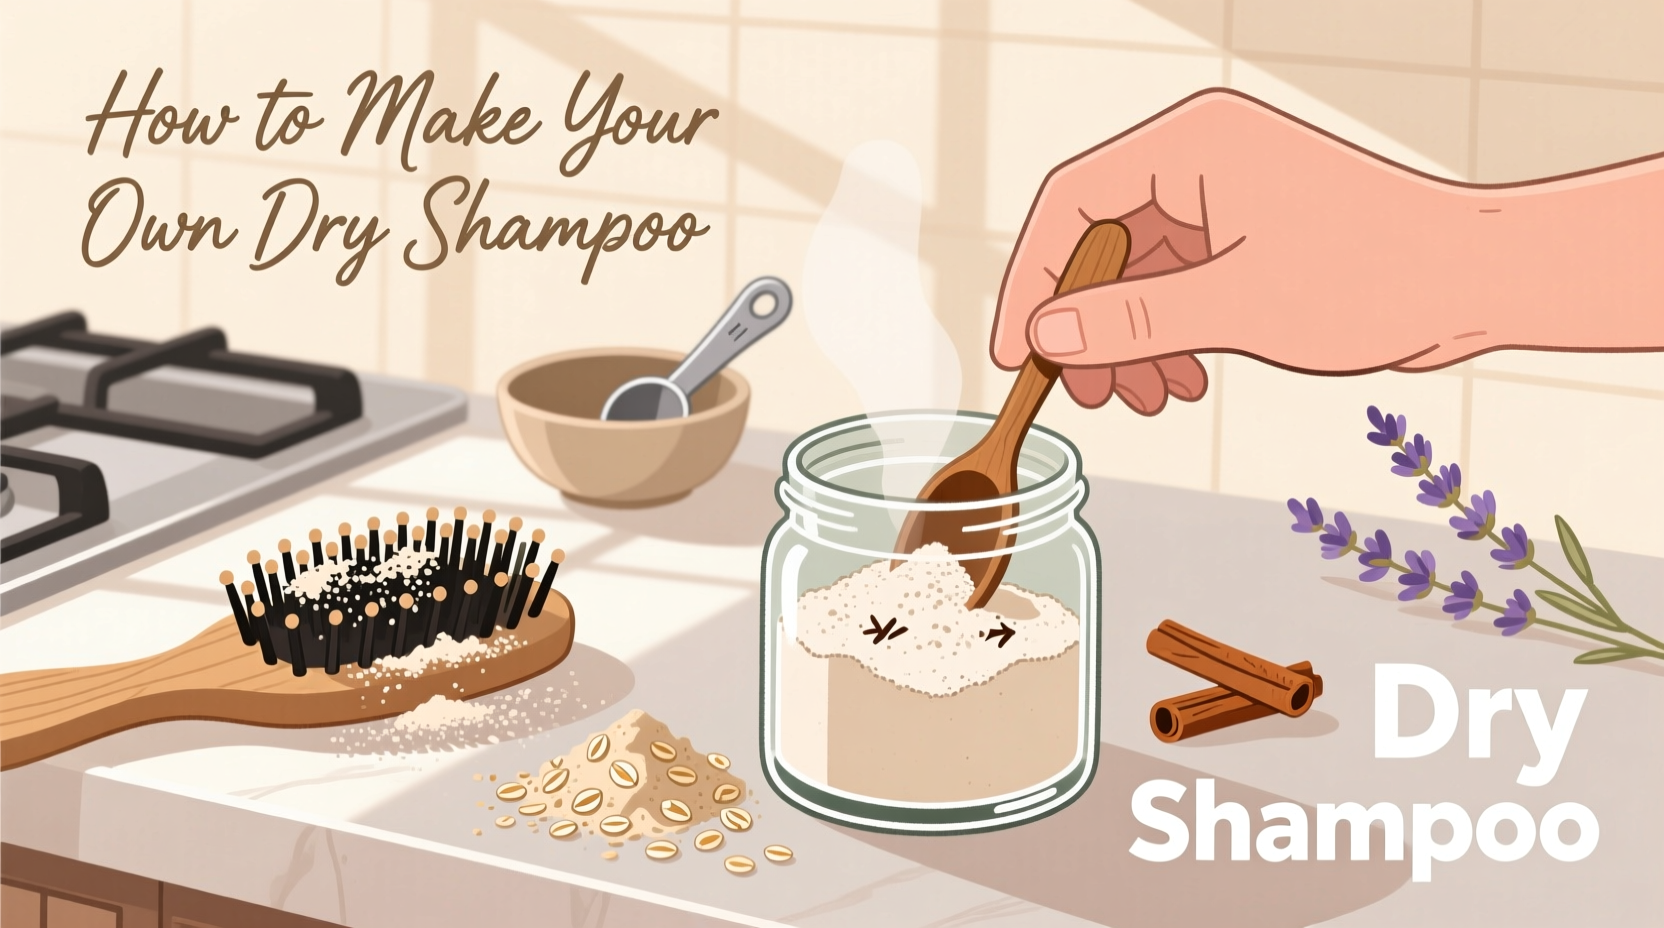
Step-by-Step Guide to Making Your Own Dry Shampoo
Creating your own dry shampoo takes less than 10 minutes and requires only a bowl, spoon, and storage container. Follow this timeline to prepare and apply your custom formula.
- Choose your base powder based on your hair color and texture (cornstarch for light hair, cocoa blend for dark).
- Measure ¼ cup of base powder into a mixing bowl. If using clay or baking soda, limit to 2 tablespoons mixed with 2 tablespoons of cornstarch.
- Add optional ingredients:
- 1–2 teaspoons cocoa powder (for dark hair)
- 5–10 drops essential oil (lavender for calming, rosemary for stimulation)
- 1 tablespoon kaolin clay (for added oil absorption)
- Mix thoroughly until uniform in color and scent. Break up any clumps with a fork.
- Transfer to a shaker container: An empty spice jar, salt shaker, or repurposed commercial dry shampoo bottle works well.
- Label your blend with date and ingredients for future reference.
To use: Part hair in sections, sprinkle powder at the roots (focus on oily areas like temples and crown), wait 3–5 minutes, then massage gently and brush out thoroughly. For best results, apply before bed or upon waking.
Custom Recipes for Different Hair Types
One size does not fit all when it comes to hair care. These tested recipes cater to specific needs and pigments.
For Light to Medium Hair
- ½ cup cornstarch or arrowroot powder
- 5 drops lavender essential oil
- 1 tablespoon kaolin clay (optional, for extra oil control)
This blend absorbs oil effectively without leaving visible residue. Lavender adds a spa-like aroma and has antimicrobial properties that support scalp health.
For Dark Brown or Black Hair
- ¼ cup cornstarch
- ¼ cup unsweetened cocoa powder
- 5 drops vanilla or sandalwood essential oil (optional)
The cocoa powder blends seamlessly into darker tones, eliminating chalky streaks. It also imparts a subtle chocolate scent that fades quickly.
For Curly or Coily Hair
- 3 tablespoons arrowroot powder
- 1 tablespoon French green clay
- 1 tablespoon cocoa powder (adjust based on hair darkness)
- 5 drops rosemary essential oil
Curls often retain more scalp oil due to reduced sebum distribution along the strand. This recipe enhances absorption while promoting scalp circulation via rosemary, known to stimulate follicles.
For Sensitive Scalps
- ½ cup finely sifted arrowroot powder
- 3 drops chamomile essential oil
- 1 teaspoon oat flour (soothing agent)
Avoid baking soda and strong fragrances. Oat flour reduces inflammation, making this ideal for those prone to itching or dermatitis.
Real-Life Example: Sarah’s Transition to DIY Hair Care
Sarah, a 34-year-old teacher from Portland, struggled with oily roots and dry ends. She used a popular aerosol dry shampoo daily but noticed increased flakiness and scalp irritation after six months. “My hair felt coated, not clean,” she said. After reading about ingredient sensitivities, she decided to try a homemade version.
She started with a basic cornstarch and lavender oil mix. Within two weeks, her scalp itchiness decreased, and she found she needed less product per use. For her dark blonde hair, she later added a bit of cocoa powder to eliminate whitish residue. “It costs pennies, smells amazing, and actually works better than the $20 brand I was using,” she shared. Now, she makes batches every month and keeps one in her gym bag.
Sarah’s experience reflects a growing trend: consumers realizing that simplicity often outperforms synthetic complexity in personal care.
Do’s and Don’ts of Homemade Dry Shampoo
| Do’s | Don’ts |
|---|---|
| Shake well before each use | Apply too much at once—start with small amounts |
| Brush hair thoroughly after application | Use baking soda daily—it can disrupt pH balance |
| Store in a cool, dry place away from moisture | Leave powder in overnight regularly—can clog pores |
| Customize scents with safe essential oils | Use food-grade spices like cinnamon or turmeric—they may stain |
| Wash hair every 2–3 days even when using dry shampoo | Forget to clean your applicator; residue builds up over time |
FAQ
Can I use baby powder instead of making my own?
While traditional talc-based baby powders work similarly, many contain talc, which has raised health concerns when inhaled over long periods. Cornstarch-based baby powders are safer alternatives, but making your own ensures full transparency and customization.
How long does homemade dry shampoo last?
When stored in an airtight container away from humidity, your blend can last 3–6 months. Discard if you notice clumping, discoloration, or off smells—especially if essential oils were used.
Will cornstarch make my hair look white?
On very dark hair, plain cornstarch may leave a visible white or gray cast. To prevent this, mix in cocoa powder or reduce the amount applied. Always brush thoroughly after waiting a few minutes for oil absorption.
Checklist: Make Your First Batch Today
- ☐ Gather ingredients: base powder, optional cocoa/clay/oils
- ☐ Choose a mixing bowl and whisk or fork
- ☐ Find a reusable shaker container (clean and dry)
- ☐ Measure and blend ingredients evenly
- ☐ Label the container with contents and date
- ☐ Test on a small section of hair first
- ☐ Apply to roots, wait 5 minutes, then brush out completely
Conclusion
Making your own dry shampoo isn’t just a money-saving hack—it’s a step toward cleaner, more intentional beauty habits. By using ingredients already in your kitchen, you eliminate exposure to unknown chemicals, reduce plastic waste, and gain full control over what touches your scalp and hair.
The process is quick, adaptable, and surprisingly effective. Whether you’re refreshing second-day waves, managing oily roots during travel, or simply avoiding frequent washing to preserve color-treated strands, a personalized dry shampoo delivers real results without compromise.


 浙公网安备
33010002000092号
浙公网安备
33010002000092号 浙B2-20120091-4
Comments
No comments yet. Why don't you start the discussion?