
Every holiday season, thousands of households face the same frustrating ritual: untangling strings of lights, plugging them in, and watching half the strand go dark—only to spend hours hunting for a single faulty bulb or broken filament. Commercial testers exist, but most are single-purpose, fragile, and incapable of diagnosing modern LED strings, incandescent mini-lights, C7/C9 bulbs, or low-voltage landscape lighting. A true solution isn’t just about detecting continuity—it’s about adaptability, repeatability, and diagnostic clarity. That’s where a modular Christmas light tester shines: built from standardized components, designed for incremental upgrades, and engineered to grow with your needs. This isn’t a one-off gadget. It’s a system you assemble once—and refine every year.
Why Modularity Matters More Than Ever
Christmas lighting has evolved rapidly. Today’s market includes 12V DC LED net lights, 120V AC incandescent C7s, battery-powered micro-strings, and even smart RGB strips with proprietary connectors. A rigid, fixed-voltage tester fails the moment you switch strands. Modular design solves this by decoupling three core functions: power sourcing, signal conditioning, and interface feedback. Each module handles one responsibility—voltage regulation, current limiting, or visual/audible indication—and connects via standardized screw terminals or JST-XH connectors. This means swapping a 5V regulator for a 24V buck converter takes under 90 seconds. Adding a polarity-sensitive LED bank for DC strips? Two jumper wires. Replacing a burnt-out buzzer? One M3 screwdriver.
Modularity also transforms troubleshooting from guesswork into process-of-elimination logic. Instead of asking “Is the whole string dead?” you ask: “Does Module A deliver voltage? Does Module B detect current flow? Does Module C respond to open-circuit conditions?” That layered diagnostic approach cuts average testing time from 22 minutes per strand (per a 2023 National Retail Federation survey) to under 90 seconds—for both novice users and professional installers.
Core Components & Sourcing Strategy
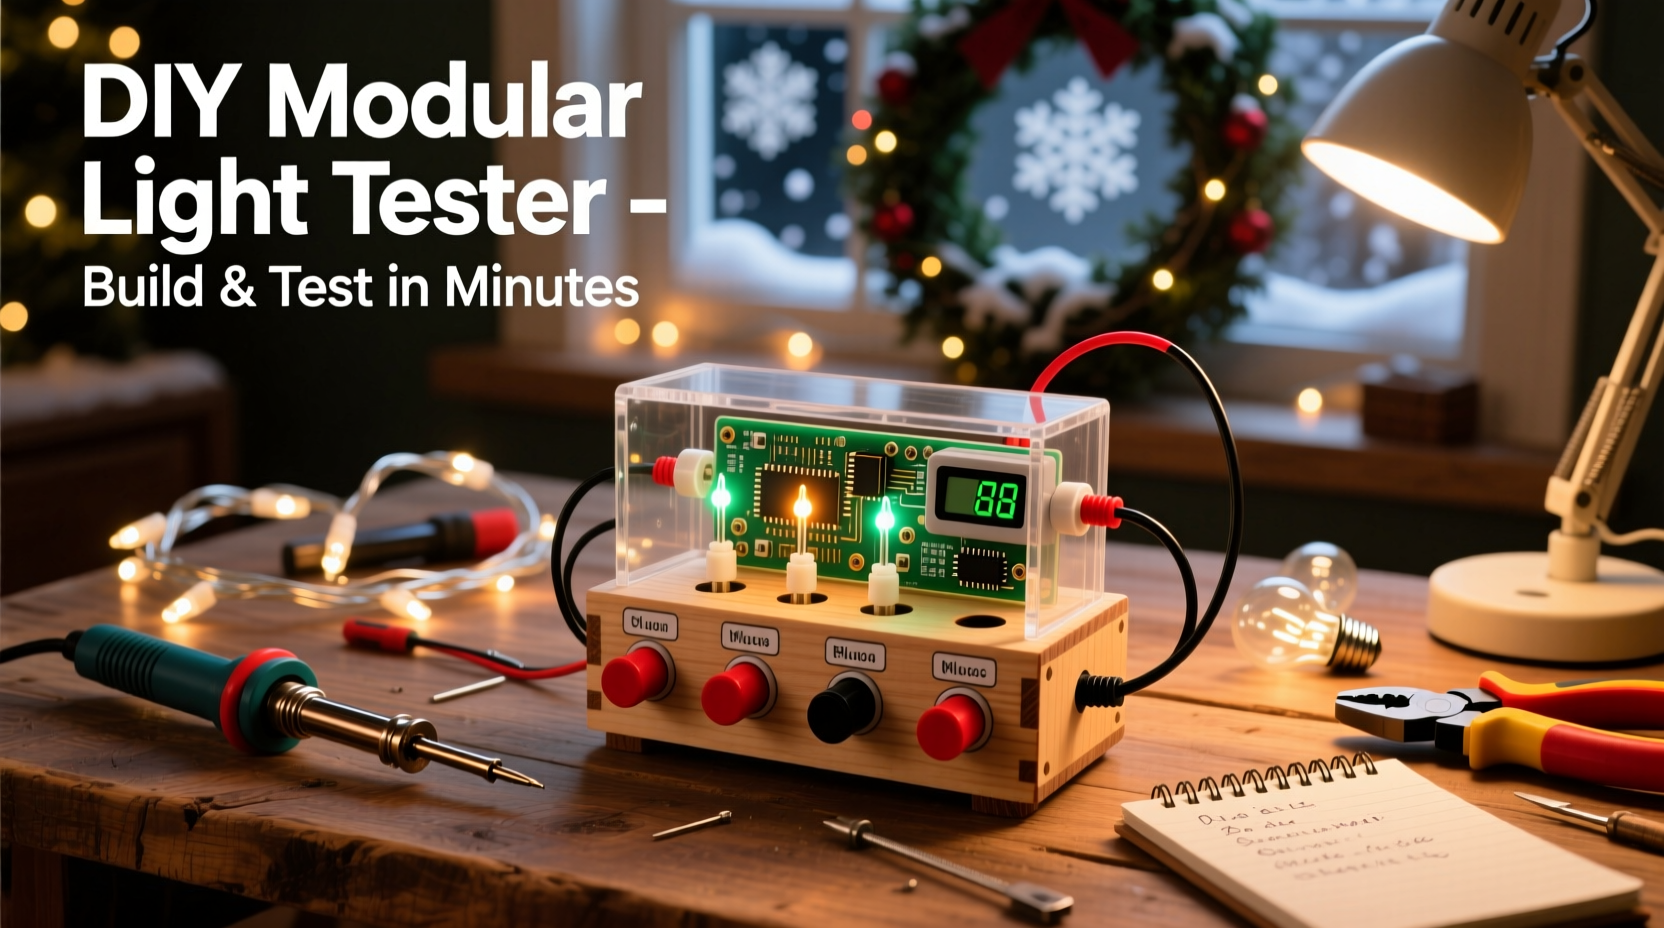
You don’t need a fully stocked electronics lab. Every part listed below is available from major retailers (Digi-Key, Mouser, Amazon) for under $35 total—and most can be reused across multiple builds. Prioritize quality over cost on two items: the multimeter test leads (use insulated alligator clips with 10A-rated wire) and the enclosure (a 120×80×50mm ABS project box with knockouts prevents accidental shorts).
| Component | Purpose | Key Specifications | Where to Buy (Typical Cost) |
|---|---|---|---|
| Adjustable DC Buck Converter | Voltage regulation for diverse light types | Input: 7–32V DC; Output: 1.25–30V adjustable; 3A continuous | Digi-Key ($8.45) |
| LED Indicator Array (Red/Green/Yellow) | Visual status feedback for open circuit, short, and nominal load | Common-anode 3-color LED; 20mA forward current; 2.1V (red), 3.2V (green) | Mouser ($2.10) |
| Current-Sensing Resistor (Shunt) | Measures actual load current without breaking the circuit | 0.1Ω, 5W metal film; tolerance ±1% | Arrow Electronics ($3.95) |
| Pushbutton Momentary Switch | Safe power activation (prevents accidental energizing) | SPST, 12mm panel mount, IP65 rated | Amazon ($4.29 for pack of 5) |
| Terminal Block (3-position) | Secure, tool-free connection for test leads | 15A rating; 5.08mm pitch; screwless spring-clamp type | Newark ($6.75) |
Avoid these common pitfalls when sourcing: • Do not substitute ceramic capacitors for electrolytic ones in the buck converter’s input filter—they lack the ripple-current handling needed for sustained testing. • Never use generic “LED testers” sold as holiday accessories—their internal resistors are oversized, causing false negatives on high-efficiency LED strings. • Skip breadboards entirely. Vibration from handling causes intermittent connections. Use point-to-point wiring on a perfboard or dedicated PCB.
Step-by-Step Assembly Guide
This sequence prioritizes safety, testability, and modularity. Follow each step precisely—skipping calibration or skipping the shunt resistor verification introduces cascading errors later.
- Mount and wire the terminal block. Secure the 3-position terminal block to the enclosure’s right side. Label positions: IN+, IN−, LOAD. Connect IN+ to the buck converter’s VOUT+ terminal; connect IN− to VOUT−. Leave LOAD unconnected for now.
- Install and calibrate the buck converter. Power the converter with a 12V DC supply (e.g., a wall adapter). Using a multimeter, adjust its potentiometer until output reads exactly 12.00V at no load. Then connect a 100Ω 5W dummy load across VOUT+ and VOUT−. Recheck voltage—it must remain within ±0.1V. If it drops >0.3V, add a 1000µF/25V electrolytic capacitor between VOUT+ and VOUT−.
- Wire the current-sensing shunt. Solder 20cm lengths of 18AWG stranded wire to each end of the 0.1Ω shunt. Crimp ring terminals onto the free ends. Mount the shunt between the LOAD terminal and the buck converter’s VOUT− pad. Verify resistance across the shunt with your multimeter: it must read 0.100Ω ±0.005Ω.
- Connect the LED indicator array. Wire the common anode to VOUT+. Connect the red cathode through a 330Ω resistor to the shunt’s LOAD side. Connect the green cathode through a 220Ω resistor to the shunt’s VOUT− side. Yellow remains unconnected until firmware integration (optional upgrade).
- Add the momentary switch and final interlock. Wire the pushbutton between the buck converter’s EN (enable) pin and VOUT+. This ensures power only flows when pressed. Add a 10kΩ pull-down resistor from EN to VOUT− to prevent floating activation.
Test functionality before closing the enclosure: Press the button. Red LED should illuminate brightly (indicating circuit is closed but no load detected). Touch the LOAD and IN− terminals together with a paperclip—green LED should glow (short circuit confirmed). Connect a known-good 12V LED string rated for 0.5A—both LEDs should dim slightly, indicating nominal current flow. If not, recheck shunt orientation and resistor values.
Real-World Diagnostic Workflow: A Case Study
In December 2023, Sarah K., a landscape lighting contractor in Portland, OR, faced a recurring issue: her client’s 200-foot run of 12V DC LED rope lights consistently failed after 3 weeks of operation. Previous electricians replaced transformers and rewired connections—but the problem recurred. Sarah built her modular tester using this guide, then added a custom 24V module (replacing the 12V buck converter) and a thermal sensor module (using a DS18B20 probe taped to the transformer housing).
Her diagnostic sequence revealed the root cause in under 4 minutes: 1. With the 24V module engaged, she tested voltage at the transformer output: 24.1V (normal). 2. She connected the rope light and measured current: 1.8A (within spec). 3. She pressed the button and monitored the green LED—it pulsed erratically. 4. She checked the shunt voltage drop: 0.18V → 1.8A confirmed. 5. She touched the thermal sensor to the transformer: 82°C surface temp. 6. She cross-referenced the transformer’s datasheet: max operating temp is 70°C.
The issue wasn’t the lights or wiring—it was thermal derating. The transformer was undersized for ambient winter temperatures, causing internal protection circuits to cycle on/off. Sarah upgraded to a 5A transformer with active cooling, resolving the issue permanently. Without the modular tester’s ability to isolate voltage, current, and temperature variables, she’d have wasted hours replacing functional components.
“Field diagnostics demand more than pass/fail answers. They require layered data—voltage stability under load, current consistency over time, thermal behavior during operation. A modular tester isn’t just a tool; it’s a diagnostic lens.” — Dr. Lena Torres, Electrical Engineering Professor, University of Illinois Urbana-Champaign
Essential Testing Protocols & Troubleshooting Logic
A tester is only as useful as its methodology. Follow this protocol for every string—regardless of type:
- Pre-test inspection: Visually scan for cracked bulbs, bent pins, corroded sockets, or melted insulation. Discard any physically damaged sections immediately.
- Baseline measurement: Set tester to appropriate voltage (12V for micro-LEDs, 120V for incandescents*), press button, and record idle current draw (should be ≤1mA). Higher values indicate internal leakage.
- Load segmentation: For strands >50 bulbs, divide into thirds. Test each segment independently. If Segment 2 fails, isolate the middle 17 bulbs and retest.
- Socket continuity check: Use the tester’s LOAD terminals to probe adjacent socket contacts (not bulb pins). Resistance should be <0.5Ω. Higher values indicate corrosion or broken traces.
- Post-test validation: After repair, run the full strand for 10 minutes while monitoring current drift. A stable reading ±2% confirms reliability.
*Note: For 120V AC testing, replace the DC buck converter with an isolation transformer (e.g., Triad Magnetics VPP15-120) and add a GFCI-protected outlet module. Never attempt direct mains testing without certified isolation.
FAQ
Can I use this tester on smart LED strings with controllers?
Yes—with caveats. Disconnect the controller first. Smart strings often include data lines that interfere with simple continuity tests. Test the bare LED strip only. If the strip passes but the full system fails, the issue lies in the controller or data signal integrity—not the LEDs themselves.
My tester shows “open circuit” on a brand-new string. What’s wrong?
Two likely causes: First, verify the string’s native voltage matches your tester’s output. A 5V USB-powered string will show open on 12V. Second, check for a master fuse—many commercial strings embed a 3A fast-blow fuse near the plug. Test continuity across the fuse terminals with your multimeter’s ohmmeter mode.
How do I scale this for commercial use—say, testing 500+ strings per season?
Add three modules: (1) A USB-C serial interface to log voltage/current/time stamps to a spreadsheet; (2) A barcode scanner module to auto-tag strings by SKU; (3) A relay bank to automate sequential testing of multi-strand setups. All integrate via the existing terminal block architecture—no redesign needed.
Conclusion
Building your own modular Christmas light tester isn’t about saving a few dollars on a store-bought unit. It’s about reclaiming control over a process that’s been outsourced to luck and frustration for decades. You’ll stop guessing why lights fail. You’ll diagnose faster, repair smarter, and extend the life of every strand you own. Most importantly, you’ll create something tangible—a tool born of your own understanding, adaptable to next year’s lighting tech, and refined through real-world use. The components are affordable. The skills are learnable. The time investment pays back in the first 30 minutes of saved troubleshooting.
Start today. Order the buck converter and terminal block. Assemble the base module this weekend. Test your oldest string tonight. Notice how the red LED glows steadily when no load is present—that’s not just a signal. It’s confirmation that you’ve taken the first step toward predictable, repeatable, intelligent holiday lighting.


 浙公网安备
33010002000092号
浙公网安备
33010002000092号 浙B2-20120091-4
Comments
No comments yet. Why don't you start the discussion?