
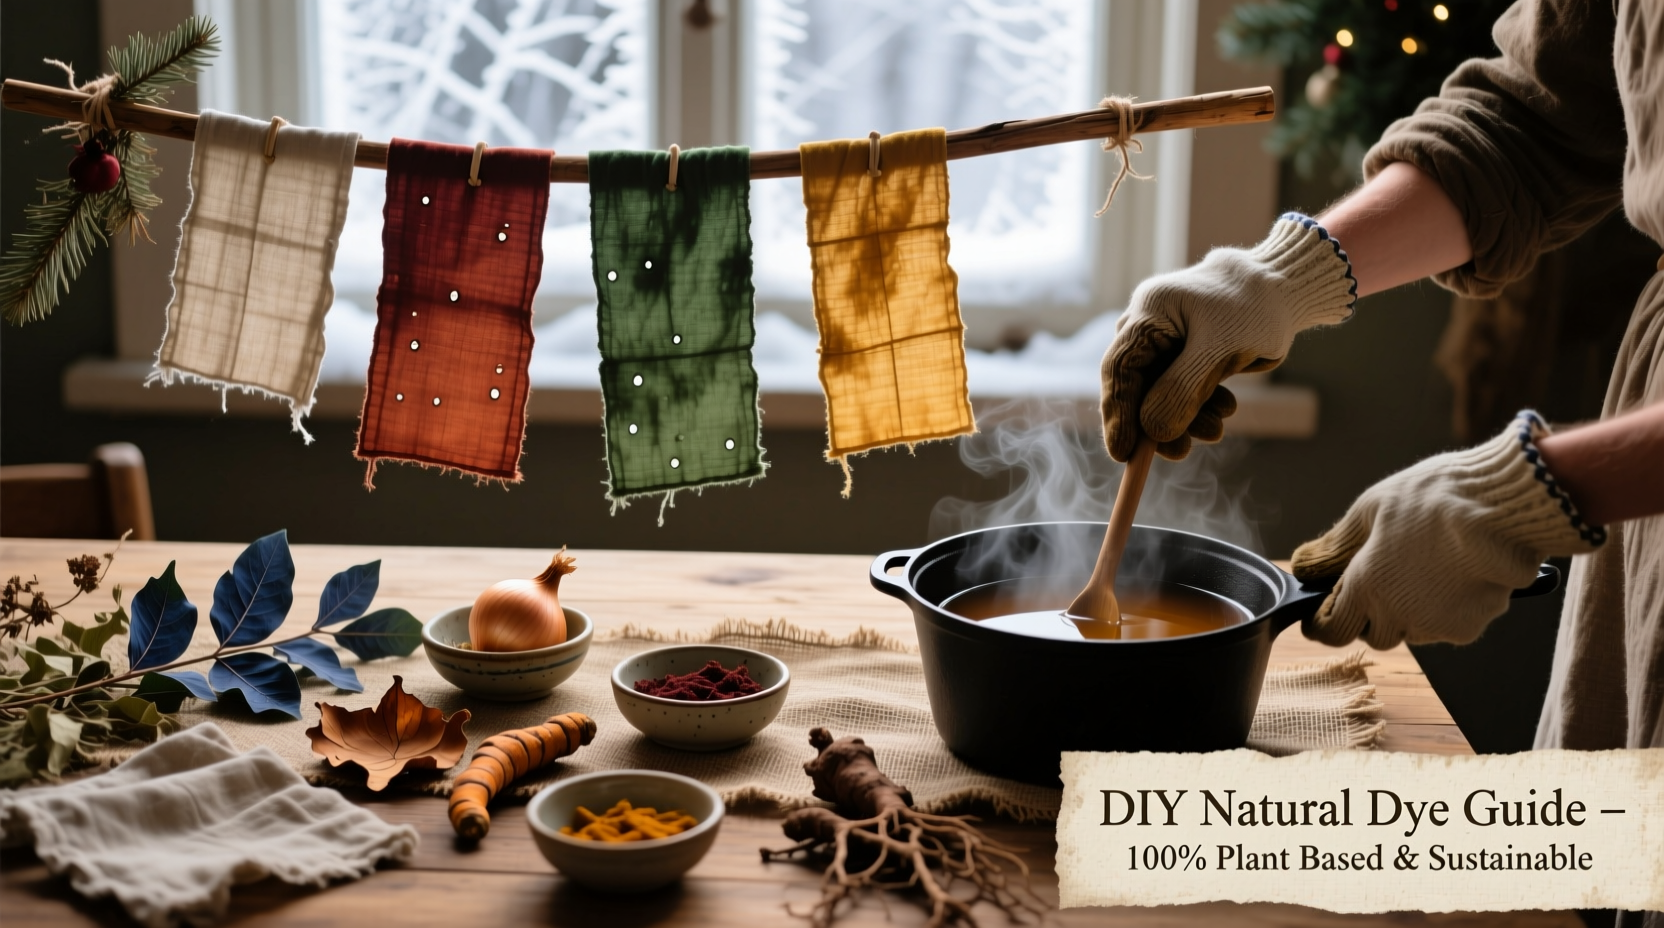
There’s a quiet magic in hanging a garland dyed with crushed blackberries, simmered onion skins, or dried madder root—colors that shift softly in candlelight, carry the scent of earth and spice, and tell a story long before they reach the mantel. Natural dyes offer more than aesthetic charm: they’re non-toxic, biodegradable, and deeply connected to seasonal rhythms. For rustic Christmas decor—think burlap, linen, unbleached cotton, and wool—natural dyes yield warm, muted tones: cranberry-rose pinks, walnut-bronze browns, sage-olive greens, and ochre-gold yellows. Unlike synthetic dyes, which shout, natural dyes whisper—layering depth, variation, and authenticity into every fold and frayed edge. This guide walks you through the full process—not as abstract theory, but as practiced craft. You’ll learn how to source, prepare, mordant, dye, and finish fabrics with materials you can gather from your pantry, garden, or local woods—no chemistry degree required, just curiosity and care.
Why Natural Dye Belongs on Your Christmas Mantel
Natural dyeing aligns with the ethos of intentional, slow holiday-making. It transforms ordinary fabric into heirloom-grade decor: each garland becomes a tactile record of place and season. A bundle of dried eucalyptus leaves harvested in late November yields soft silvery-greens; fallen maple leaves gathered after the first frost give russet glows; even spent coffee grounds from your morning pot produce rich, velvety taupes. These colors age gracefully—deepening slightly over time rather than fading or bleeding. Crucially, natural dyes are safer for homes with children and pets, and gentler on vintage or handwoven textiles often used in rustic garlands. They also sidestep the environmental cost of commercial textile dyes, which contribute significantly to water pollution and microplastic runoff. As textile historian Dr. Lena Torres observes, “The resurgence of plant-based dyeing isn’t nostalgia—it’s recalibration. We’re choosing pigments that nourish the soil when they return to it, not poison it.” That integrity carries meaning during a season rooted in generosity and renewal.
Essential Materials & Where to Source Them
You don’t need a specialty supplier to begin. Most effective natural dyes come from food waste, garden trimmings, or easily foraged botanicals. Below is a curated list of high-yield, accessible sources—prioritized by pigment strength, reliability, and festive relevance:
| Dye Source | Color Range | Best Season to Gather/Use | Yield Notes |
|---|---|---|---|
| Yellow onion skins (outer, dry) | Warm gold, amber, burnt orange | Year-round (pantry staple) | High yield; no prep needed beyond drying. 50g skins dye 100g fabric deeply. |
| Blackberries & elderberries | Rose, plum, dusty violet | Mid–late summer (freeze for winter use) | Frost-sensitive; freeze whole berries in sealed bags. Thaw before simmering. |
| Walnut hulls (green, freshly fallen) | Rich chocolate brown, charcoal grey | Early autumn (wear gloves!) | Extremely lightfast. Hulls stain skin—use stainless steel tools only. |
| Dried marigold petals (Calendula officinalis) | Buttery yellow, honey-gold | Dry midsummer; store in airtight jars | Excellent for pale linens. Combine with alum mordant for clarity. |
| Pine needles & spruce tips | Olive green, mossy sage | Year-round (harvest sustainably) | Requires longer simmer (2+ hours). Best with wool or silk for color lift. |
Avoid supermarket “organic” dyes marketed as “natural”—many contain undisclosed metal salts or synthetic carriers. True natural dyeing relies on three core components: the dye material (the pigment source), the mordant (a mineral binder that fixes color to fiber), and the fiber itself. For rustic garlands, stick to protein fibers (wool, silk) or cellulose fibers (cotton, linen, burlap)—but know they behave differently. Wool accepts dyes readily and yields deeper tones; cotton requires stronger mordants and longer dye times. Always test on scraps first—especially with burlap, whose uneven weave absorbs dye unpredictably.
The Mordanting Process: Why Skipping This Step Fails Every Time
Mordanting is non-negotiable. Without it, natural dyes wash out within days, fade unevenly, or never adhere at all. A mordant is a metallic salt—typically alum (potassium aluminum sulfate)—that forms a molecular bridge between dye molecules and fiber. Alum is preferred for home use: it’s odorless, non-toxic, widely available, and produces clear, lightfast results. Iron (ferrous sulfate) can be used as a modifier—to dull or grey colors—but should never replace alum as the primary mordant for Christmas garlands, where warmth and luminosity matter most.
For 100g of fabric (roughly enough for a 3-foot garland strip), follow this precise mordant sequence:
- Weigh dry fabric—accuracy matters. Use a kitchen scale.
- Scour fabric: Simmer in pH-neutral soap (like Orvus WA Paste) for 1 hour to remove oils and finishes. Rinse thoroughly in cool water.
- Soak in cold water for 1 hour to ensure even saturation.
- Prepare mordant bath: Dissolve 15g alum + 5g chalk (calcium carbonate) in 1L warm water. Chalk balances pH and prevents harshness on fibers.
- Add wet fabric to mordant bath. Heat gently to 85°C (do not boil). Hold at this temperature for 45 minutes, stirring gently every 10 minutes.
- Cool overnight in the mordant bath—do not rinse. Remove, gently squeeze excess liquid, and proceed directly to dyeing.
This method ensures maximum color uptake and longevity. Skipping the chalk leads to duller hues; boiling the mordant bath can damage wool fibers; rinsing before dyeing removes the essential binding layer. Remember: mordanted fabric can sit damp for up to 48 hours before dyeing—ideal for batch preparation.
Step-by-Step Dyeing: From Simmer Pot to Drying Rack
Timing, temperature, and agitation determine whether your garland reads as “handmade with love” or “slightly muddy.” Follow this sequence precisely for consistent, luminous results:
- Prepare dye bath: Chop or crush dye material. Use a 2:1 ratio of dye material to fabric weight (e.g., 200g onion skins for 100g fabric). Place in a large stainless steel or enamel pot. Cover with twice the volume of water. Soak overnight.
- Simmer, don’t boil: Heat slowly to 85–90°C. Maintain this temperature for 60–90 minutes. Boiling degrades delicate pigments (especially berry dyes) and causes fiber stress.
- Strain and cool: Pour dye liquid through a fine-mesh strainer or cheesecloth into a clean vessel. Discard solids. Let dye bath cool to 40–45°C—warm to the touch, not hot.
- Introduce mordanted fabric: Gently submerge fabric. Press out air bubbles. Do not stir vigorously—this causes abrasion and uneven dyeing on textured fabrics like burlap.
- Steep, not simmer: Leave fabric in warm (not hot) dye bath for 1–3 hours, depending on desired intensity. Berry dyes peak at 1 hour; walnut and onion skins benefit from 2–3 hours. Check every 30 minutes by lifting a corner and observing color development.
- Remove and air-dry: Lift fabric gently, allowing excess dye to drip back into the pot. Hang vertically on a rust-free hanger or lay flat on a drying rack in indirect light. Never wring or tumble dry—this disturbs pigment settlement.
After 24 hours of drying, rinse *once* in cool water with a drop of pH-neutral soap to remove surface pigment. Hang again to finish drying. The final color will deepen slightly over the next 48 hours as oxidation completes.
Real-World Example: The Maple & Walnut Garland Project
In late November 2023, artisan Sarah Lin of Vermont created a 12-foot garland for her community’s historic church using only foraged materials. She collected 3.5kg of green walnut hulls from her backyard trees and 1.2kg of fallen sugar maple leaves after the first hard frost. She scoured and mordanted 800g of undyed wool roving and 400g of heavyweight linen burlap strips. Using two separate dye baths—one walnut (simmered 90 minutes), one maple (steeped 2 hours at 75°C)—she achieved layered tonality: walnut-dyed wool formed the garland’s base, while maple-dyed burlap provided airy, leaf-shaped accents. When hung beside stained-glass windows, the colors shifted from deep sepia at dawn to warm copper at dusk. Crucially, Sarah noted that the maple dye required iron modification (1g ferrous sulfate added to the final 15-minute steep) to stabilize its fugitive green—proof that even experienced dyers adapt based on fiber, season, and light exposure. Her garland remained vibrant through three weeks of daily candlelight services and was later repurposed as gift wrap twine—still richly colored after gentle hand-washing.
Common Pitfalls & How to Avoid Them
Natural dyeing rewards patience but punishes haste. Here’s what consistently trips up beginners—and how to prevent it:
- Using tap water with high iron or chlorine: These minerals interfere with pigment bonding. Always use filtered, distilled, or rainwater—or boil tap water for 10 minutes and cool before use.
- Overcrowding the dye pot: Fabric must move freely. If layers stack or tangle, dye penetrates unevenly. Use a pot large enough to hold fabric fully submerged with room to float.
- Assuming “more dye = darker color”: Excess plant matter creates sludge, not saturation. Stick to the 2:1 ratio—and remember, longer steeping yields richer tones more reliably than extra biomass.
- Dyeing mixed-fiber garlands in one bath: Wool and cotton absorb dyes at different rates and intensities. Dye them separately, then assemble.
- Skipping pH testing: Berry dyes shift dramatically with acidity. Add 1 tsp white vinegar to brighten reds/pinks; 1 tsp baking soda to deepen purples/blues. Test on a scrap first.
“Natural dyeing teaches humility. You work *with* the material—not against it. The most beautiful Christmas garlands aren’t perfectly uniform; they breathe, vary, and hold the memory of their making.” — Elena Rios, Founder of Hearth & Hue Natural Dye Studio
FAQ: Your Practical Questions, Answered
Can I reuse a natural dye bath for multiple batches?
Yes—with caveats. A first-run bath gives deepest color. A second batch (using fresh mordanted fabric) yields a softer, more ethereal tone—ideal for layered garlands. Never reuse a bath beyond two batches; pigment exhaustion leads to weak, splotchy results. Always strain between uses and refrigerate overnight if reusing within 48 hours.
Will my naturally dyed garland bleed onto furniture or walls?
Properly mordanted and rinsed fabric should not bleed under normal indoor conditions. However, avoid hanging near humidifiers or placing directly on light-colored wood or marble—residual tannins in walnut or sumac dyes may transfer if damp. Seal with a light mist of vinegar-water (1:4 ratio) after drying to lock pigments.
How do I store leftover dyed fabric before assembling the garland?
Store flat, folded loosely in breathable cotton bags—never plastic. Keep in a cool, dark closet away from direct sunlight. Avoid stacking heavy objects on top; burlap and linen crease easily and may show pressure marks. Assemble within 2 weeks for best handling flexibility.
Conclusion: Hang It With Intention
Your rustic Christmas garland is more than decoration—it’s a ritual object. Each loop of dyed fabric carries the quiet labor of gathering, simmering, waiting, and tending. It holds the color of a specific autumn afternoon, the scent of crushed herbs, the weight of intention poured into every step. That’s why natural dyeing endures: it refuses mass production in favor of meaning. You don’t need perfection—you need presence. Start small: dye a single burlap strip with onion skins this weekend. Notice how the gold shifts as it dries. Feel the texture change. Then add another strip—this time with pine needles. Let variation become your signature, not a flaw. When you hang that garland above your doorway, you’re not just welcoming guests—you’re honoring cycles of growth, decay, and renewal that define both the season and the craft itself.


 浙公网安备
33010002000092号
浙公网安备
33010002000092号 浙B2-20120091-4
Comments
No comments yet. Why don't you start the discussion?