
Every holiday season, homes across neighborhoods compete in subtle rivalry: who can create the most dazzling, synchronized, or imaginative Christmas light show? While many rely on store-bought sets with preset patterns, a growing number of enthusiasts are building their own programmable displays. The best part? You don’t need advanced engineering skills or expensive equipment. With basic tools, some inexpensive electronics, and a bit of patience, you can design a custom light display that dances to music, changes colors on command, or cycles through animated patterns—all under your control.
This guide walks through the practical steps of creating a programmable Christmas light setup from scratch. Whether you're aiming for a modest porch accent or a full yard spectacle, the principles remain the same. You’ll learn what components to use, how to wire them safely, and how to write simple code to bring your lights to life.
Understanding the Core Components
A programmable light display hinges on three main elements: addressable LEDs, a microcontroller, and power delivery. Unlike traditional string lights where all bulbs behave identically, addressable LEDs—such as WS2812B (commonly known as NeoPixels)—allow individual control over each bulb’s color and brightness. This enables complex animations like chasing effects, rainbow sweeps, and sound-reactive patterns.
The brain of the system is a microcontroller. The most accessible option for beginners is the Arduino Nano or ESP32, both of which support libraries specifically designed for controlling LED strips. These boards accept code via USB and run it independently once programmed. For wireless control or Wi-Fi synchronization, the ESP32 offers built-in connectivity, making it ideal for advanced setups.
Power is often overlooked but critical. A 5-meter strip of 60 LEDs per meter draws about 18 amps at full white brightness. That means a standard USB port won’t suffice. Use a dedicated 5V DC power supply rated for at least 20% above your total expected draw to prevent overheating or voltage drops.
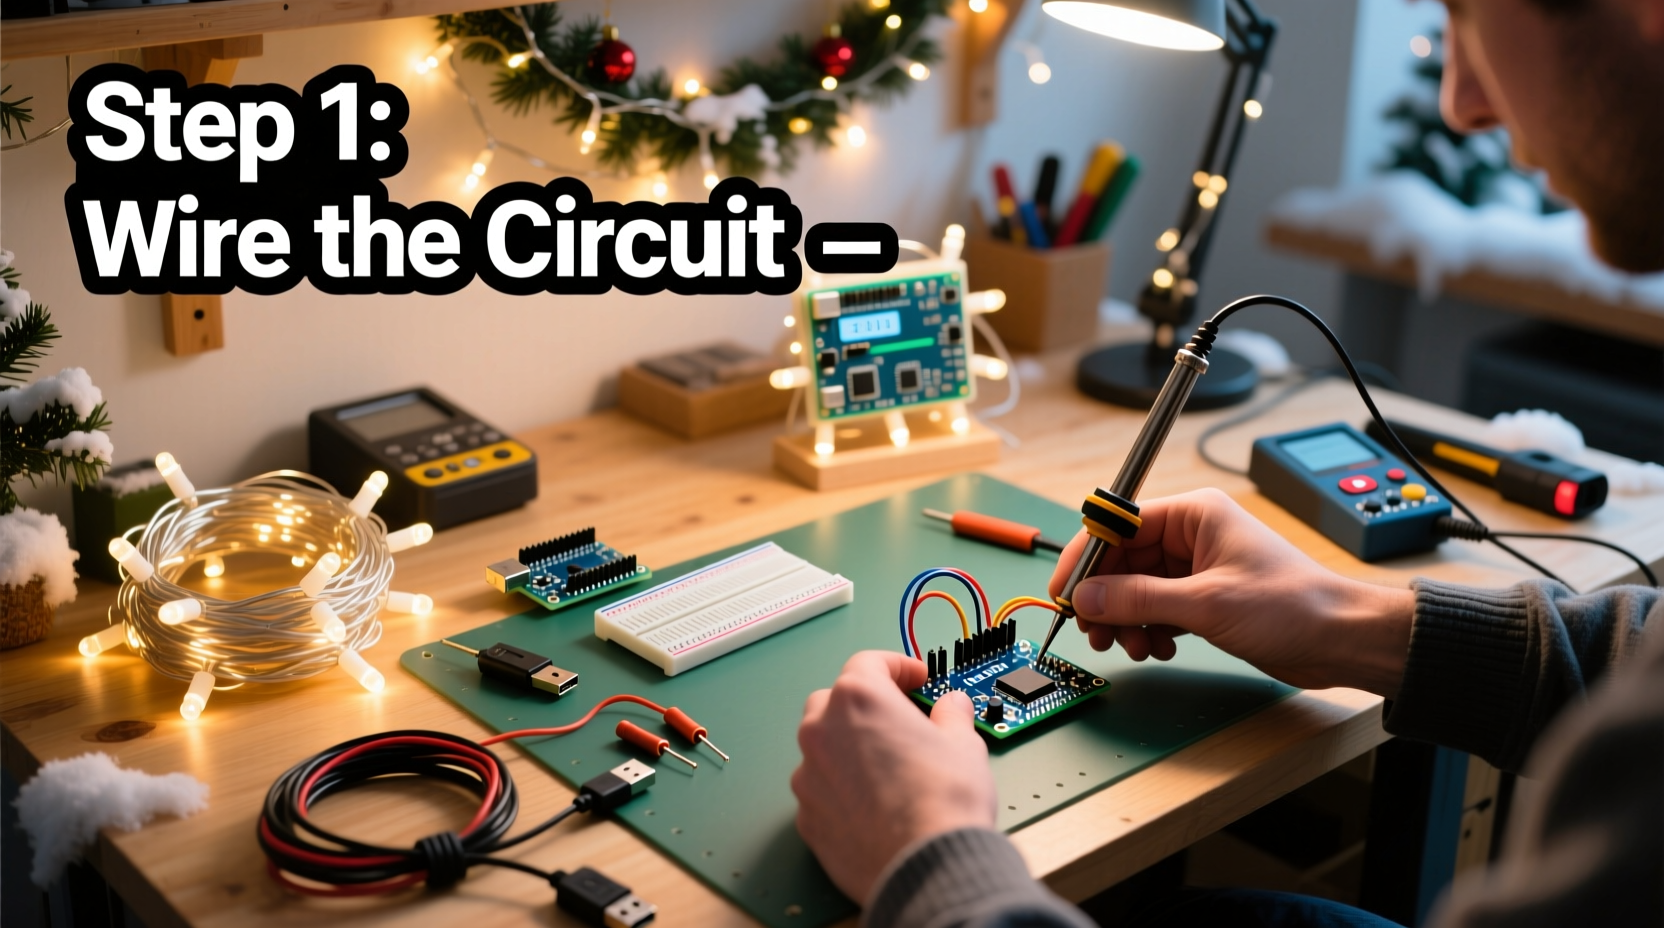
Step-by-Step Guide to Building Your Display
Follow this sequence to assemble a functional, programmable light display in under a weekend.
- Gather materials: Acquire an addressable LED strip (preferably waterproof if used outdoors), a microcontroller (Arduino Nano or ESP32), a 5V power supply with sufficient amperage, a breadboard or perfboard, jumper wires, and optionally a transistor or relay module if switching higher loads.
- Cut and plan layout: Measure your display area—eaves, trees, railings—and cut the LED strip at designated points (usually marked with scissors icons). Avoid cutting elsewhere to prevent damage.
- Wire the circuit: Connect the data input pin of the LED strip to digital pin D6 on the microcontroller. Link the ground (GND) lines together between the controller and the power supply. Connect the 5V line from the power supply to the LED strip’s VCC. If powering the microcontroller separately, ensure grounds are shared.
- Write and upload code: Install the FastLED or Adafruit_NeoPixel library in the Arduino IDE. Write a sketch that defines the number of LEDs and selects animation patterns. Upload the code to your board.
- Test indoors first: Power the setup on a workbench before installing outside. Confirm all LEDs respond correctly and animations run smoothly.
- Mount and weatherproof: Use zip ties or adhesive clips to secure the strip. Protect connections with heat-shrink tubing or silicone sealant. Enclose the microcontroller in a waterproof project box.
- Expand and refine: Add multiple strips controlled by one board, or use multiple controllers synchronized via time or signals.
Programming Made Simple: Patterns and Control
You don't need to be a coder to create impressive effects. Libraries like FastLED abstract much of the complexity. Here’s a minimal example that creates a rainbow cycle:
#include <FastLED.h>
#define NUM_LEDS 150
#define DATA_PIN D6
CRGB leds[NUM_LEDS];

void setup() {
  FastLED.addLeds<WS2812B, DATA_PIN, GRB>(leds, NUM_LEDS);
}

void loop() {
  static uint8_t hue = 0;
  fill_rainbow(leds, NUM_LEDS, hue++, 5);
  FastLED.show();
  delay(20);
}
This code initializes 150 LEDs, then fills them with a shifting rainbow pattern updated every 20 milliseconds. Adjusting the delay changes speed; modifying the increment alters smoothness.
For more interactivity, integrate sensors. A sound detector module can make lights pulse with music. An ESP32 with Wi-Fi can receive commands from a smartphone app or sync with online holiday playlists. MQTT or HTTP requests allow remote triggering of scenes—ideal for coordinating with neighbors.
“Even small DIY displays have emotional impact. One homeowner told me their programmable tree lights brought strangers to tears during a difficult holiday season.” — Mark Lin, Community Lighting Coordinator, Twin Cities Holiday Lights Network
Checklist: Pre-Installation Verification
Before mounting anything outside, go through this checklist to avoid frustration later.
- ✅ Confirm LED strip polarity and pinout (data, VCC, GND)
- ✅ Double-check wiring against schematic
- ✅ Test power supply under load (use multimeter to verify stable 5V)
- ✅ Ensure microcontroller is properly programmed and recognized by computer
- ✅ Verify all LEDs illuminate without flickering or dead zones
- ✅ Seal all outdoor electrical connections
- ✅ Mount controller in accessible, dry location
- ✅ Label wires if using multiple strips
Safety, Efficiency, and Longevity Tips
While low-voltage systems are inherently safer than mains-powered lights, risks still exist. Overloaded circuits, poor insulation, and heat buildup can lead to malfunctions or fire hazards. Address these proactively.
| Do | Don’t |
|---|---|
| Use fuses on power lines (3–5A for typical strips) | Daisy-chain more than 5 meters of 60 LEDs/m without additional power injection |
| Install strips with ventilation space behind them | Run full-white animations continuously for hours—heat accumulates quickly |
| Use thick-gauge wire (18 AWG or lower) for power runs over 1 meter | Leave exposed solder joints outdoors |
| Ground all metal enclosures and share common ground across components | Place power supplies near standing water or snow accumulation |
Efficiency matters not just for safety but also cost. Running a 300-LED display at full brightness consumes about 50 watts. At four hours per night over 30 days, that’s 6 kWh—roughly $0.75 depending on local rates. Using dimmer settings or selective activation reduces consumption significantly.
Real Example: A Backyard Wonderland on a Budget
Take the case of Sarah Nguyen, a high school teacher in Portland, Oregon. With a budget of $120 and no prior electronics experience, she transformed her backyard into a winter wonderland using two 2-meter LED strips wrapped around tree trunks, a third forming a star shape on the fence, and an ESP32 controller.
She began by watching beginner tutorials on YouTube, then downloaded pre-written code snippets from GitHub. After testing connections on a breadboard, she soldered everything onto a perfboard for durability. She powered the system with a repurposed 5V/4A phone charger and housed the controller in a sealed plastic container.
Using a free mobile app (Blynk), she created buttons to switch between “Snowfall,” “Candy Cane,” and “Pulse to Music” modes. During a neighborhood walk, kids stopped to clap when the lights pulsed in rhythm with \"Jingle Bell Rock\" played from her phone.
Her advice? “Start small. One strip. One effect. Get it working before adding complexity. And don’t fear mistakes—mine blinked red for three days because I swapped data and power wires.”
FAQ: Common Questions Answered
Can I use my existing Christmas lights?
No—standard incandescent or non-addressable LED strings cannot be individually programmed. You must use addressable strips like WS2812B, SK6812, or APA102. However, you can integrate old lights as background illumination while using programmable ones for dynamic effects.
Is soldering required?
It’s strongly recommended for permanent installations. While clip-on connectors exist, they’re prone to loosening outdoors. Soldered joints, covered with heat-shrink tubing, offer reliable, long-term connections. For prototyping, breadboards and jumper wires work fine.
Can I synchronize multiple controllers?
Yes. Using Wi-Fi-enabled boards like the ESP32, you can broadcast time codes or animation triggers over a local network. Alternatively, use a master-slave setup where one Arduino sends signals via serial or radio (nRF24L01 modules) to others. Precision timing keeps animations aligned across large displays.
Conclusion: Light Up the Holidays Your Way
Creating your own programmable Christmas light display isn’t just about technical achievement—it’s about personal expression. There’s a unique joy in seeing a pattern you coded shimmer across your roof or watching children react to lights that dance with their favorite carol. What begins as a simple string of LEDs evolves into a storytelling medium, a community beacon, and a tradition you can expand year after year.
The tools are accessible, the knowledge is open-source, and the results are deeply rewarding. You don’t need perfection to begin. Start with a single strip, a borrowed laptop, and curiosity. Let each connection, each line of code, each blink of color build confidence. Before long, you’ll be the one inspiring others down the street.


 浙公网安备
33010002000092号
浙公网安备
33010002000092号 浙B2-20120091-4
Comments
No comments yet. Why don't you start the discussion?