
Transforming your home into a synchronized holiday spectacle no longer requires expensive commercial systems. With affordable microcontrollers, addressable LEDs, and open-source software, you can design a fully customizable, music-synced Christmas light display from scratch. This isn’t just about blinking lights—it’s about creating an immersive experience that responds to sound, changes patterns, and draws neighbors from blocks away. Whether you're new to electronics or have tinkered with Arduino before, this guide walks through every phase: planning, sourcing components, wiring, programming, and syncing to music.
Why Go DIY? The Power of Programmable Lighting
Commercial smart lights offer convenience but often limit customization and scalability. A DIY approach gives you full control over brightness, color sequences, timing, and audio responsiveness. You decide how many channels to run, where the lights go, and how they behave. Plus, once set up, the system can be reused and expanded year after year.
At the heart of modern DIY lighting displays are addressable LED strips like WS2812B (commonly known as NeoPixels), which allow individual control of each LED. Combined with microcontrollers such as the ESP32 or Arduino, these strips can execute complex animations triggered by time, sensors, or real-time audio input.
“With under $150 and a weekend of work, I built a 12-channel animated facade that syncs perfectly with holiday playlists.” — Derek Lin, DIY Holiday Tech Enthusiast
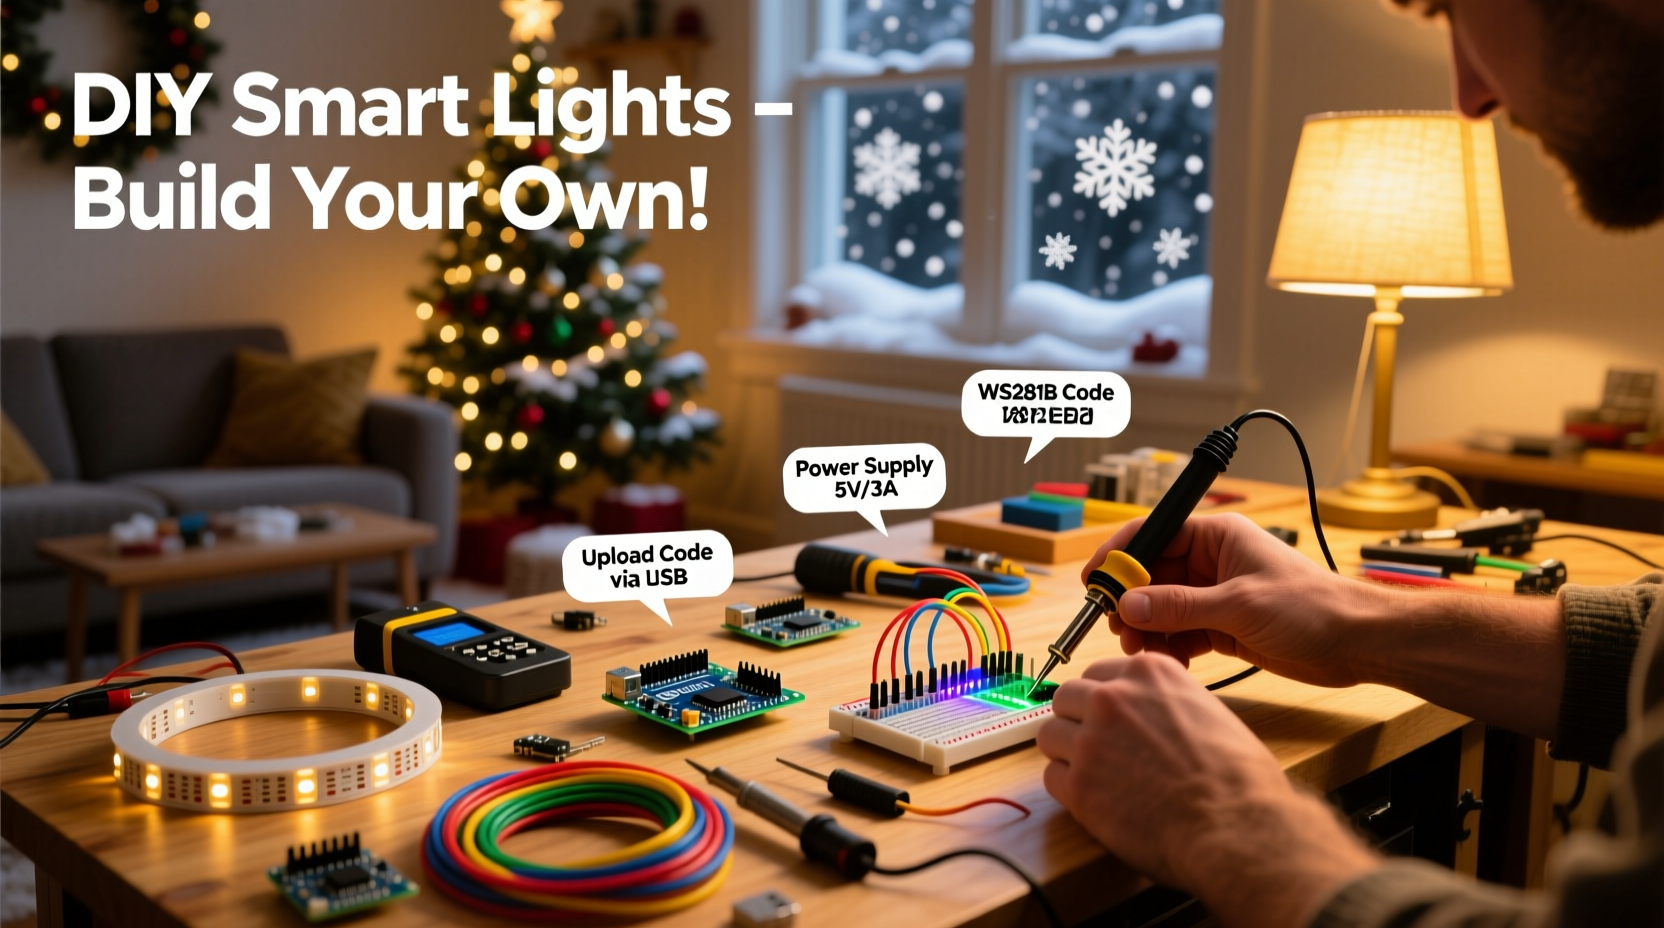
Essential Components and Tools Checklist
Before diving in, gather all necessary hardware and software tools. Here's what you’ll need:
- Microcontroller: ESP32 (recommended) or Arduino Uno/Nano
- LED Strips: WS2812B or SK6812 addressable RGB LEDs (waterproof if outdoors)
- Power Supply: 5V or 12V DC power supply (calculate amperage based on LED count)
- MOSFETs or Level Shifters: For signal integrity when driving long strips
- Jumper Wires & Connectors: Dupont cables, soldering iron, heat shrink tubing
- Diffusers: PVC tubing or milk jug panels to soften LED glare
- Mounting Supplies: Clips, zip ties, gutter hooks, conduit
- Software: Arduino IDE, FastLED or NeoPixel library, xLights (for advanced sequencing)
Power Calculation Example
A single WS2812B LED draws up to 60mA at full white (RGB on). For a 300-LED strip:
300 × 0.06A = 18A @ 5V → Requires a 5V/20A minimum power supply.
To reduce voltage drop across long runs, inject power at multiple points along the strip.
Step-by-Step Build Process
1. Design Your Layout
Sketch your house or yard layout and mark where lights will go—roofline, trees, windows, walkways. Group sections logically (e.g., front eaves, porch columns) so each becomes a controllable zone.
Assign zones based on physical proximity and desired effect. More zones mean more granular control but require more GPIO pins or multiplexing techniques.
2. Wire the Circuit
- Connect Data Line: Link the data input of the first LED strip to a digital pin on the ESP32 (e.g., GPIO 18).
- Use a Resistor: Place a 330Ω resistor between the microcontroller and the strip’s data pin to prevent signal spikes.
- Level Shifting (if needed): ESP32 outputs 3.3V logic; some strips expect 5V. Use a bidirectional level shifter for reliability over long distances.
- Power Injection: Every 50–100 LEDs, connect +5V and GND directly from the power supply to maintain brightness.
- Grounding: Tie the ground of the power supply to the microcontroller’s ground to avoid floating voltages.
3. Set Up the Development Environment
Install Arduino IDE and add support for ESP32 via the Board Manager. Then install the FastLED or Adafruit_NeoPixel library.
Upload a simple test sketch to verify functionality:
#include <FastLED.h>

#define LED_PIN     18
#define NUM_LEDS    50

CRGB leds[NUM_LEDS];

void setup() {
  FastLED.addLeds<WS2812B, LED_PIN, GRB>(leds, NUM_LEDS);
}

void loop() {
  fill_solid(leds, NUM_LEDS, CRGB::Red);
  FastLED.show();
  delay(1000);
  fill_solid(leds, NUM_LEDS, CRGB::Green);
  FastLED.show();
  delay(1000);
}
If the strip flashes red-green, communication is working.
4. Program Dynamic Effects
Replace static colors with animated patterns. Common effects include:
- Chase (moving dots)
- Rainbow cycles
- Audio-reactive bars
- Fade transitions
- Snow sparkle (random white twinkles)
For sound synchronization, use an analog microphone module (like MAX4466) connected to an ADC pin. Sample ambient audio and map amplitude to brightness or animation speed.
5. Scale to Multiple Zones
For larger displays, use shift registers or additional microcontrollers. Alternatively, chain multiple ESP32s over WiFi using MQTT to coordinate effects across different areas.
Example: One ESP32 controls roofline LEDs, another handles tree spirals, both receiving commands from a central Raspberry Pi running xLights.
Advanced Control with xLights and E1.31
For professional-level choreography, pair your DIY setup with xLights, a free desktop application used by thousands of holiday display builders.
xLights allows frame-by-frame sequencing synced precisely to music. It outputs lighting data over Ethernet or WiFi using the E1.31 (sACN) protocol, which ESP32 can receive via the ESPAsyncE131 library.
How E1.31 Works in Practice
| Component | Role |
|---|---|
| xLights (PC/Mac) | Creates and plays sequences with audio timeline |
| E1.31 Protocol | Sends channel data over network as UDP packets |
| ESP32 | Receives packets, maps channels to LED strips |
| Amplified Audio | Broadcasts music simultaneously via outdoor speakers |
This setup decouples design complexity from hardware limitations—you create rich shows on your computer while low-cost nodes execute them locally.
“We started small with one window outline and now run 18 independent channels across two houses using E1.31 and recycled routers.” — Maria Thompson, Founder of LightNet Community Builds
Real-World Example: The Neighborhood Light Show Upgrade
In Portland, Oregon, James Reed wanted to elevate his annual Christmas display beyond timer-based strings. He began by converting his roofline to addressable LEDs controlled by an ESP32. Using Arduino code, he programmed snowfall simulations and pulsing wreath effects.
The next year, he added a second node for tree animations and integrated a budget MEMS microphone. By analyzing bass frequencies, the lights pulsed stronger during drum beats in classic carols.
Year three introduced xLights. James spent two weekends mapping channels and aligning transitions to “Carol of the Bells.” On opening night, over 200 people visited, many filming for social media. Today, his display raises funds for local youth programs—and it all runs on less than $20/month in electricity.
Do’s and Don’ts of DIY Smart Lighting
| Do | Don't |
|---|---|
| Plan power distribution early | Run long LED strips without power injection |
| Test circuits on a breadboard first | Expose bare wires to rain or snow |
| Use labeled connectors for modularity | Overload wall outlets with multiple supplies |
| Implement failsafe modes (e.g., default slow fade) | Ignore heat buildup in enclosed power boxes |
| Keep firmware updated for stability | Forget to label GPIO assignments |
FAQ: Common Questions Answered
Can I run this system outdoors safely?
Yes, provided all electronic enclosures are waterproof (IP65-rated or sealed with silicone), power supplies are grounded, and wiring is protected with conduit. Use GFCI outlets for added safety.
Is coding required, or are there no-code options?
Basic setups require minimal code (copy-paste examples). For music sync and complex choreography, xLights offers visual sequencing—no deep programming needed. However, understanding basic logic improves troubleshooting.
How do I sync lights to music in real time?
You have two options: pre-programmed sequences in xLights, or real-time audio analysis using a microphone and FFT (Fast Fourier Transform) libraries like arduinoFFT. Real-time reacts instantly but offers less precision; pre-programmed allows perfect beat alignment.
Final Steps: Installation, Testing, and Maintenance
Once coded and tested indoors, mount components securely. Route cables neatly using clips and avoid sharp bends. Conceal junctions in weatherproof boxes mounted off the ground.
Before launch day:
- Perform a full-night burn-in test (run for 8+ hours)
- Verify all zones respond correctly
- Check for flickering or dimming indicating power issues
- Ensure WiFi coverage reaches all nodes
After the season, disassemble carefully. Store controllers and unused strips in anti-static bags with desiccant packs. Label everything clearly for reassembly.
Conclusion: Bring Magic Home—One Pixel at a Time
Creating your own programmable Christmas light display blends artistry, engineering, and seasonal joy. What starts as a few LEDs on a breadboard can evolve into a neighborhood landmark—a testament to creativity powered by accessible technology. The tools are within reach, the knowledge is shared freely online, and the impact is immediate. Children stare in wonder, families gather for photos, and communities feel brighter—not just from the lights, but from the spirit behind them.


 浙公网安备
33010002000092号
浙公网安备
33010002000092号 浙B2-20120091-4
Comments
No comments yet. Why don't you start the discussion?