
Transforming a simple string of LEDs into a synchronized, music-reactive, or time-controlled light display is no longer the domain of professional stage designers. With a Raspberry Pi and a few dollars’ worth of addressable LEDs, you can create dynamic lighting effects for holidays, parties, or ambient home decor. This guide walks through the complete process—from selecting components to writing Python scripts that animate your lights with precision.
Why Build Your Own Light Show?
Commercial smart lighting systems offer convenience but often limit customization. By building your own setup, you gain full control over brightness, color transitions, animation speed, and even real-time responsiveness to audio input. The Raspberry Pi, especially models like the Pi 3B+, Pi 4, or Zero W, provides enough processing power to drive hundreds of LEDs while running lightweight web interfaces or listening to music via microphone input.
This project blends electronics, programming, and creativity. Whether you're decorating a room, syncing lights to holiday music, or experimenting with visualizations, the skills apply across applications—from art installations to DIY home automation.
Components You’ll Need
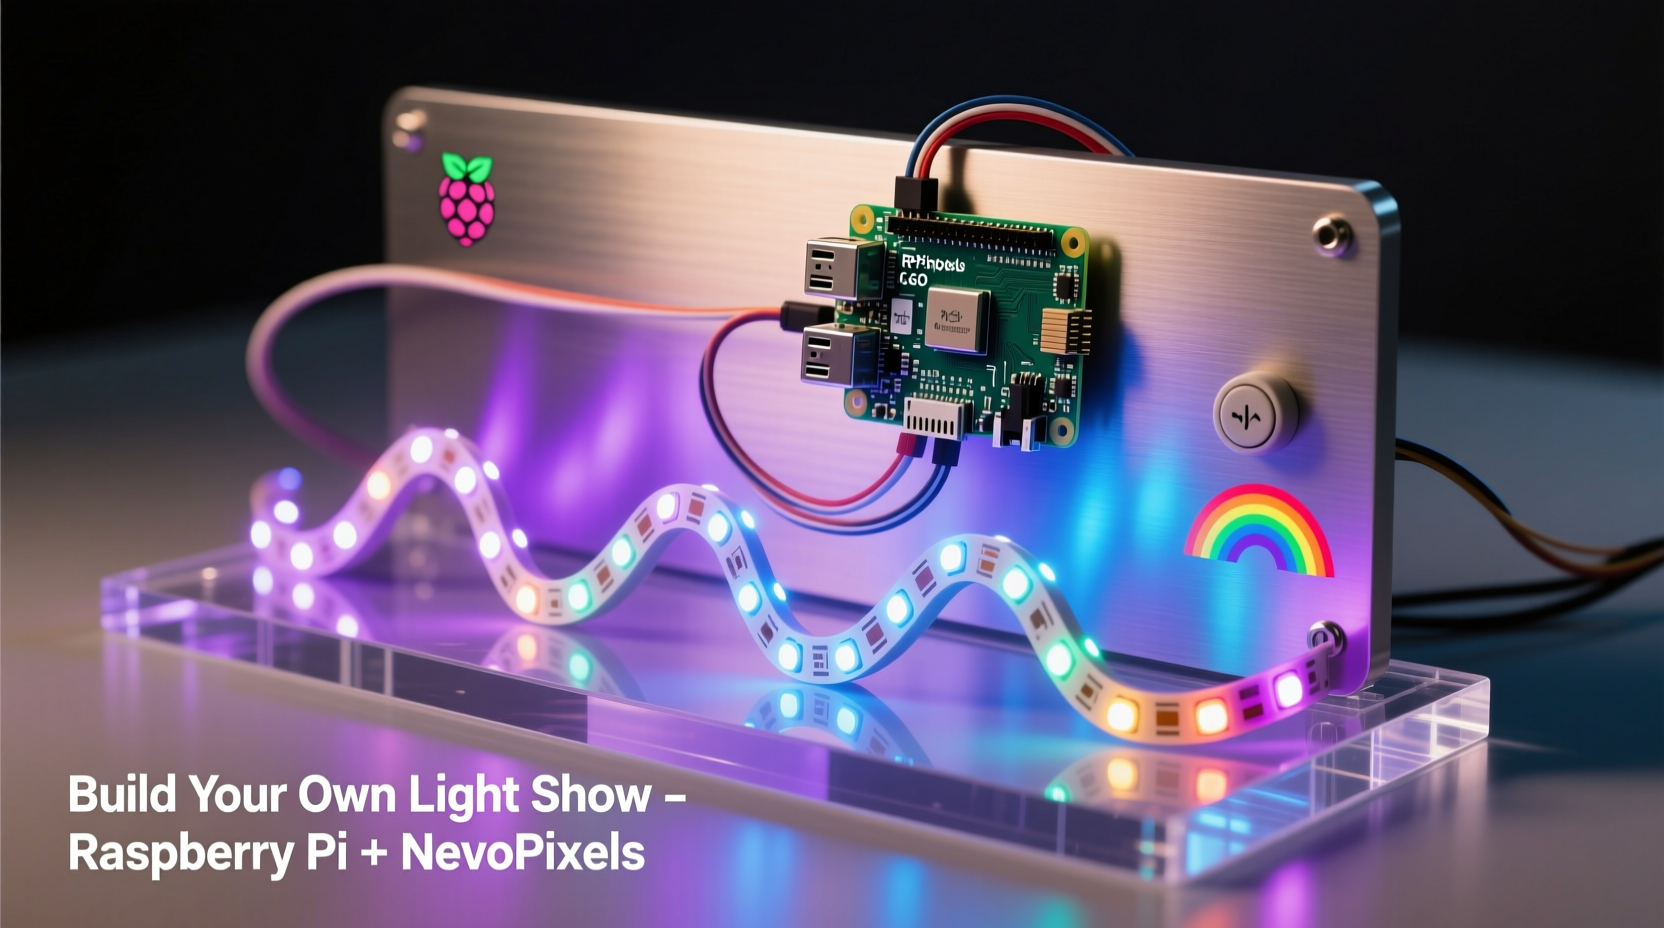
The core of this system revolves around three key elements: the controller (Raspberry Pi), the lights (addressable LED strip), and supporting hardware. Below is a checklist of everything required to get started.
✅ Hardware Checklist
- Raspberry Pi (any model with GPIO pins; Pi 3 or 4 recommended)
- MicroSD card (8GB+ with Raspberry Pi OS installed)
- Power supply (5V/2.5A for Pi + LEDs)
- WS2812B or SK6812 addressable LED strip (60 LEDs/meter typical)
- Logic level shifter (3.3V Pi → 5V LED signal) or 330Ω resistor (for short strips)
- Breadboard and jumper wires
- External 5V power supply (if using more than 30 LEDs)
- Heat shrink tubing or electrical tape (for secure connections)
Software Requirements
- Raspberry Pi OS (preferably Lite if headless)
- Python 3.x
- Neopixel library (
rpi_ws281x) pippackage manager
“We’ve seen hobbyists use Raspberry Pi-driven LEDs for everything from responsive dance floors to sunrise wake-up alarms.” — David Lin, Embedded Systems Educator at MakerForge Labs
Wiring the LEDs to the Raspberry Pi
Correct wiring ensures stable communication between the Pi and the LEDs. Miswiring can damage either component, so follow these steps carefully.
Step-by-Step Wiring Guide
- Power Off: Ensure the Raspberry Pi is powered down before connecting any wires.
- Identify GPIO Pin: Connect the data input of the LED strip to GPIO pin 18 (PWM-capable pin used by default in
rpi_ws281x). - Use Level Shifting: Since the Pi outputs 3.3V logic and LEDs expect 5V signals, use a bidirectional logic level shifter. Connect:
- LV (low voltage) side to Pi’s 3.3V and ground
- HV (high voltage) side to 5V power source
- Data line from Pi GPIO18 → LV input → HV output → LED data in
- Connect Power: For short strips (≤30 LEDs), power both Pi and LEDs from the same 5V supply. For longer strips, connect LED VCC and GND directly to an external 5V power supply. Always share a common ground between Pi and external power.
- Secure Connections: Solder or use screw terminals for reliability. Avoid loose jumper wires during operation.
Programming the Light Show in Python
Once wired, the next step is coding. The rpi_ws281x library allows fine-grained control over each LED. Install it via terminal:
sudo apt update
sudo apt install python3-pip
sudo pip3 install rpi_ws281x adafruit-circuitpython-neopixel
Basic Animation Script
Create a file called light_show.py:
import time
from rpi_ws281x import PixelStrip, Color

# LED strip configuration
LED_COUNT = 60        # Number of LEDs
LED_PIN = 18          # GPIO pin connected to the pixels
LED_FREQ_HZ = 800000  # LED signal frequency
LED_DMA = 10          # DMA channel
LED_BRIGHTNESS = 64   # Brightness (0-255)
LED_INVERT = False    # True if using inverting logic

def wheel(pos):
    if pos < 85:
        return Color(pos * 3, 255 - pos * 3, 0)
    elif pos < 170:
        pos -= 85
        return Color(255 - pos * 3, 0, pos * 3)
    else:
        pos -= 170
        return Color(0, pos * 3, 255 - pos * 3)

def rainbow_cycle(strip, wait_ms=20):
    for j in range(256):
        for i in range(strip.numPixels()):
            pixel_index = (i * 256 // strip.numPixels()) + j
            strip.setPixelColor(i, wheel(pixel_index & 255))
        strip.show()
        time.sleep(wait_ms / 1000.0)

if __name__ == '__main__':
    strip = PixelStrip(LED_COUNT, LED_PIN, LED_FREQ_HZ, LED_DMA, LED_INVERT, LED_BRIGHTNESS)
    strip.begin()
    try:
        while True:
            rainbow_cycle(strip)
    except KeyboardInterrupt:
        # Turn off all LEDs on exit
        for i in range(strip.numPixels()):
            strip.setPixelColor(i, Color(0, 0, 0))
        strip.show()
Run the script with:
sudo python3 light_show.py
This produces a smooth rainbow cycle. Modify parameters like LED_BRIGHTNESS or wait_ms to adjust intensity and speed.
Adding Custom Effects
You can define new patterns such as:
- Pulse: Fade colors in and out gradually.
- Cylon Scan: A red “eye” moving back and forth.
- Music Sync: Use a USB microphone and FFT analysis to pulse lights with bass.
For audio reactivity, libraries like pyaudio and numpy analyze sound input and map amplitude to LED brightness.
Advanced Control: Web Interface and Scheduling
To avoid logging into the Pi every time, set up remote control via a local web dashboard.
Simple Flask Web Server Example
Install Flask:
pip3 install flask
Create app.py:
from flask import Flask, render_template_string
import threading
import light_show  # assuming your animation functions are modularized

app = Flask(__name__)
current_effect = None

HTML_TEMPLATE = '''
<h1>LED Controller</h1>
<a href=\"/rainbow\"><button>Rainbow Cycle</button></a>
<a href=\"/off\"><button>Turn Off</button></a>
'''

@app.route(\"/\")
def index():
    return render_template_string(HTML_TEMPLATE)

@app.route(\"/rainbow\")
def start_rainbow():
    global current_effect
    if current_effect:
        current_effect.cancel()
    current_effect = threading.Timer(30.0, lambda: light_show.stop_strip())  # auto-stop after 30s
    current_effect.start()
    threading.Thread(target=light_show.rainbow_cycle_once).start()
    return \"Rainbow started!\"

@app.route(\"/off\")
def turn_off():
    if current_effect:
        current_effect.cancel()
    light_show.turn_off_all()
    return \"Lights off!\"
Now access http://[your-pi-ip]:5000 from any device on the same network to control the lights.
nohup python3 app.py & to run the server in the background after closing SSH.
Real-World Example: Holiday Light Display
A homeowner in Portland, Oregon, used a Raspberry Pi Zero W and two 1-meter WS2812B strips (120 LEDs total) to automate their Christmas window display. They programmed alternating red/green chases, slow snowfall white fades, and a weekend-only full-brightness mode scheduled via cron.
The system ran headlessly, powered by a single 5V 4A wall adapter. Using a small Python web interface, family members could switch modes from their phones. Total cost: under $45. The display ran reliably for six weeks, turning on at dusk and off at midnight using a simple time-based trigger.
This demonstrates how scalable and practical DIY LED shows can be—even on a budget.
Do’s and Don’ts of Pi-Based LED Projects
| Do | Don’t |
|---|---|
| Use a separate 5V power supply for strips over 30 LEDs | Power long LED strips directly from the Pi’s GPIO pins |
| Solder connections for permanent setups | Rely solely on breadboards for outdoor or high-vibration areas |
| Limit brightness to 64–128 to reduce heat and power draw | Run LEDs at full brightness continuously without heatsinking |
| Test animations on 10 LEDs before scaling | Assume code will work identically on 100+ LEDs without optimization |
| Implement graceful shutdowns in code | Leave LEDs stuck in bright white due to unhandled exceptions |
FAQ
Can I power 100 LEDs from the Raspberry Pi’s 5V pin?
No. The Pi can safely supply about 700mA on its 5V rail, but 100 LEDs at full white can draw up to 6A (60mA per LED). Always use an external power supply for strips longer than 30 LEDs, and ensure a common ground with the Pi.
Why do my LEDs flicker or reset randomly?
Flickering is usually caused by insufficient power delivery or voltage drops. Solutions include:
- Using a dedicated 5V power supply rated for your LED count
- Adding a 1000µF capacitor across the LED power leads
- Injecting power every 50–60 LEDs for long runs
Can I run the light show without a monitor or keyboard?
Yes. Set up your Pi in headless mode with Wi-Fi and SSH enabled. Once configured, you can control it entirely over the network via SSH or a web interface. This is ideal for mounting the display in hard-to-reach locations.
Conclusion: Bring Your Vision to Light
Creating a programmable light show with a Raspberry Pi and inexpensive LEDs is accessible, customizable, and deeply rewarding. From basic color cycles to audio-reactive spectacles, the only limit is your imagination. The initial setup takes a few hours, but once running, your system can deliver years of seasonal displays, mood lighting, or interactive art.
Start small—connect five LEDs, write a blink pattern, then scale up. Share your creations online, contribute to open-source lighting projects, or teach others how to build their own. The world of DIY electronics thrives on shared knowledge. Now that you have the tools and understanding, it's time to make your lights shine—literally.


 浙公网安备
33010002000092号
浙公网安备
33010002000092号 浙B2-20120091-4
Comments
No comments yet. Why don't you start the discussion?