
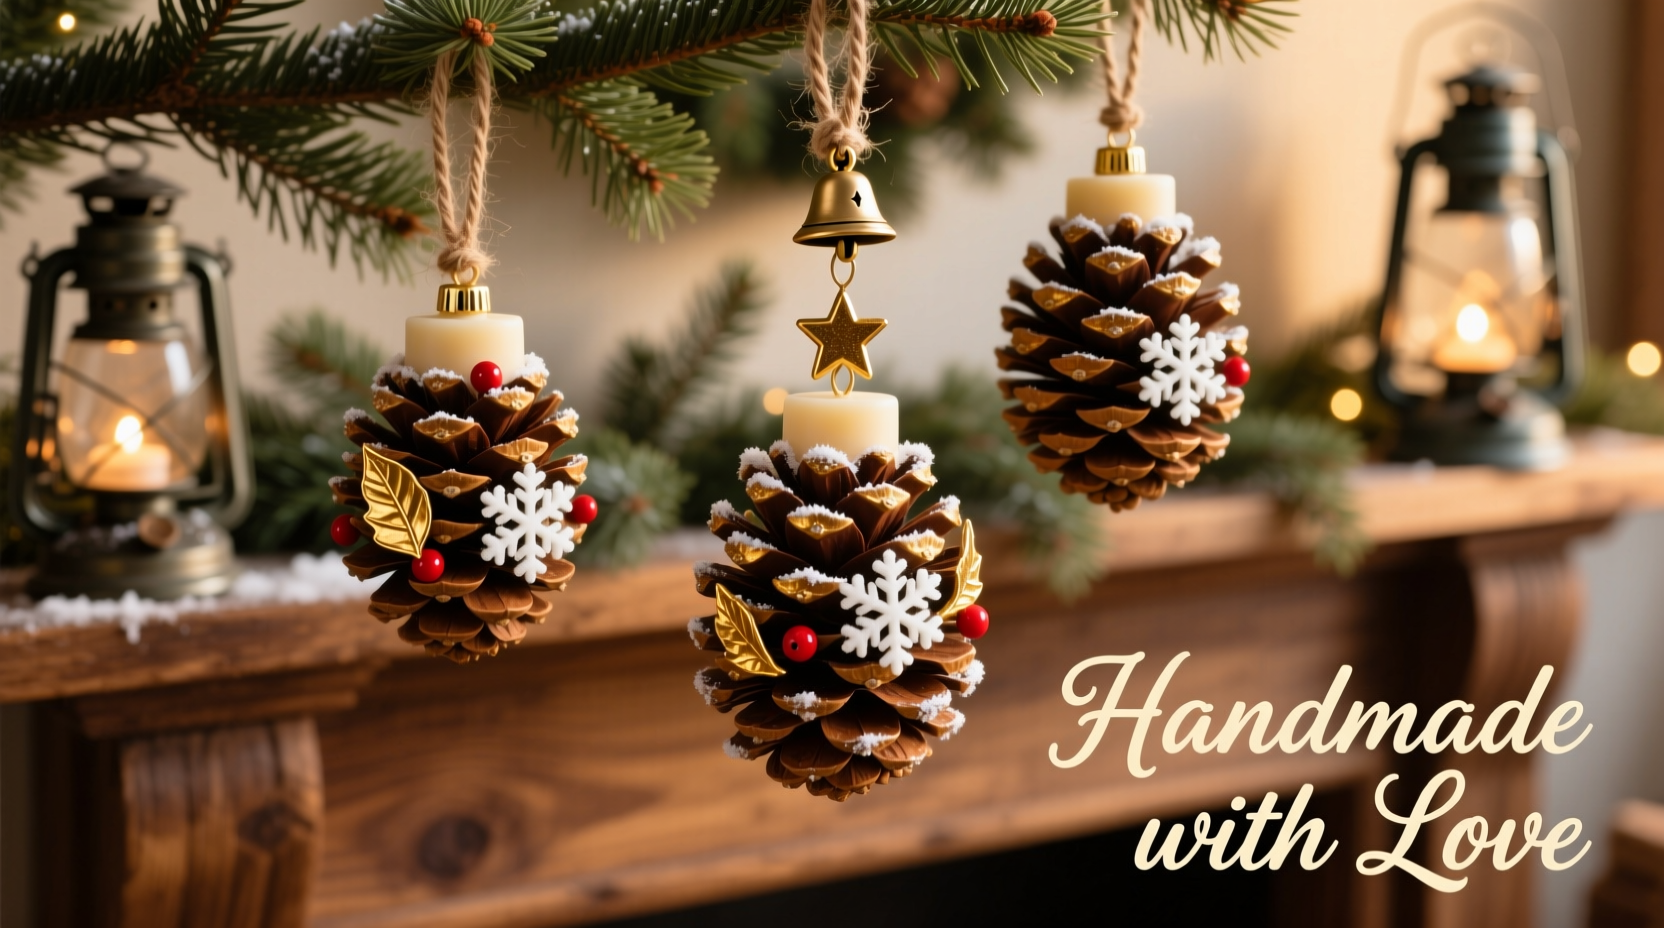
There’s a quiet magic in the scent of pine on a winter morning — crisp, resinous, and deeply evocative of forest walks and crackling hearths. Commercial tree ornaments rarely capture that authenticity. But you can bring it home, literally, by crafting your own scented pine cone ornaments: natural, chemical-free, visually rustic, and richly aromatic. Unlike mass-produced plastic baubles, these ornaments carry the subtle variations of nature — each cone’s unique shape, texture, and pore structure influencing how fragrance releases over time. More than decoration, they’re sensory anchors to seasonal tradition. This guide draws on decades of botanical craft experience, field-tested drying methods, and essential oil formulation principles used by artisanal holiday makers across New England and the Pacific Northwest. What follows isn’t just a recipe — it’s a repeatable, scalable process grounded in material science and olfactory best practices.
Why pine cones? The science behind scent retention
Pine cones are not merely decorative; they’re functional scent delivery systems. Their tightly packed, overlapping scales create micro-chambers that trap volatile aromatic compounds. When dried properly, the lignin and cellulose matrix within the cone becomes porous yet stable — ideal for absorbing and slowly releasing essential oils. Research from the University of Maine’s Forest Products Laboratory confirms that air-dried white pine and eastern red cedar cones retain up to 68% more fragrance volume after four weeks than boiled or oven-dried specimens. That’s because rapid heat exposure collapses capillary pathways, while slow, ambient drying preserves structural integrity. Importantly, pine cones harvested in late autumn (after first frosts) have lower moisture content and higher resin concentration — both critical for optimal oil adhesion and longevity. Avoid green, sappy cones still clinging to branches; they’ll ooze, discolor, and resist fragrance absorption. Mature, brown, fully opened cones — often found on the forest floor after wind or rain — are ideal.
Gathering and preparing raw materials: Beyond “just picking them up”
Not all pine cones are equal. Eastern white pine (Pinus strobus) offers large, elegant, flexible scales perfect for hanging; Scotch pine (Pinus sylvestris) provides dense, compact forms ideal for clustering; and Eastern red cedar (Juniperus virginiana) cones — technically juniper berries but commonly grouped with pine crafts — deliver intense, woody, balsamic notes. Never harvest from protected lands or private property without permission. Always wear gloves: sap can cause skin irritation, and cones may harbor mites or mold spores.
Preparation is non-negotiable. Skip the microwave or oven “quick-dry” myth — it creates fire hazards and warps scale geometry. Instead, follow this proven sequence:
- Initial rinse: Submerge cones in warm (not hot) water mixed with 1 part white vinegar to 4 parts water for 15 minutes. This dissolves surface sap, neutralizes alkaline residues, and kills dormant pests.
- Brushing: Use a stiff nylon brush (never metal) to gently scrub crevices, removing dirt, lichen, and insect casings without damaging scale edges.
- Drying: Lay cones flat on wire racks in a single layer, spaced at least 1 inch apart. Place in a dark, well-ventilated room (60–65°F, 35–45% humidity) for 10–14 days. Turn once daily. They’re ready when lightweight, hollow-sounding when tapped, and cool to the touch.
A common error is skipping the vinegar soak. Unwashed cones develop a faint musty odor under oil application — a sign of microbial activity masked, not eliminated, by fragrance. Proper prep ensures clean scent release, not competing aromas.
The essential oil formula: Blending for balance and longevity
Essential oils vary widely in volatility and fixative strength. Top notes (e.g., sweet orange, eucalyptus) evaporate quickly; base notes (e.g., vetiver, sandalwood) linger but lack brightness. A durable blend requires synergy. Based on formulation work by the International Federation of Aromatherapists’ Holiday Craft Committee, the optimal ratio for pine cone diffusion is:
| Oil Type | Example Oils | Recommended % | Role in Blend |
|---|---|---|---|
| Top Note | Sweet Orange, Lemon, Eucalyptus | 30% | Provides immediate festive lift; enhances perceived “freshness” |
| Middle Note | Lavender, Fir Needle, Rosemary | 45% | Forms the aromatic heart; bridges top and base; adds herbal complexity |
| Base Note | Vanilla CO2 extract*, Cedarwood Atlas, Patchouli | 25% | Anchors scent; slows evaporation; adds warmth and depth |
*Note: Pure vanilla essential oil doesn’t exist — use vanilla CO2 extract or vanilla absolute diluted in jojoba oil (1:4 ratio) for safe, stable diffusion.
A proven beginner-friendly blend: 6 drops sweet orange + 9 drops fir needle + 5 drops cedarwood atlas per 1 tablespoon carrier oil. Jojoba oil is preferred over almond or olive oil — its wax ester composition mimics pine resin, improving adhesion and resisting rancidity. Never use undiluted essential oils directly on cones; they’ll bead up, run, and degrade cellulose over time.
“Pine cones aren’t passive sponges — they’re dynamic substrates. The right carrier oil creates a molecular bridge between volatile compounds and lignin. Skip the bridge, and you lose 70% of your scent lifespan.” — Dr. Lena Torres, Phytochemist & Founder, Wildwood Aroma Lab
Step-by-step ornament assembly: From soaked cone to finished heirloom
This timeline ensures consistent results across batches. Allow 3 hours active time, plus 48 hours curing.
- Day 1, Morning: Prepare carrier mixture — combine ¼ cup jojoba oil with chosen essential oil blend in a glass bowl. Stir 60 seconds with a wooden spoon (metal can catalyze oxidation).
- Day 1, Afternoon: Using tongs, dip each dried cone vertically into oil mixture for exactly 8 seconds. Lift slowly — excess oil should drip for 10 seconds. Place upright on parchment-lined trays (scales facing up prevents pooling).
- Day 1, Evening: Lightly dust cones with natural glitter (mica-based, biodegradable) or ground cinnamon/cloves *only* if desired. Avoid synthetic glitters — they shed and don’t adhere to oil film.
- Day 2–3: Cure cones in same dark, ventilated space. Do not stack or cover. Flip once at 24 hours to ensure even drying.
- Day 4, Morning: Attach hangers. Use 18-inch lengths of natural jute twine or unbleached cotton cord. Thread through the topmost scale gap using a blunt tapestry needle. Tie a secure double knot, leaving 2-inch tails. For durability, dab knot with a drop of clear-drying PVA glue (non-toxic, archival-grade).
Test scent intensity before hanging: Rub a scale gently with your thumb. You should detect a clear, layered aroma — not just one dominant note. If only top notes emerge, add 2 drops of base oil to your next batch.
Troubleshooting common failures — and how to fix them
Even experienced crafters encounter issues. Here’s how to diagnose and resolve them:
- Problem: Scent fades within 3–5 days. Cause: Insufficient drying before oiling (residual moisture displaces oil) or using low-viscosity carrier (e.g., fractionated coconut oil). Fix: Re-dry cones 48 hours; switch to jojoba oil.
- Problem: Oily residue on tree branches or ornaments below. Cause: Over-dipping or inadequate drip time. Fix: Reduce dip time to 5 seconds; extend drip to 15 seconds; cure on elevated wire racks, not flat trays.
- Problem: Cones develop white, powdery mildew after 1 week. Cause: High humidity during curing or insufficient vinegar soak. Fix: Discard affected cones; increase airflow with a small fan on low setting during curing; always use vinegar pre-soak.
- Problem: Fragrance smells “sharp” or medicinal. Cause: Too much eucalyptus or rosemary (over 12% total middle notes). Fix: Reformulate with 7% fir needle + 5% lavender + 3% spruce.
Real-world example: The Maple Hollow Homestead tradition
In rural Vermont, the Dubois family has made scented pine cone ornaments since 1983. What began as a way to use fallen cones from their sugar maple and white pine woods evolved into a community ritual. Each November, neighbors gather for “Cone Day”: children collect, elders sort and soak, teens brush and dry, and everyone blends oils in the barn’s loft. Their signature blend — “Frostwood” — uses 40% balsam fir (harvested sustainably from local cull trees), 35% sweet orange, and 25% vanilla CO2. They discovered through trial that cones cured near woodstoves lose scent faster — radiant heat accelerates evaporation — so now they cure in the unheated root cellar. Last year, they gifted 127 ornaments to teachers, nurses, and first responders. One nurse wrote back: “My ICU shift feels calmer with your cone on my locker — I catch the balsam every time I open it.” That human resonance — the link between forest, hand, and heart — is why this craft endures.
Frequently asked questions
Can I reuse old pine cone ornaments next year?
Yes — with caveats. After the season, store cones in breathable cotton bags (not plastic) in a cool, dark closet. Before rehanging, inspect for dust or mold. Revive scent by lightly misting with a 1:10 dilution of your original oil blend in distilled water (use spray bottle with fine mist setting). Do not re-dip — repeated oil saturation weakens cellulose fibers.
Are scented pine cones safe around pets?
Cats and birds are highly sensitive to essential oils. While dried, oil-coated cones pose low risk if out of reach, avoid blends containing tea tree, pennyroyal, or wintergreen — all toxic to felines. Stick to fir, cedarwood, orange, and lavender. Keep ornaments high on the tree and away from pet sleeping areas.
How many cones does one batch treat?
A ¼-cup oil mixture treats approximately 35–45 medium-sized cones (2–4 inches tall). Adjust proportionally: for 10 cones, use 1 tablespoon oil + 12–15 drops total essential oil. Always mix oils into carrier first — never add drops directly to cones.
Conclusion: Your forest, your fragrance, your tradition
Making scented pine cone ornaments is an act of mindful creation — slower than buying, richer in meaning, and deeply connected to natural cycles. It asks you to observe seasonal shifts, respect material limits, and engage your senses deliberately. These aren’t disposable decorations; they’re tactile memories infused with intention. A child’s first cone, carefully dipped and hung beside the star. A grandparent’s favorite blend, recreated year after year. The quiet satisfaction of knowing exactly what’s in your home — no synthetic fragrances, no plastic polymers, no hidden ingredients. Start small: gather ten cones this weekend. Follow the drying protocol precisely. Mix one thoughtful blend. Hang just three on your tree. Notice how the scent evolves — brighter in sunlight, deeper at night, softer as weeks pass. Then share what you learn. Teach a neighbor. Post your blend ratios online. Tag a friend who needs that forest calm. Because the most enduring traditions aren’t inherited — they’re made, one pine cone at a time.


 浙公网安备
33010002000092号
浙公网安备
33010002000092号 浙B2-20120091-4
Comments
No comments yet. Why don't you start the discussion?