
Every holiday season, homes light up with festive displays—but most decorations offer little more than on-off functionality. What if you could design a lighting system that dances to music, changes color with voice commands, or syncs with weather updates? With today’s accessible technology, creating your own smart Christmas lights is not only possible but surprisingly straightforward. You don’t need an engineering degree or a high-end budget. Using affordable microcontrollers, programmable LEDs, and free software, you can build a custom, responsive lighting setup that brings innovation to tradition.
Why Build Your Own Smart Lights?
Commercial smart lights come with limitations: proprietary apps, subscription features, and restricted customization. When you build your own, you gain full control over brightness, color sequences, timing, and triggers. Whether you want lights that pulse when someone rings the doorbell or fade gently at bedtime, DIY smart lighting transforms passive decor into interactive art.
Beyond personalization, building your own system deepens understanding of electronics and programming. It's a hands-on project suitable for hobbyists, students, or anyone curious about embedded systems. And unlike store-bought versions, your creation can evolve—add sensors, integrate home automation, or expand across multiple zones as your confidence grows.
Essential Components and Tools
To create functional smart Christmas lights, you’ll need a few core components. Most are widely available online or from electronics retailers. Here’s what to gather:
- Microcontroller: An Arduino Uno or ESP32 (recommended for built-in Wi-Fi)
- Addressable LED Strip: WS2812B or NeoPixel strips (5V, 30–60 LEDs per meter)
- Power Supply: 5V DC power adapter capable of supplying sufficient current (e.g., 5A for 150 LEDs)
- Jumper Wires: Male-to-female and male-to-male for connections
- Breadboard: For temporary circuit assembly (optional once soldered)
- Resistor: 330-ohm resistor between microcontroller data pin and LED strip
- Computer: To write and upload code via USB
- Smartphone or Tablet: Optional, for remote control via web interface or app
The ESP32 is particularly powerful because it supports Wi-Fi and Bluetooth out of the box, allowing wireless control through a local server or mobile app. The Arduino Uno works well too but requires additional shields for wireless communication.
“DIY smart lighting isn’t just about saving money—it’s about reclaiming ownership of your devices.” — Dr. Lena Torres, Embedded Systems Educator, MIT Media Lab
Step-by-Step Guide to Building Smart Christmas Lights
Follow this structured process to assemble and program your smart lighting system. Each step builds on the last, ensuring a working prototype by the end.
- Plan Your Layout
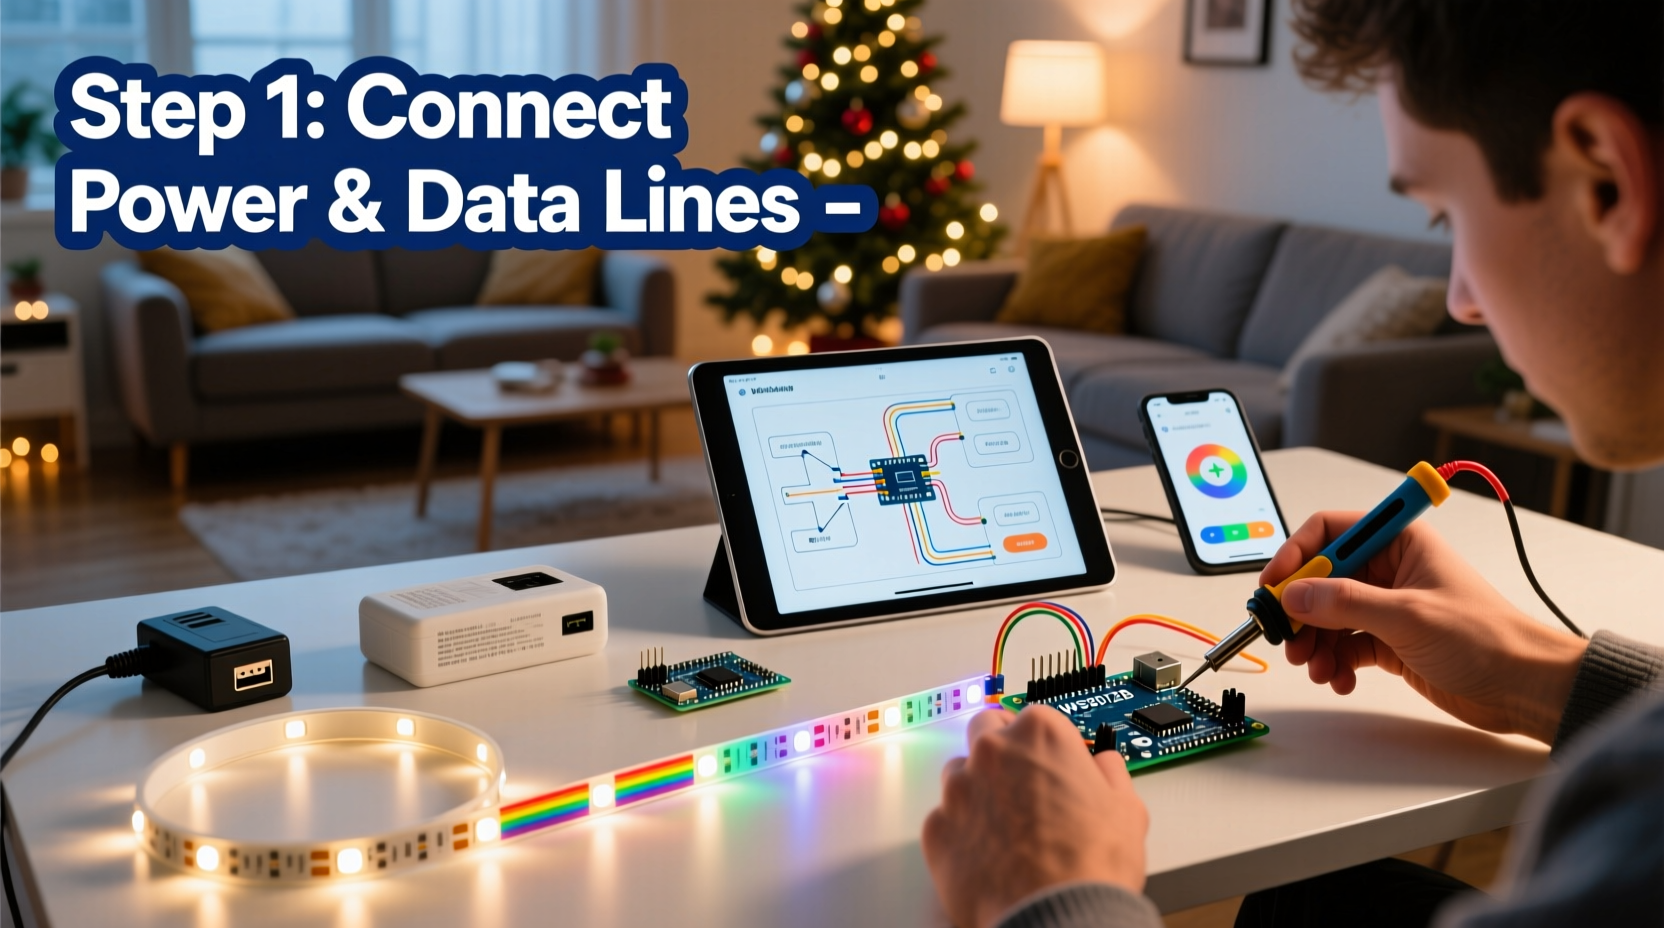
Decide where the lights will go—along eaves, around windows, or wrapped around trees. Measure the total length needed and calculate how many LEDs that requires. Remember: longer runs demand higher current, so plan power distribution accordingly. - Wire the Circuit
Connect the LED strip’s data input (DIN) to digital pin 5 on the microcontroller through a 330-ohm resistor. Link the 5V and GND lines from the strip to both the microcontroller and external power supply. Use common ground: connect the negative terminals together. - Install Software Libraries
Open the Arduino IDE. Install the FastLED or Adafruit_NeoPixel library via the Library Manager. These simplify color control and animation effects. - Upload Test Code
Write a simple sketch that cycles through red, green, and white colors. Upload it to the board. If the LEDs respond correctly, your hardware is functional. - Add Wireless Control (Optional)
If using an ESP32, set up a lightweight web server. Write code that launches a local webpage with sliders for color, brightness, and pattern selection. Access it from any device on the same network. - Implement Automation Rules
Program conditional logic—for example, “if time is after sunset and motion detected, turn on twinkling mode.” You can also pull live data such as weather forecasts using APIs. - Enclose and Mount Safely
Seal the microcontroller in a waterproof case if used outdoors. Route wires neatly and avoid tripping hazards. Never overload household circuits.
Customization Ideas and Real-World Example
Once the base system works, creativity takes center stage. Consider these enhancements:
- Sync lights to music using a microphone sensor and amplitude detection
- Display countdowns to holidays or special events
- React to social media activity (e.g., flash when you receive a tweet)
- Use motion sensors to welcome guests with a glowing pathway
A Mini Case Study: The Responsive Porch Display
Mark, a high school robotics teacher in Portland, wanted his family’s Christmas display to stand out—not just visually, but interactively. He built a 120-LED strip system controlled by an ESP32. Using a PIR motion sensor mounted near the sidewalk, the lights would slowly brighten into a snowflake animation whenever someone approached. He added a second feature: every time his daughter received a “like” on her holiday Instagram post, the lights pulsed gold via an IFTTT webhook.
The project cost under $70 and took three evenings to complete. Neighbors began stopping by not just to see the lights, but to learn how they worked. Mark hosted a mini workshop for local teens, turning a decoration into a community learning opportunity.
| Feature | Hardware Used | Software Trigger |
|---|---|---|
| Motion Activation | PIR Sensor + ESP32 | Digital read HIGH → start animation |
| Social Media Sync | ESP32 Wi-Fi | IFTTT HTTP request → flash sequence |
| Sunset Dimming | Real-Time Clock (RTC) | NTP time check → reduce brightness |
| Music Reactivity | Electret Microphone | Analog peak detection → color shift |
Common Pitfalls and Best Practices
Even experienced makers encounter issues. Knowing what to watch for saves time and frustration.
Do’s and Don’ts of DIY Smart Lighting
| Action | Do | Don't |
|---|---|---|
| Power Management | Use separate power supply for long LED strips | Power LEDs directly from microcontroller USB |
| Data Signal | Add a 330Ω resistor to protect data line | Connect data pin directly without protection |
| Wiring Outdoors | Use silicone-sealed connectors and drip loops | Leave exposed splices or bare wires |
| Code Testing | Test animations on 10 LEDs before full deployment | Upload untested code to entire array |
| Heat Dissipation | Mount power supplies in ventilated enclosures | Enclose adapters in plastic boxes |
Voltage drop is a frequent issue with long LED runs. After about 2 meters, the far end may appear dimmer. Prevent this by injecting power at multiple points along the strip—connect the 5V and GND lines from the power supply to several locations, not just one end.
“Voltage drop ruins more DIY LED projects than faulty code. Always plan for distributed power.” — Rajiv Mehta, Electrical Engineer & Maker Community Lead
Frequently Asked Questions
Can I use my existing Christmas lights?
No, traditional incandescent or non-addressable LED strings cannot be individually programmed. You must use digitally addressable LEDs like WS2812B or SK6812 models, which allow per-pixel control.
Is coding knowledge required?
Basic familiarity helps, but many open-source templates are available. Platforms like GitHub host ready-to-use sketches for rainbow cycles, twinkle effects, and Wi-Fi control. You can modify values (like speed or color) without writing code from scratch.
Are these safe for outdoor use?
Yes, provided all electronic components are properly sealed. Use IP65-rated LED strips for damp conditions, and house controllers in weatherproof enclosures. Always ground your system and avoid extension cords rated for indoor use only.
Checklist: Building Your Smart Christmas Lights
Before starting, verify you have everything needed:
- ☐ Microcontroller (ESP32 preferred for Wi-Fi)
- ☐ Addressable LED strip (length based on layout)
- ☐ 5V power supply with adequate amperage
- ☐ Jumper wires and breadboard (for prototyping)
- ☐ 330-ohm resistor for data line protection
- ☐ Arduino IDE installed with FastLED/NeoPixel library
- ☐ Sealed enclosure for outdoor electronics
- ☐ Tools: wire cutters, soldering iron (optional), multimeter
- ☐ Plan for secure mounting and cable management
- ☐ Backup code saved externally
Conclusion: Light Up the Holidays—Your Way
Creating your own smart Christmas lights bridges nostalgia with innovation. It turns seasonal decoration into a dynamic experience—one that responds, adapts, and reflects your personality. More than just blinking bulbs, your system becomes a canvas for expression, whether through rhythmic pulses, personalized greetings, or silent reactions to the world around it.
The tools are within reach. The knowledge is open-source. And the joy of seeing your custom-coded sparkle illuminate the winter night? That’s priceless. This holiday season, skip the mass-produced kits. Build something meaningful. Share it with neighbors, teach it to kids, or simply enjoy the quiet pride of a project that shines on your terms.


 浙公网安备
33010002000092号
浙公网安备
33010002000092号 浙B2-20120091-4
Comments
No comments yet. Why don't you start the discussion?