
Creating a synchronized light show no longer requires expensive professional equipment or proprietary software. With the rise of accessible open-source tools and user-friendly platforms, hobbyists, event organizers, and even educators can design dynamic lighting displays that dance in time with music—all at zero cost. Whether you're preparing for a holiday display, a small concert, or a community event, mapping out a well-timed, visually engaging light sequence is both an art and a technical challenge. This guide walks through the entire process using only free software, from initial planning to final execution.
Understanding Light Show Synchronization
Synchronization in a light show means aligning changes in lighting—such as color shifts, intensity, patterns, or animations—with specific moments in an audio track. The goal is to create a cohesive experience where lights appear to respond naturally to beats, melodies, or dramatic shifts in music. Achieving this requires three core components: audio, lighting hardware (like LED strips or smart bulbs), and control software that interprets timing cues and sends signals to the lights.
While commercial solutions exist, many capable free tools offer similar functionality. These tools allow users to define lighting channels, assign effects, and place triggers precisely on a timeline. The key is learning how to structure your project efficiently and leverage the right combination of software to simulate professional-grade results.
“With precise timing and thoughtful layering, even simple lights can deliver an emotionally powerful performance.” — Marcus Lin, Open-Source Lighting Developer
Essential Free Software Tools for Mapping
The foundation of any DIY synchronized light show lies in the software stack. Below are the most reliable, actively maintained free tools available today:
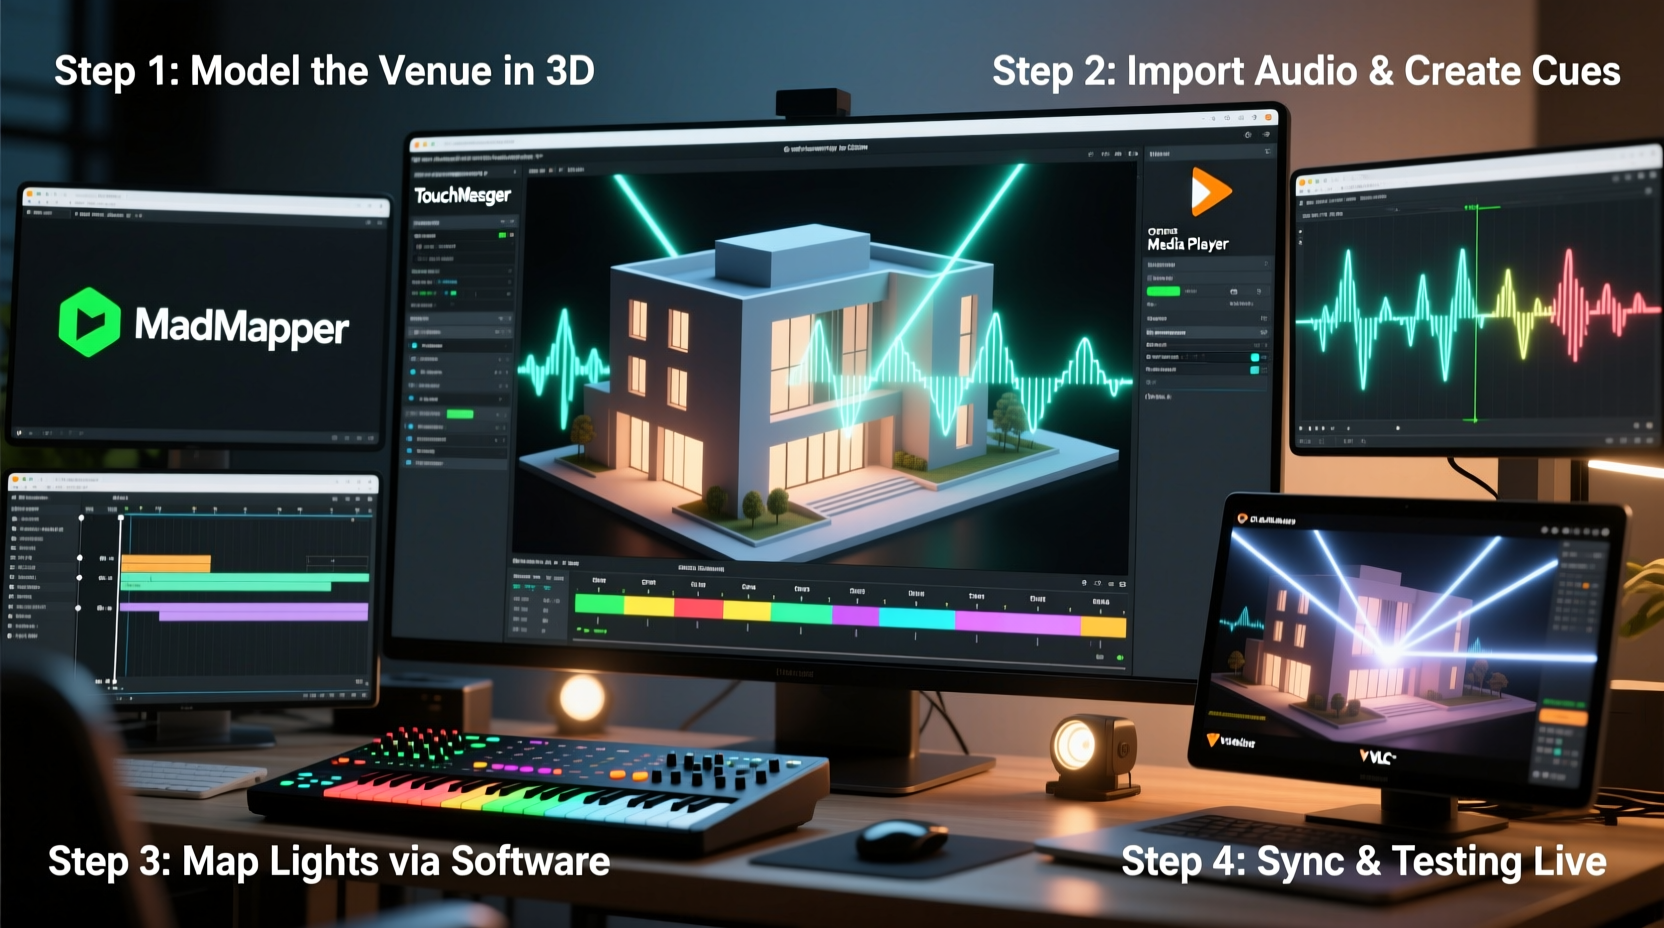
- XLights (formerly Light-O-Rama Visualizer): A full-featured open-source application designed specifically for creating and previewing synchronized light shows. Supports complex channel mapping, audio waveform visualization, and export to various controllers.
- Falcon Player (FPP): A Linux-based controller software that plays sequences created in XLights. It runs on Raspberry Pi and supports Wi-Fi or Ethernet control of pixel and relay-based lights.
- Audacity: A free audio editor used to analyze tracks, adjust volume, trim silence, and export clean WAV or MP3 files compatible with XLights.
- VLC Media Player: Useful for testing audio sync and playback timing during rehearsals.
- Paint.NET or GIMP: Optional tools for designing custom visual overlays or planning physical layouts of light placement.
XLights is the centerpiece of this workflow. It allows users to import music, lay out virtual representations of their light setup, assign effects to different channels, and preview the entire show in real time. Its built-in beat detection helps automate some timing tasks, though manual adjustments yield the best results.
Step-by-Step Guide to Mapping Your Light Show
Mapping a synchronized light show involves translating musical elements into lighting actions across multiple channels. Follow this structured approach to build your sequence from start to finish.
- Plan Your Physical Setup: Sketch a layout of where each light strand or fixture will be placed. Label them by type (e.g., RGB strip, floodlight, matrix panel) and location (e.g., roofline, tree, porch). This informs how you’ll group channels later.
- Select and Prepare Your Music: Choose a track with clear rhythm and dynamic variation. Use Audacity to normalize volume, remove background noise, and fade in/out if needed. Export as WAV for best compatibility.
- Install and Configure XLights: Download XLights from the official website and install it on a Windows PC (or via Wine on Linux/Mac). Launch the program and create a new show directory.
- Create a Model: In XLights, go to “Model Settings” and add a new model representing your physical lights. For example, define a “String” model with 50 pixels for a 5-meter LED strip. Assign names like “Front Roof” or “Tree Lights” for clarity.
- Import Audio and Sync Start Time: Drag your prepared audio file into the timeline. Play it to confirm alignment. Adjust the audio offset if necessary so that the first beat hits exactly at 0:00 or your intended start point.
- Map Channels to Models: Link each physical light string to a channel in XLights. If using multiple strands, assign separate channels so they can be controlled independently.
- Add Effects to the Timeline: Use the effect palette to apply animations—like color chase, sparkle, or pulse—to specific segments of the timeline. Align these with drum hits, vocal entrances, or crescendos.
- Use Beat Detection: Enable the beat grid in XLights. Click “Detect Beats” to auto-generate markers based on audio intensity. Refine manually by zooming in and adjusting trigger points frame by frame.
- Preview and Iterate: Use the preview window to watch how your sequence looks in simulation. Adjust colors, durations, and transitions until the visual flow matches the emotion of the music.
- Export and Deploy: Once satisfied, export the sequence as an FSEQ file. Transfer it to a Raspberry Pi running Falcon Player, connect your lights via E1.31 (sACN) or DMX, and run the show.
Timeline Example: Holiday Light Sequence (3-Minute Track)
| Time | Music Event | Lighting Action | Effect Used |
|---|---|---|---|
| 0:00–0:15 | Intro melody | Soft white glow on roofline | Dimmed solid color |
| 0:16 | First drum hit | All lights flash red/green | Strobe (1 beat) |
| 0:30–1:00 | Chorus buildup | Color waves move down tree lights | Color wash left-to-right |
| 1:45 | Vocal pause | Lights turn off briefly | Blackout (half-second) |
| 2:30–3:00 | Final chorus | All channels active, fast strobes | Mix of sparkles, chases, and pulses |
Checklist: Preparing Your First Synchronized Show
Before You Begin:
- ☐ Confirm all lights are tested and functioning
- ☐ Label each physical light string with its corresponding channel number
- ☐ Set up a stable computer with XLights installed
- ☐ Install Falcon Player on a Raspberry Pi (if using remote control)
- ☐ Choose and finalize your music track
- ☐ Create a sketch of your lighting layout
- ☐ Allocate at least 3–5 hours for initial sequence creation
Common Pitfalls and How to Avoid Them
Even with the right tools, beginners often encounter issues that disrupt synchronization or degrade visual quality. Awareness of these common problems can save time and frustration.
- Audio Latency: Delays between sound and light occur when system processing lags. Solution: Use wired connections over Wi-Fi, close background apps, and test playback on the same device used for control.
- Overcomplicating Effects: Too many rapid changes can overwhelm viewers. Stick to one or two dominant effects per section and let quieter moments breathe.
- Poor Channel Management: Mislabeling or overlapping channels leads to confusion. Maintain a master list matching channel numbers to physical locations.
- Inaccurate Beat Placement: Auto-detection isn’t perfect. Always verify and fine-tune beat markers manually, especially during tempo changes.
- Ignoring Power Requirements: Long LED runs need adequate power injection. Voltage drop causes dimming or flickering at the end of strands—plan accordingly.
Real Example: Community Holiday Display Using Free Tools
In Asheville, North Carolina, a neighborhood group led by volunteer Ryan Cho decided to upgrade their annual Christmas lights using synchronized effects. With a budget under $300 and no prior experience, they purchased 100m of WS2811 LED tape, a Raspberry Pi 4, and a 5V 60A power supply. Using XLights on a donated laptop, they mapped each house’s lights into individual models—rooflines, trees, and driveway markers.
Ryan imported a remix of “Carol of the Bells” and spent two weekends building the sequence. He used beat detection to mark major hits, then added cascading green-and-white waves during instrumental breaks. The team tested the setup in the garage using a single strand before deploying outdoors. On launch night, over 200 neighbors attended, and the display was shared widely on local social media. All software used was free; total non-hardware cost: $0.
Their success hinged on careful planning, consistent labeling, and iterative testing—proof that high-impact results don’t require commercial tools.
Do’s and Don’ts of DIY Light Show Design
| Action | Do | Don't |
|---|---|---|
| Planning | Sketch your layout and label every channel | Assume you’ll remember which string is which |
| Audio Selection | Pick tracks with strong rhythmic elements | Choose ambient music with no clear beat |
| Software Use | Use XLights preview mode frequently | Wait until final day to test visuals |
| Hardware Setup | Use weatherproof connectors and conduit | Leave exposed wires outdoors unprotected |
| Effects Design | Match lighting intensity to music dynamics | Run strobe effects continuously for 3 minutes |
FAQ
Can I run XLights on a Mac or Linux machine?
Yes, but with limitations. XLights is natively designed for Windows. Mac and Linux users can run it via compatibility layers like Wine or through a virtual machine. Performance may vary, so a Windows PC or laptop is recommended for serious projects.
Do I need internet access during the show?
No. Once the sequence is exported to FSEQ format and loaded onto the Falcon Player (FPP), the show runs locally on the Raspberry Pi. Internet is only needed initially for setup and file transfer.
How many lights can I control with free software?
There’s no hard limit in XLights or FPP. Practical limits depend on your hardware—especially the Raspberry Pi’s processing power and network bandwidth. Most users successfully run 500–2,000 pixels across multiple universes using E1.31 over a dedicated Wi-Fi network or Ethernet.
Final Steps: From Simulation to Reality
After completing your sequence in XLights, the final phase is deployment. Connect your lights to a suitable controller—such as a PixLite, ESPixelStick, or DIY Arduino/Pi setup—and configure it to receive sACN data. Ensure the controller and your FPP device are on the same network. Load the FSEQ file into Falcon Player, set the correct universe and channel counts, and initiate a test run.
Stand outside and observe the full-scale performance. Check for sync drift, dim sections, or incorrect color assignments. Make minor tweaks in XLights, re-export, and reload as needed. Once everything aligns perfectly, schedule automatic playback using FPP’s built-in scheduler—ideal for unattended nightly displays.
Conclusion
Mapping a synchronized light show with free software is not only possible—it’s empowering. Tools like XLights, Falcon Player, and Audacity put professional-level capabilities in the hands of anyone willing to learn. By following a structured workflow, avoiding common mistakes, and leveraging community knowledge, you can create stunning visual experiences that captivate audiences and elevate events. The barrier to entry has never been lower.


 浙公网安备
33010002000092号
浙公网安备
33010002000092号 浙B2-20120091-4
Comments
No comments yet. Why don't you start the discussion?