
Determining your correct ring size is essential whether you're shopping for an engagement band, a gift for a loved one, or simply replacing a lost favorite. Many people assume that visiting a jeweler is the only way to get an accurate measurement, but with a few common household items and careful technique, you can measure your ring size at home—accurately and affordably. This guide walks through proven, tool-free methods backed by professional insights, real-world testing, and practical tips to ensure precision without stepping into a store.
Why Accurate Ring Sizing Matters
A ring that's too tight can restrict circulation and cause discomfort, especially in warmer weather when fingers tend to swell. One that's too loose risks slipping off during daily activities, potentially leading to loss or damage. The ideal fit should slide over the knuckle with slight resistance and rest snugly on the finger without pinching. According to the Jewelers of America, nearly 40% of online ring purchases are returned due to incorrect sizing—often because of inconsistent measuring techniques. Getting it right the first time saves time, money, and emotional stress, especially for sentimental pieces like wedding bands.
Best Time of Day to Measure Your Finger
Finger size fluctuates throughout the day due to temperature, hydration, and activity level. Cold temperatures cause fingers to shrink slightly, while heat, exercise, or even salty meals can lead to temporary swelling.
Avoid measuring immediately after a workout, shower, or exposure to cold. For consistent results, take measurements on three different days and average them. This reduces error caused by temporary changes in finger volume.
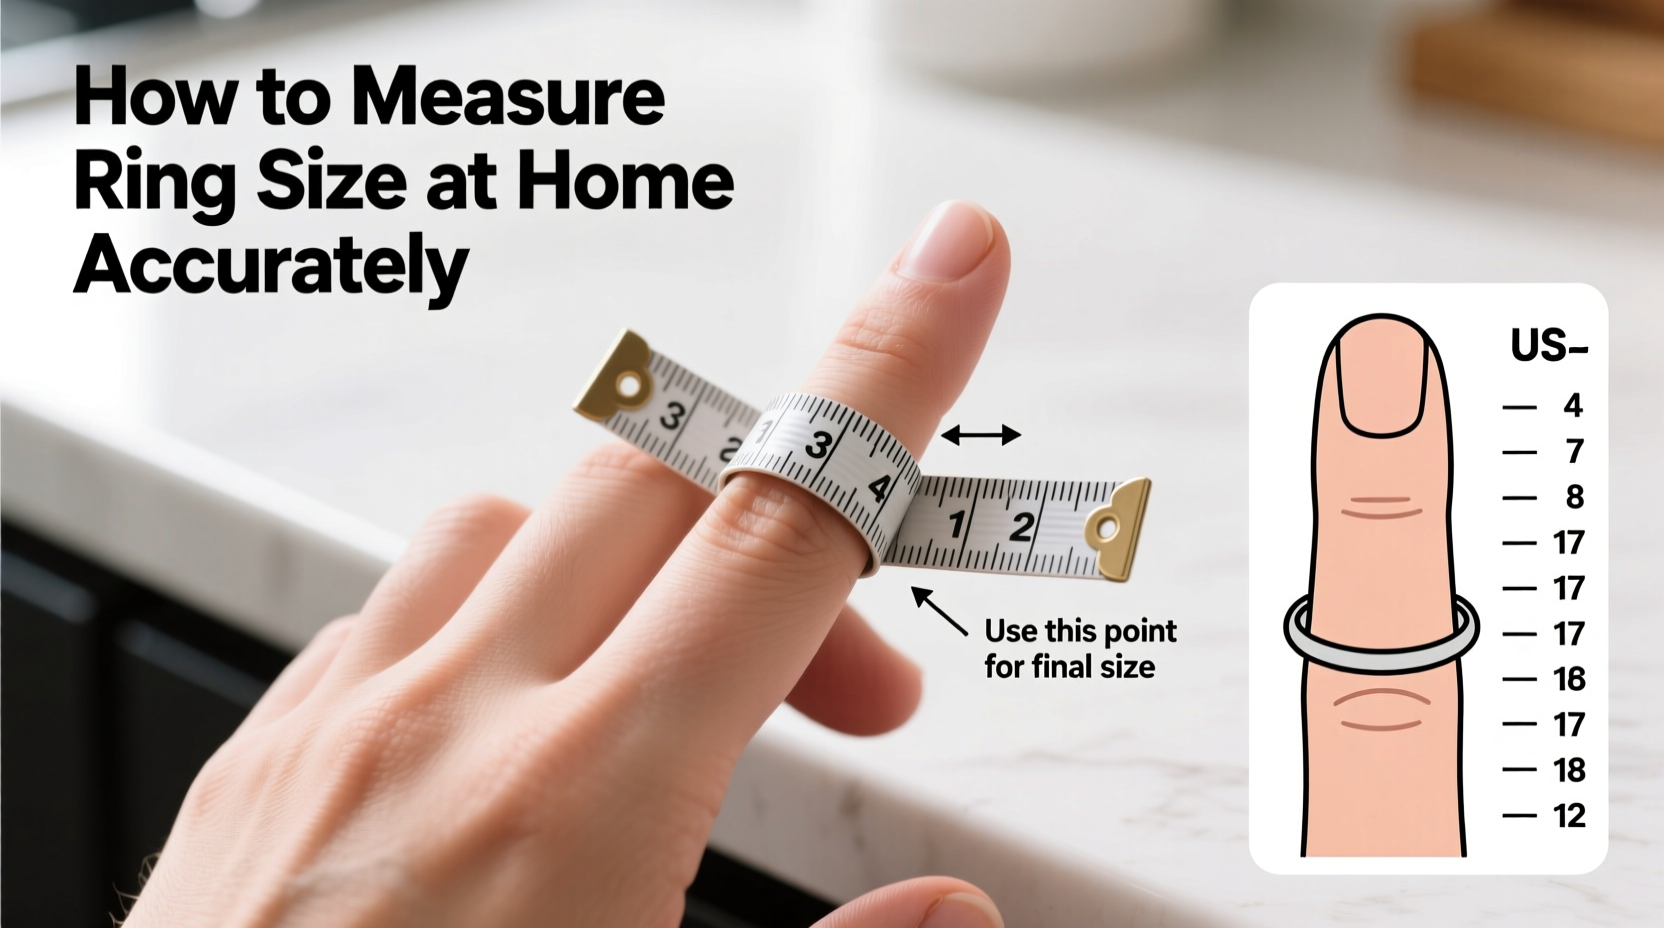
Method 1: Using a Strip of Paper or String
This is the most accessible and widely used method when no ring sizer is available. All you need is a thin strip of paper, thread, or non-stretchy string, a pen, and a ruler.
- Cut a narrow strip (about 1/4 inch wide) from a piece of paper or use a piece of thread.
- Wrap it snugly around the base of the intended finger—the same finger where the ring will be worn.
- Ensure the loop is flat against the skin and passes over the knuckle if possible, mimicking how a ring would sit.
- Mark the point where the ends overlap with a pen or pencil.
- Lay the strip flat on a surface and measure the length from the start to the mark in millimeters using a ruler.
- Use a standard ring size conversion chart to determine your size.
This inner circumference measurement corresponds directly to international ring size standards. For example, 51 mm typically equals a U.S. size 5, while 58 mm is roughly a size 9.
Accuracy Considerations
The key challenge with this method is ensuring the wrap is neither too tight nor too loose. If the paper digs into the skin, you’ve pulled too hard. If there’s visible slack, the resulting size will be too large. Aim for firm contact without indentation.
Method 2: Using a Known Ring You Already Own
If you or the recipient already owns a well-fitting ring, this is often the most accurate approach—especially for gifting.
- Select a ring that fits comfortably on the intended finger.
- Place it on a piece of paper and trace the inside edge of the band with a fine-tipped pen.
- Carefully measure the diameter of the traced circle in millimeters using a ruler.
- Multiply the diameter by π (approximately 3.14) to calculate the inner circumference.
- Match that number to a ring size chart.
Alternatively, many printable ring size charts are designed with concentric circles. Simply place the ring over the printed circles until it aligns perfectly with one—this eliminates math and increases usability.
“Tracing an existing ring is one of the most reliable at-home methods, provided the ring is currently worn on the correct finger and fits properly.” — Daniel Reeves, Master Jeweler & GIA Graduate
Method 3: The Credit Card Edge Trick (For Quick Estimation)
In a pinch, you can estimate ring size using the edge of a credit card and a ruler. While less precise than other methods, it offers a fast approximation.
- Slide a credit card under the ring you want to size, placing the edge vertically along the inside of the band.
- Use a ruler to measure how much of the card protrudes through the ring.
- Compare that height to known card thicknesses (most cards are ~0.76 mm thick).
- Double the measured height to estimate the internal diameter.
- Convert diameter to circumference and then to ring size.
This method works best for wider bands where the card can stand upright. It’s not recommended for narrow rings or final decisions, but useful for narrowing down options before purchasing.
Ring Size Conversion Table
| U.S. Size | Inner Diameter (mm) | Inner Circumference (mm) | UK / Australia | EU / France |
|---|---|---|---|---|
| 4 | 14.86 | 46.7 | H | 47 |
| 5 | 15.70 | 49.3 | J | 50 |
| 6 | 16.51 | 51.9 | L | 52 |
| 7 | 17.35 | 54.5 | N | 54 |
| 8 | 18.19 | 57.2 | P | 57 |
| 9 | 18.98 | 59.6 | R | 60 |
| 10 | 19.84 | 62.3 | T | 62 |
This table provides a quick reference for converting between systems. Always verify with multiple sources, as some jewelers may use slightly different standards.
Common Mistakes That Skew Results
Even with the right method, errors happen. Avoid these frequent pitfalls:
- Measuring only once: Fingers vary slightly between hands and times of day. Repeat the process at least twice.
- Ignoring knuckle size: If your knuckle is significantly larger than the base of your finger, measure both and consider adjustable bands or spring inserts.
- Using stretchy materials: Elastic thread or cloth tape measures can give false readings. Use rigid rulers and non-elastic strips.
- Guessing based on gender: There’s no universal “average” size. Men can wear size 8 or smaller; women can wear size 10 or larger.
- Not accounting for ring width: Wider rings (over 6 mm) often feel tighter and may require going up half a size.
Mini Case Study: Sarah’s Engagement Ring Surprise
Sarah wanted to surprise her fiancé with a custom wedding band but didn’t know his ring size. She borrowed his silver signet ring, which he wore daily on his left ring finger. Using the tracing method, she carefully outlined the inner circle on graph paper and measured the diameter at 17.3 mm. Cross-referencing the conversion chart, she confirmed it was a U.S. size 7. She ordered the ring with confidence—and it fit perfectly on their wedding day.
Her success came from using a ring he actually wore, measuring at room temperature, and verifying the result with two separate tracings. Her story highlights how thoughtful execution of a simple method leads to reliable outcomes.
Step-by-Step Checklist for Home Ring Sizing
✅ At-Home Ring Size Measurement Checklist
- Choose the correct finger (usually dominant hand, intended ring finger)
- Measure at the end of the day when fingers are warm
- Gather supplies: paper/string, pen, ruler, known ring (if applicable)
- Wrap snugly around the base of the finger or trace an existing ring
- Record the inner circumference in millimeters
- Repeat the measurement two more times for consistency
- Calculate the average measurement
- Use the conversion table to find your U.S. and international sizes
- Consider ring width—wider bands may need a half-size larger
- Verify results with a second method if possible
When to Seek Professional Confirmation
While at-home methods are effective for casual or gift purposes, high-value purchases like engagement rings warrant extra caution. Professional jewelers use calibrated metal sizers that account for finger shape, joint flexibility, and band profile. If you’re investing over $500 in a ring or ordering internationally, consider visiting a local jeweler for a free fitting—even if just to confirm your self-measured size.
Many online retailers also offer free physical ring sizers upon request. These plastic or metal bands mimic real rings and eliminate guesswork. Request one in advance if you have time.
Frequently Asked Questions
Can I use a sewing tape measure to measure ring size?
Yes, but only if it’s a non-stretch fabric or plastic type. Metal tailoring tapes work well. Avoid elastic measuring tapes—they compress and stretch, leading to inaccurate readings. Lay the tape flat and read the inner circumference directly.
What if my ring size differs between hands?
It’s normal for one hand to be slightly larger than the other. Always size based on the finger where the ring will be worn. Most people wear rings on their left ring finger, but preferences vary. Measure each finger individually if buying multiple rings.
Do ring sizes change over time?
Yes. Weight fluctuations, aging, pregnancy, and medical conditions like arthritis can alter finger size. Re-measure every few years or whenever you notice a fit change. A ring that spins freely or leaves indent marks likely needs resizing.
Final Tips for Long-Term Accuracy
Once you determine your size, record it in your phone notes or wallet. Include both U.S. and EU sizes for international shopping. Keep a small strip of paper cut to your exact circumference as a quick-reference tool. Store it in your jewelry box for future comparisons.
Conclusion: Confidence Starts with a Proper Fit
Measuring your ring size at home doesn’t require specialized tools—just attention to detail and a few minutes of care. By following the paper-tracing method, verifying with an existing ring, and avoiding common mistakes, you can achieve results within 0.2 mm of professional accuracy. Whether you're shopping online, planning a surprise, or simply organizing your collection, knowing your true size empowers smarter, safer decisions.


 浙公网安备
33010002000092号
浙公网安备
33010002000092号 浙B2-20120091-4
Comments
No comments yet. Why don't you start the discussion?