
Decorating for the holidays brings joy, warmth, and a sense of belonging — especially in a rental home where personal touches matter most. But one concern looms large for many tenants: how to hang Christmas lights without triggering repair fees or violating lease terms. The fear of nail holes, paint damage, or adhesive residue can deter even the most enthusiastic decorators.
The good news is that you don’t have to choose between festive cheer and financial responsibility. With the right tools, techniques, and planning, it’s entirely possible to create a dazzling holiday display while keeping your security deposit intact. This guide covers practical, landlord-friendly strategies to mount Christmas lights safely — no hammer required.
Understand Your Lease Agreement First
Before purchasing a single strand of lights, review your rental agreement. Many leases explicitly prohibit permanent modifications, including drilling, nailing, or gluing fixtures to walls, trim, or siding. Some landlords allow seasonal decorations with conditions; others ban them outright.
Check for clauses related to:
- Exterior modifications
- Holiday decorations
- Alterations to paint or structure
- Security deposit deductions
If the lease is silent, contact your landlord in writing. A simple message like, “I’d love to add temporary Christmas lights this year using non-damaging methods. Would that be acceptable?” can prevent misunderstandings later. Written approval creates a paper trail and sets clear expectations.
Choose Damage-Free Mounting Methods
Traditional light installation relies on staples, nails, or clips that pierce surfaces. On rental property, these leave behind marks that may be deemed \"excessive wear\" by landlords. Instead, opt for solutions designed to adhere temporarily and remove cleanly.
1. Use Removable Adhesive Hooks
Products like 3M Command™ Outdoor Hooks are engineered for seasonal use. They bond securely to painted surfaces, vinyl siding, brick (with special strips), and windows but release with minimal residue when removed properly.
How they work:
- Clean the surface with rubbing alcohol.
- Press the hook firmly for 30 seconds.
- Wait one hour before loading.
- To remove, pull the tab straight down — never yank sideways.
These hooks come in various weight ratings. For heavier light strands or icicle lights, use multiple small hooks rather than overloading one.
2. Magnetic Clips for Metal Surfaces
If your rental has metal gutters, downspouts, or railings, magnetic clips offer a zero-contact solution. These lightweight magnets hold LED mini-lights or net lights securely, even in wind.
Best for: Apartments with metal balcony rails, steel soffits, or refrigerator-style outdoor units near patios.
3. Tension Wires and Cables
A tension wire runs between two fixed points — such as between window frames or porch columns — without drilling. Attach the wire using heavy-duty suction cups or removable hooks, then drape lights along it.
This method works well for front porches or balconies where direct wall mounting isn't allowed. Just ensure the line is taut enough to support the weight of lights without sagging.
4. Over-the-Gutter Clips (Non-Piercing Type)
Some gutter clips snap over the edge without clamping tightly or requiring screws. Look for flexible plastic models labeled “no-tool” or “rental-safe.” Avoid metal spring clips that can scratch or deform gutters.
Test fit one clip first. If it leaves an impression or pulls shingles, skip this method.
5. Window Clamps and Sash Weights
For indoor-outdoor effects, run lights along window exteriors using adjustable clamps that grip the frame. Alternatively, tie lightweight strands to small fabric weights that rest inside the closed window sash — no adhesives needed.
Smart Lighting Choices That Reduce Risk
Not all Christmas lights are created equal. Heavier incandescent strings increase strain on mounts and consume more power. Opting for modern, lightweight alternatives reduces both physical stress and electrical load.
LED Lights Are Ideal for Renters
LEDs use up to 90% less energy than traditional bulbs, generate little heat, and last significantly longer. More importantly, they’re much lighter — often half the weight of incandescent strands — which means less pressure on adhesive mounts.
Additional benefits:
- Lower fire risk (ideal for older wiring in rentals)
- Available in warm white tones that mimic classic bulbs
- Often pre-strung on nets or trees for easy placement
Fairy Lights and Net Lights Minimize Hardware Needs
Instead of running individual strands along eaves, consider draping fairy light curtains over windows or using green-net lights for shrubs. These cover larger areas with fewer attachment points, reducing the number of hooks or clips needed.
Battery-Operated Options Eliminate Extension Cords
When outlets are limited or inaccessible, battery-powered lights eliminate the need for long cord runs across walkways or through windows. Place them in wreaths, window boxes, or railing planters.
“Renters who use lightweight LEDs and removable mounting systems rarely face deduction issues — provided they restore the space completely.” — Mark Delaney, Property Manager at UrbanRental Group
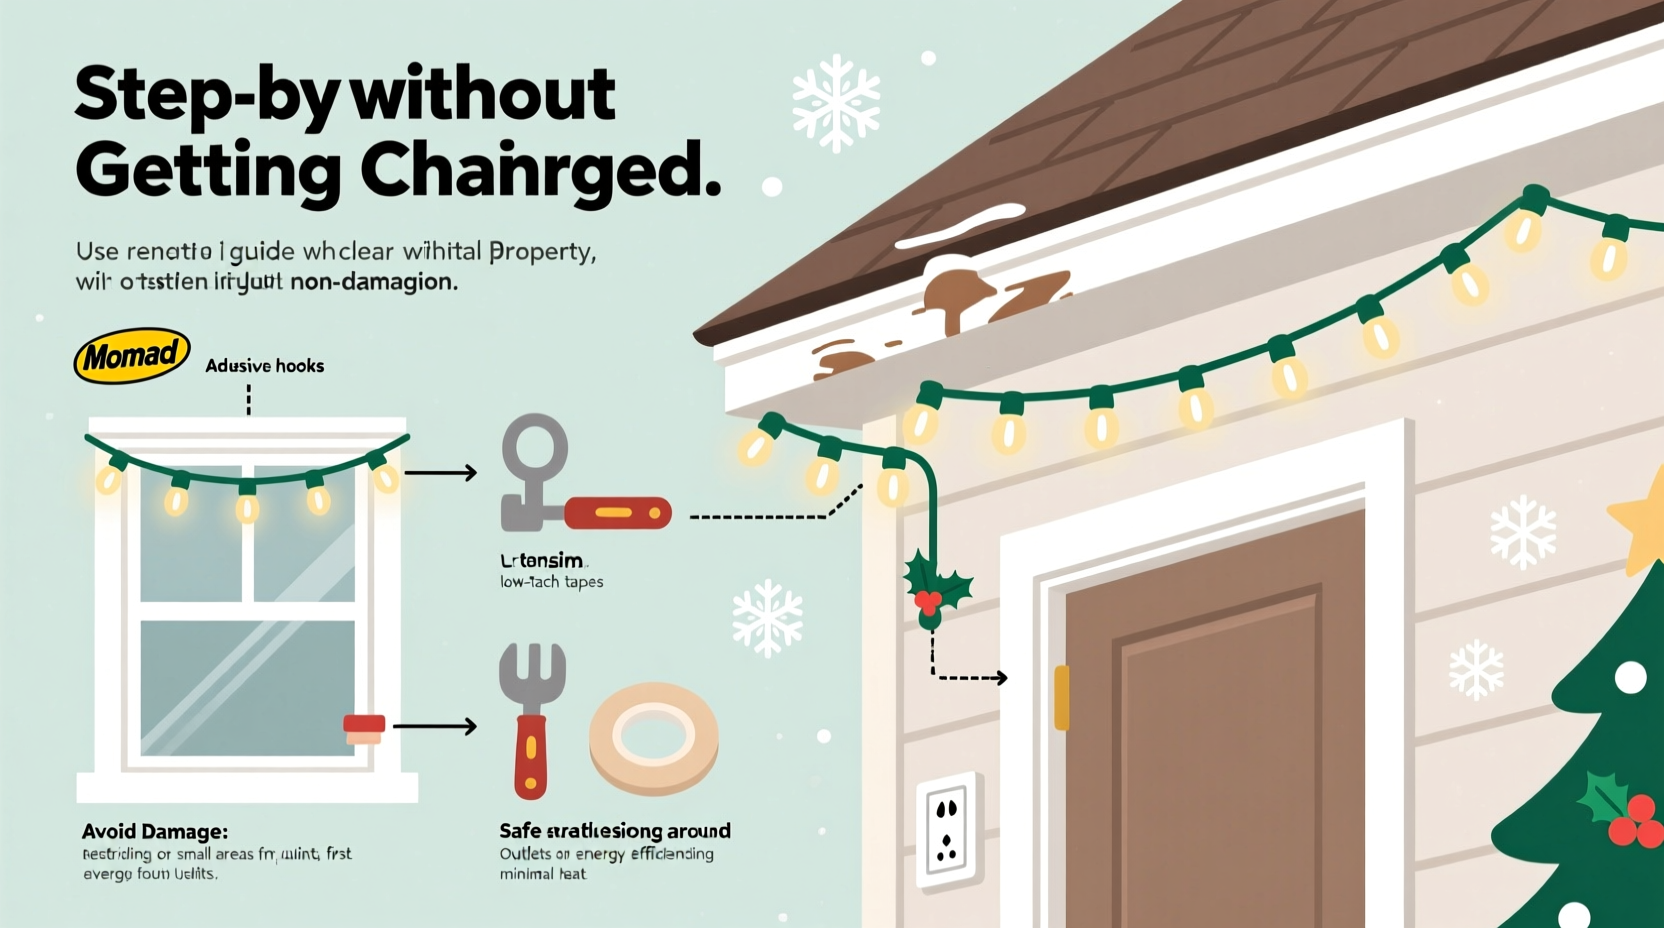
Step-by-Step Guide: Installing Lights Without Damage
Follow this timeline to install and remove your display safely, minimizing risks at every stage.
- Week 1: Review lease and request permission
Send a polite email or text to your landlord outlining your plans and preferred method. - Week 2: Purchase materials
Buy only what you need: LED lights, 3M hooks (rated for outdoor use), rubbing alcohol, measuring tape, and a ladder if accessing high areas. - Week 3: Prep and test
Clean all mounting surfaces. Test each light string indoors. Measure distances between attachment points and mark hook locations lightly with chalk. - Installation Day: Apply hooks and hang lights
Press each hook firmly. Wait an hour before hanging lights. Drape gently — don’t stretch or pull. Plug into a surge-protected timer. - Throughout the season: Monitor weather
After heavy wind or snow, inspect for loosened hooks or sagging wires. Re-seat if necessary. - January 2–5: Remove everything
Follow manufacturer instructions to remove adhesive tabs slowly. Clean residue with recommended remover (e.g., 3M’s eraser tool). - Final Check: Restore original condition
Inspect walls, windows, and gutters. Take photos for your records. Store lights properly for next year.
Do’s and Don’ts: What Landlords Notice Most
Landlords evaluate rental units based on visible wear and ease of turnover. Even minor oversights can lead to deductions. Use this table to stay compliant.
| Do | Don’t |
|---|---|
| Use outdoor-rated, removable adhesive hooks | Nail into siding, trim, or stucco |
| Label cords and keep pathways clear | Run extension cords across sidewalks or driveways |
| Remove all decorations by January 15 | Leave lights up past winter |
| Take before-and-after photos | Assume “they won’t notice” |
| Clean adhesive residue completely | Scrape off hooks with a knife or razor |
Real Example: Sarah’s Apartment Balcony Display
Sarah rents a third-floor apartment in Chicago with strict no-nails policies. She wanted to decorate her balcony rail but feared fines. Her solution?
She bought magnetic LED strip lights designed for under-cabinet lighting. She wrapped them around the metal railing posts and connected them to a battery pack hidden inside a faux planter. For vertical accents, she used 3M Command™ Clear Mini Hooks spaced every 18 inches to suspend fairy light strings from the ceiling beam — no drilling, no cords through windows.
After the holidays, she removed the hooks following the peel-down technique. A quick wipe with rubbing alcohol erased any faint marks. Her landlord later commented on how festive it looked — and how easy it was to return the space to normal.
FAQ: Common Questions Answered
Can I get charged even if I use removable products?
Yes — if damage occurs during installation or removal. For example, peeling paint due to poor surface prep or leaving sticky residue counts as neglect. Always follow product instructions carefully and document the condition beforehand.
What if my landlord says no to any decorations?
Respect the decision. Pushing back could jeopardize renewal. Focus on indoor displays: window light boxes, tabletop trees, or illuminated garlands. You can still celebrate without risking tenancy.
Are there insurance implications for outdoor lights?
Most renter’s insurance doesn’t cover damage caused by improper decoration setup. If a poorly secured light causes a fire or injury, you could be held liable. Always use UL-listed products and grounded timers.
Checklist: Damage-Free Christmas Light Installation
- ✅ Reviewed lease agreement for decoration rules
- ✅ Requested written permission from landlord
- ✅ Chosen LED lights (lightweight, cool-running)
- ✅ Purchased outdoor-rated removable hooks or magnets
- ✅ Cleaned mounting surfaces with alcohol wipes
- ✅ Measured spacing and marked hook positions
- ✅ Installed hooks and waited 1 hour before loading
- ✅ Used timers to reduce energy use and fire risk
- ✅ Took “after” photos once installed
- ✅ Scheduled removal date (by January 15)
- ✅ Removed hooks properly and cleaned residue
- ✅ Stored lights in labeled containers for next year
Protect Your Deposit While Spreading Cheer
Holiday decorating in a rental doesn’t have to be stressful or costly. By choosing smart products, respecting your lease, and prioritizing reversibility, you can enjoy a beautiful display without compromising your tenancy. The key is preparation — knowing what’s allowed, using the right tools, and leaving no trace when it’s time to take them down.
Remember, most landlords aren’t opposed to holiday spirit — they just want their property returned in the same condition. When you demonstrate care and responsibility, you build trust that can benefit you in lease renewals, maintenance requests, and future negotiations.


 浙公网安备
33010002000092号
浙公网安备
33010002000092号 浙B2-20120091-4
Comments
No comments yet. Why don't you start the discussion?