
Receiving asylum approval in the United States is a significant milestone, granting legal protection and the right to remain in the country. One of the critical next steps is securing your Form I-94, Arrival/Departure Record, which serves as official proof of your lawful status. Unlike most visa holders who receive an I-94 upon entry, individuals granted asylum often do not get a physical or digital record automatically. This can create confusion when applying for work permits, Social Security cards, or future immigration benefits. Understanding how to retrieve or request your I-94 after asylum approval is essential for maintaining compliance and accessing rights tied to your new status.
Understanding the I-94 and Its Importance After Asylum Approval
The I-94 form documents your legal entry into the U.S. and tracks your immigration status and authorized duration of stay. For those granted asylum, this record confirms your lawful presence and is required for numerous administrative processes. Without it, you may face delays or denials when applying for an Employment Authorization Document (EAD), adjusting status, or proving eligibility for state benefits.
It’s important to note that U.S. Customs and Border Protection (CBP) transitioned to a fully electronic I-94 system in 2013. Most travelers no longer receive paper forms; instead, their admission information is stored digitally. However, individuals who entered without inspection or were later granted asylum through U.S. Citizenship and Immigration Services (USCIS) may not have an initial I-94 on file—making retrieval more complex.
“Even if you didn’t enter with a visa, once asylum is approved, you are entitled to an I-94 reflecting your current status. It’s a vital document for building your life in the U.S.” — Maria Lopez, Immigration Attorney with over 15 years of experience
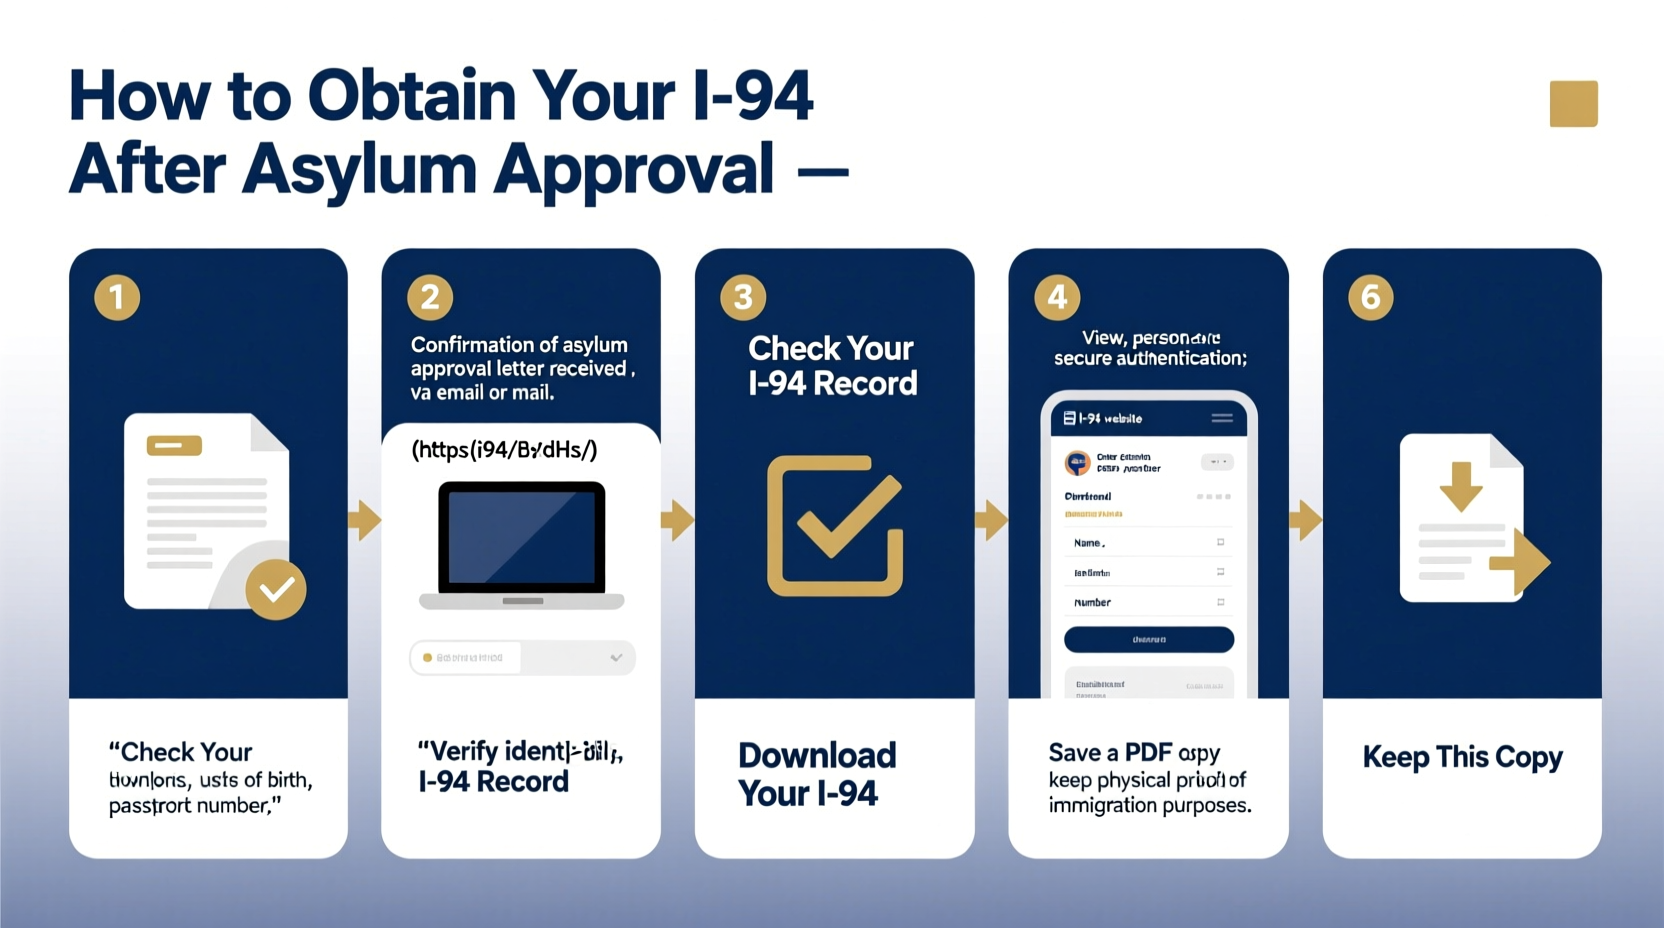
Step-by-Step Guide to Obtaining Your I-94 After Asylum Approval
Follow these detailed steps to successfully obtain your I-94 after being granted asylum:
- Confirm Your Asylum Approval
Ensure you have received official documentation from USCIS, typically Form I-797, Notice of Action, indicating your asylum was approved. This notice is key to verifying your status. - Check for an Existing Electronic I-94
Visit the official CBP I-94 website: https://i94.cbp.dhs.gov. Enter your personal details—full name as it appears on your passport, date of birth, and passport number. Select “Asylums” under the Visa Type field. If a record exists, you can view and print it immediately. - Verify the Details on the I-94
If you find a record, confirm that:- Your name matches exactly with your government ID
- The “Admit Until Date” reads “ADIT” or “D/S” (Duration of Status)
- The class of admission is listed as “AS” for asylee
- If No I-94 Appears, Submit a Request at a CBP Deferred Inspection Site
If your record does not appear online, you must request one in person. Locate the nearest CBP Deferred Inspection Site using the official tool at CBP Port Locator. Call ahead to schedule an appointment and confirm required documents. - Gather Required Documentation
Prepare the following:- Copy of your Form I-797 Approval Notice
- Passport or other government-issued ID
- Evidence of entry (if available), such as airline tickets or border crossing records
- Any previous I-94s or USCIS filings (e.g., Form I-589)
- Attend the Appointment and Request I-94 Issuance
At the deferred inspection site, explain that you were granted asylum and need an initial I-94 issued. CBP officers have the authority to create an electronic I-94 for asylees even if no prior record exists. Be polite, clear, and provide all supporting documents. - Receive and Save Your I-94
If successful, CBP will issue an electronic I-94. You’ll be able to access it online within 24–48 hours using the CBP portal. Print a copy and store it securely.
Common Challenges and How to Overcome Them
Many asylees encounter obstacles when trying to retrieve their I-94. Some common issues include:
- No Entry Record: If you entered without inspection, CBP may initially claim no I-94 can be issued. However, USCIS guidance confirms that asylees are eligible for an I-94 regardless of entry method. Bring your I-797 approval notice as proof of lawful status.
- Name Discrepancies: Variations in spelling between your passport and USCIS documents can cause mismatches. Bring a sworn affidavit explaining any discrepancies, along with translation documents if applicable.
- Long Wait Times at Ports: Appointments at deferred inspection sites can take weeks to schedule. Contact the port directly to inquire about walk-in availability or emergency requests.
Mini Case Study: Maria’s Successful I-94 Retrieval
Maria, a native of Honduras, was granted asylum in 2023 after fleeing gang violence. She had entered the U.S. without inspection and assumed she wasn’t eligible for an I-94. When applying for her EAD, she was told she needed proof of status. Confused, she consulted a legal aid nonprofit, which advised her to visit the San Ysidro Port of Entry’s deferred inspection office. She brought her I-797, baptismal certificate with her full name, and a letter from her attorney. After a 30-minute interview, CBP issued her an electronic I-94 with “AS” classification and “ADIT” expiration. Within two days, she accessed it online and submitted it with her EAD application.
Do’s and Don’ts When Requesting Your I-94
| Do’s | Don’ts |
|---|---|
| Bring your I-797 approval notice to every appointment | Assume you don’t qualify for an I-94 because you entered without inspection |
| Double-check all spellings on your documents match | Wait until the last minute to request your I-94 before filing other applications |
| Print and save your I-94 immediately after retrieval | Rely solely on verbal confirmation from an officer—always get documentation |
| Contact a nonprofit immigration legal service for help if denied | Submit incomplete or inconsistent paperwork |
Frequently Asked Questions
Can I get my I-94 if I entered without inspection?
Yes. Although you did not receive an I-94 upon entry, once asylum is approved, you are legally recognized as an asylee. You are entitled to an I-94 reflecting your status. Present your I-797 approval notice at a CBP deferred inspection site to request issuance.
What does “ADIT” mean on my I-94?
“ADIT” stands for “Alien Documentation, Identification, and Telecommunications.” It indicates that your stay is authorized indefinitely as long as your asylum status remains valid. It replaces a specific expiration date and means you are allowed to remain in the U.S. until you adjust to permanent resident status or lose asylum eligibility.
How long does it take to get an I-94 after asylum approval?
If your I-94 already exists electronically, you can retrieve it instantly. If you must visit a deferred inspection site, scheduling may take 1–3 weeks. Once processed, the electronic record is usually available within 48 hours. Processing times vary by location and workload.
Final Steps and Ongoing Responsibilities
Once you’ve obtained your I-94, use it to advance your integration into U.S. society. Apply for your Social Security Number, renew your driver’s license, and pursue employment authorization. Remember, your I-94 is not a one-time document—it may be requested repeatedly by employers, schools, and government agencies.
Stay proactive. Check your I-94 status annually via the CBP website. Report any errors immediately. If you eventually apply for a green card (Form I-485), your I-94 will be a foundational part of your evidence package.
Conclusion
Securing your I-94 after asylum approval is not just a procedural step—it’s a crucial act of establishing your legal identity in the United States. With the right documentation and knowledge of the process, you can overcome bureaucratic hurdles and gain access to the rights and opportunities you’ve been granted. Don’t let confusion or hesitation delay your progress. Take action today: check the CBP website, gather your papers, and reach out to a legal advocate if needed. Your journey doesn’t end with approval—it continues with empowerment, stability, and the freedom to build a new life.


 浙公网安备
33010002000092号
浙公网安备
33010002000092号 浙B2-20120091-4
Comments
No comments yet. Why don't you start the discussion?