
In today’s connected homes, a reliable Wi-Fi signal isn’t a luxury—it’s essential. From streaming 4K video to remote work and smart home automation, every device depends on seamless connectivity. Yet many households struggle with weak signals, slow speeds, and frustrating dead zones. Surprisingly, one of the most effective solutions has nothing to do with upgrading hardware: it’s about where you place your router.
Router placement is often overlooked, yet it plays a decisive role in network performance. A poorly positioned router can block or weaken signals, leading to inconsistent coverage and degraded user experience. The good news? With a few strategic adjustments, you can significantly improve your Wi-Fi reach and reliability—without spending a dime on new equipment.
Understanding How Wi-Fi Signals Travel
Before deciding where to place your router, it helps to understand how Wi-Fi works. Routers emit radio waves, typically on two frequency bands: 2.4 GHz and 5 GHz. Each has trade-offs. The 2.4 GHz band travels farther and penetrates walls better but is slower and more prone to interference. The 5 GHz band offers faster speeds and less congestion but has a shorter range and struggles with obstacles.
These signals radiate outward from the router in a donut-shaped pattern—strongest around the sides and weakest directly above and below. Antennas play a crucial role: their orientation affects signal direction. For example, vertical antennas send signals horizontally across floors, while horizontal positioning favors vertical spread between levels.
Obstacles like concrete walls, metal appliances, mirrors, and even water (like in fish tanks or plumbing) absorb or reflect signals. Interference from cordless phones, microwaves, and neighboring networks can further degrade performance. Knowing these factors allows you to make informed decisions about placement.
“Most Wi-Fi issues aren’t due to faulty hardware—they stem from poor placement and environmental interference.” — Dr. Alan Reyes, Network Infrastructure Engineer at MIT
Best Practices for Router Placement
Optimizing your router's location isn’t just about finding a convenient spot; it’s about balancing accessibility, signal propagation, and environmental factors. Follow these guidelines to maximize coverage throughout your home.
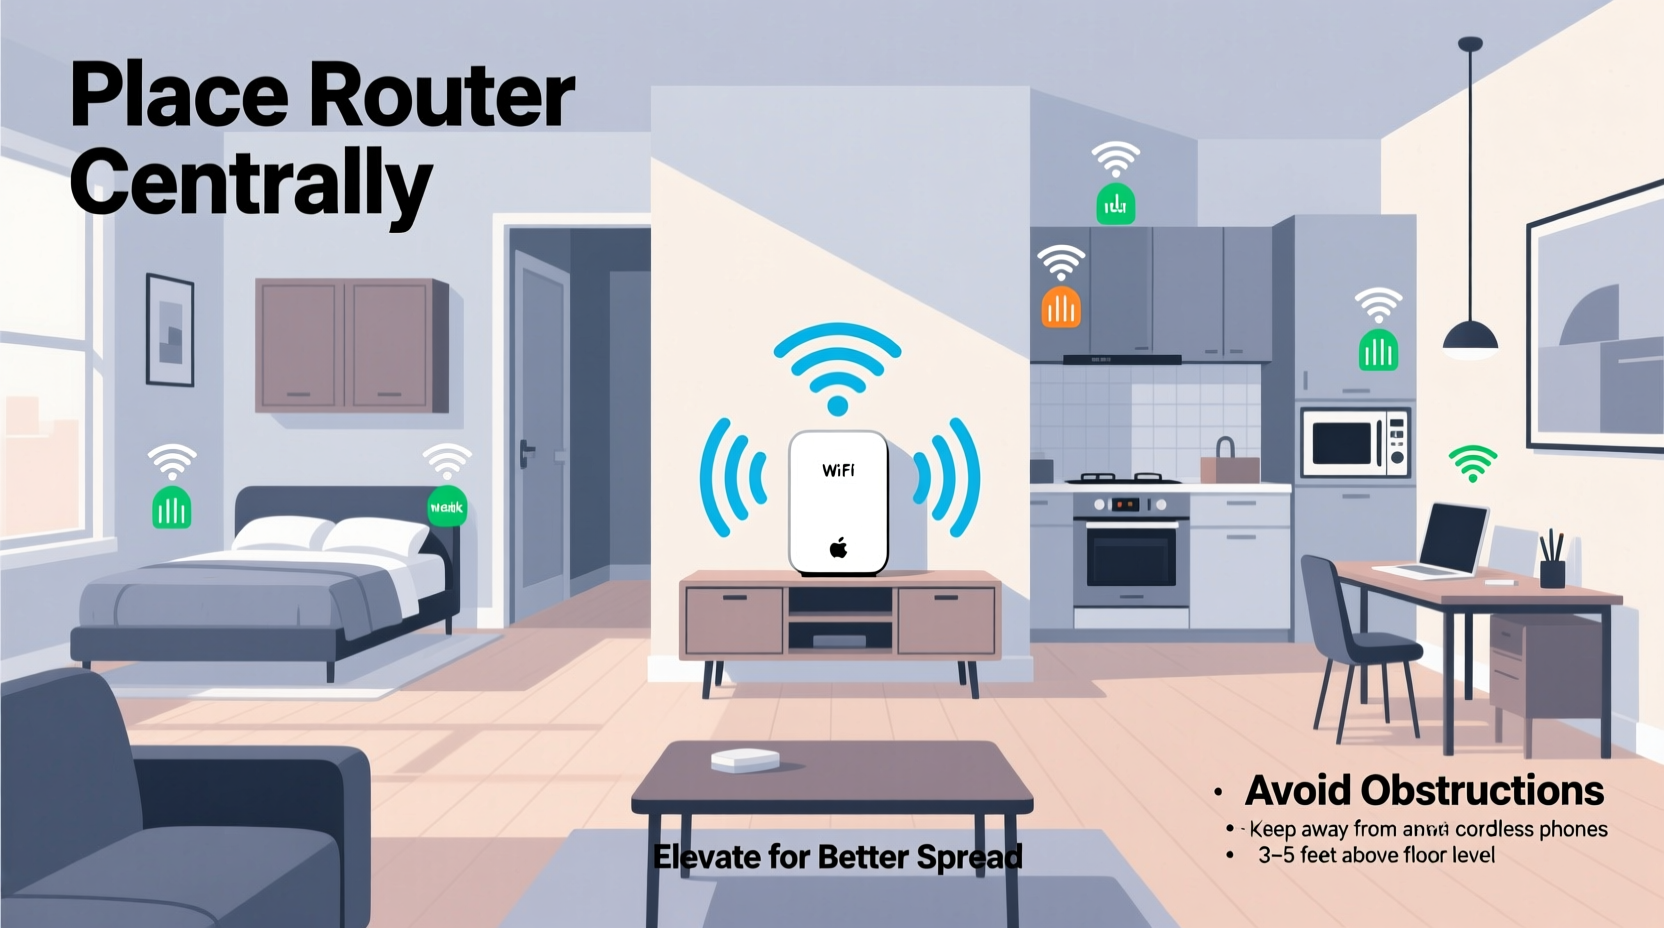
1. Centralize Your Router
The ideal location is as close to the center of your home as possible. This ensures an even distribution of signal in all directions. If your home has multiple floors, aim for a central point on the main level, ideally near the staircase, to allow signal penetration upstairs and downstairs.
2. Elevate the Router
Place your router off the ground—on a shelf, desk, or mounted bracket. Signals travel better when unobstructed by furniture and flooring. Avoid placing it on the floor or inside cabinets, which trap and scatter signals.
3. Keep It Away From Obstructions
Thick walls, especially those made of brick, concrete, or stone, severely limit signal strength. Metal objects like filing cabinets, refrigerators, and HVAC units act as signal blockers. Even large indoor plants with dense foliage can interfere.
4. Minimize Electronic Interference
Keep your router at least three feet away from devices that emit electromagnetic noise, such as microwaves, cordless phones, baby monitors, and Bluetooth speakers. These can disrupt the 2.4 GHz band and cause intermittent dropouts.
5. Orient Antennas Strategically
If your router has external antennas, position them correctly. For single-story homes, keep both antennas vertical. In multi-level homes, try one vertical and one horizontal to balance horizontal and vertical signal spread.
Do’s and Don’ts of Router Placement
| Do | Don’t |
|---|---|
| Place router centrally and elevated | Hide router in a closet or cabinet |
| Keep away from large metal objects | Install behind a TV or entertainment center |
| Use open spaces with minimal obstructions | Put it near the kitchen or microwave |
| Position antennas based on home layout | Lay the router flat under books or boxes |
| Ensure ventilation to prevent overheating | Block airflow with surrounding items |
Step-by-Step Guide to Optimizing Router Placement
Follow this systematic approach to evaluate and improve your current setup.
- Map Your Home’s Layout: Sketch each floor, noting room sizes, wall materials, and locations of major electronics.
- Identify High-Usage Zones: Mark areas where devices are used most—home offices, living rooms, bedrooms.
- Locate Current Router Position: Assess whether it’s centralized and free from interference.
- Test Signal Strength: Use a Wi-Fi analyzer app (like NetSpot or Wi-Fi Analyzer) to measure signal dBm levels in different rooms.
- Relocate the Router: Move it to a more central, elevated, and open location.
- Re-test Coverage: Walk through each room again with the app to compare results.
- Adjust Antennas and Settings: Fine-tune antenna angles and consider enabling band steering if your router supports dual-band.
- Monitor Performance Over Time: Check speed consistency during peak usage hours.
A Real-World Example: Fixing Coverage in a Two-Story Home
Consider Sarah, a remote worker living in a 1,800-square-foot two-story house. Her router was originally placed in a corner of the basement near the utility room—a common default location when internet lines enter the home. She experienced frequent disconnections in her upstairs office and no usable signal in the backyard.
After reading about router placement, she moved the device to a bookshelf on the main floor, near the stairwell. She elevated it, removed nearby electronics, and adjusted one antenna to a horizontal position. Using a Wi-Fi analyzer, she confirmed a 60% increase in signal strength upstairs and regained stable connectivity in previously dead zones.
She didn’t upgrade her plan or buy extenders—just repositioned the existing hardware. The change improved not only her Zoom call quality but also the responsiveness of her smart doorbell and security cameras.
When Placement Isn’t Enough: Complementary Solutions
Even with perfect placement, some homes are too large or structurally complex for a single router to cover entirely. In such cases, consider these enhancements:
- Mesh Wi-Fi Systems: Replace your standard router with a mesh network (e.g., Google Nest Wi-Fi, Eero, or TP-Link Deco). These use multiple nodes placed strategically around the home to create a seamless, unified network.
- Wi-Fi Extenders: Repeaters can boost signal into distant areas, though they may halve bandwidth. Best used as a last resort.
- Powerline Adapters: Use electrical wiring to transmit data from the router to outlets in weak-signal areas, then connect via Ethernet or local Wi-Fi.
- Access Points (APs): Hardwired APs offer enterprise-grade coverage and are ideal for larger homes with existing Ethernet cabling.
However, never install these solutions before optimizing your primary router’s position. A well-placed router reduces the need for additional hardware and ensures that any expansion works efficiently.
Frequently Asked Questions
Can I place my router in a closet or entertainment center?
No. Enclosed spaces restrict airflow, cause overheating, and block signals with wood, metal, and electronic interference. Routers need open space to radiate signals effectively.
Does a glass window affect Wi-Fi?
Standard glass has minimal impact, but tinted or energy-efficient windows often contain metallic coatings that reflect or block signals. Avoid placing routers directly against such windows if trying to cover outdoor areas.
How often should I restart my router?
Restarting every 1–2 months can clear memory leaks and resolve minor software glitches. Some ISPs recommend monthly reboots for optimal performance.
Checklist: Optimize Your Router Placement in 10 Minutes
Use this quick checklist to audit and improve your current setup:
- ☐ Is the router located near the center of the home?
- ☐ Is it elevated at least 3–5 feet off the ground?
- ☐ Are there large metal objects or appliances nearby?
- ☐ Is it at least 3 feet away from microwaves and cordless phones?
- ☐ Are the antennas oriented properly (vertical/horizontal mix for multi-floor)?
- ☐ Is the router in an open area, not enclosed in a cabinet?
- ☐ Does it have adequate ventilation to prevent overheating?
- ☐ Have you tested signal strength in key rooms using a Wi-Fi app?
- ☐ Are firmware updates installed for optimal performance?
- ☐ Have you considered a mesh system if coverage gaps persist?
Conclusion
Optimal router placement is the foundation of strong, consistent home Wi-Fi. By understanding how signals behave and avoiding common placement mistakes, you can dramatically improve coverage without investing in new gear. Start with a central, elevated, and unobstructed location, fine-tune antenna orientation, and test results with real-world tools. For larger homes, complement your efforts with mesh systems or access points—but only after maximizing your router’s potential.


 浙公网安备
33010002000092号
浙公网安备
33010002000092号 浙B2-20120091-4
Comments
No comments yet. Why don't you start the discussion?