
A cluttered makeup drawer is more than just an eyesore—it’s a daily time-waster. When products are buried under expired liners and half-empty palettes, getting ready becomes frustrating instead of enjoyable. The solution? Organize your drawer by product type. This method groups similar items together—foundation with foundation, brushes with tools—so you can find exactly what you need in seconds. Done right, it reduces decision fatigue, prevents double-purchasing, and keeps your routine efficient.
Unlike generic “tidy up” advice, organizing by product type creates a system that works with how you actually use makeup. It’s not about aesthetics alone; it’s about function, accessibility, and long-term maintenance. Whether you own five essentials or fifty luxury pieces, this approach scales to fit your collection and lifestyle.
Step 1: Empty and Evaluate Your Current Collection
The first step isn’t organizing—it’s auditing. Remove everything from your drawer and place it on a clean surface. This gives you full visibility and forces you to confront what you actually own.
As you lay out each item, ask three questions:
- Have I used this in the past six months?
- Is it expired or dried out?
- Does it still serve my current routine or skin needs?
Expired mascara, dried-up lipsticks, and broken eyeshadows should be discarded. According to dermatologist Dr. Lena Patel, “Using old makeup increases the risk of bacterial contamination, which can lead to breakouts and infections.” She recommends replacing liquid products every 6–12 months and powders every 1–2 years.
Sort items into piles by category: foundations, concealers, blushes, eyeshadows, lip products, tools, and specialty items like glitter or setting sprays. This initial sorting sets the foundation for your new system.
Step 2: Choose the Right Organizers for Each Product Type
Not all organizers work for all products. Using a narrow lipstick holder for bulky compacts leads to instability. Matching the container to the product ensures stability, visibility, and ease of access.
Here’s a breakdown of recommended organizers by category:
| Product Type | Best Organizer | Why It Works |
|---|---|---|
| Liquids (foundation, concealer, serum) | Acrylic grid tray or upright bottle holder | Prevents tipping, allows label visibility, easy to wipe clean |
| Powders (blush, bronzer, setting powder) | Shallow square or rectangular tray | Maximizes flat space, prevents stacking damage |
| Lipsticks & Glosses | Vertical lipstick organizer or angled display | Shows color at a glance, minimizes rolling |
| Eyeliners & Pencils | Pen cup or divided pencil tray | Keeps sharp tips protected, separates by type |
| Brushes & Tools | Brush holder with compartments or roll-up case | Prevents bristle deformation, keeps tools dry |
| Palettes & Compacts | Stackable trays or tiered shelves | Saves space while allowing full palette access |
Invest in modular systems if your collection changes often. Acrylic organizers with adjustable dividers let you reconfigure as your preferences evolve. Avoid overfilling containers—leave breathing room so products aren’t jammed in.
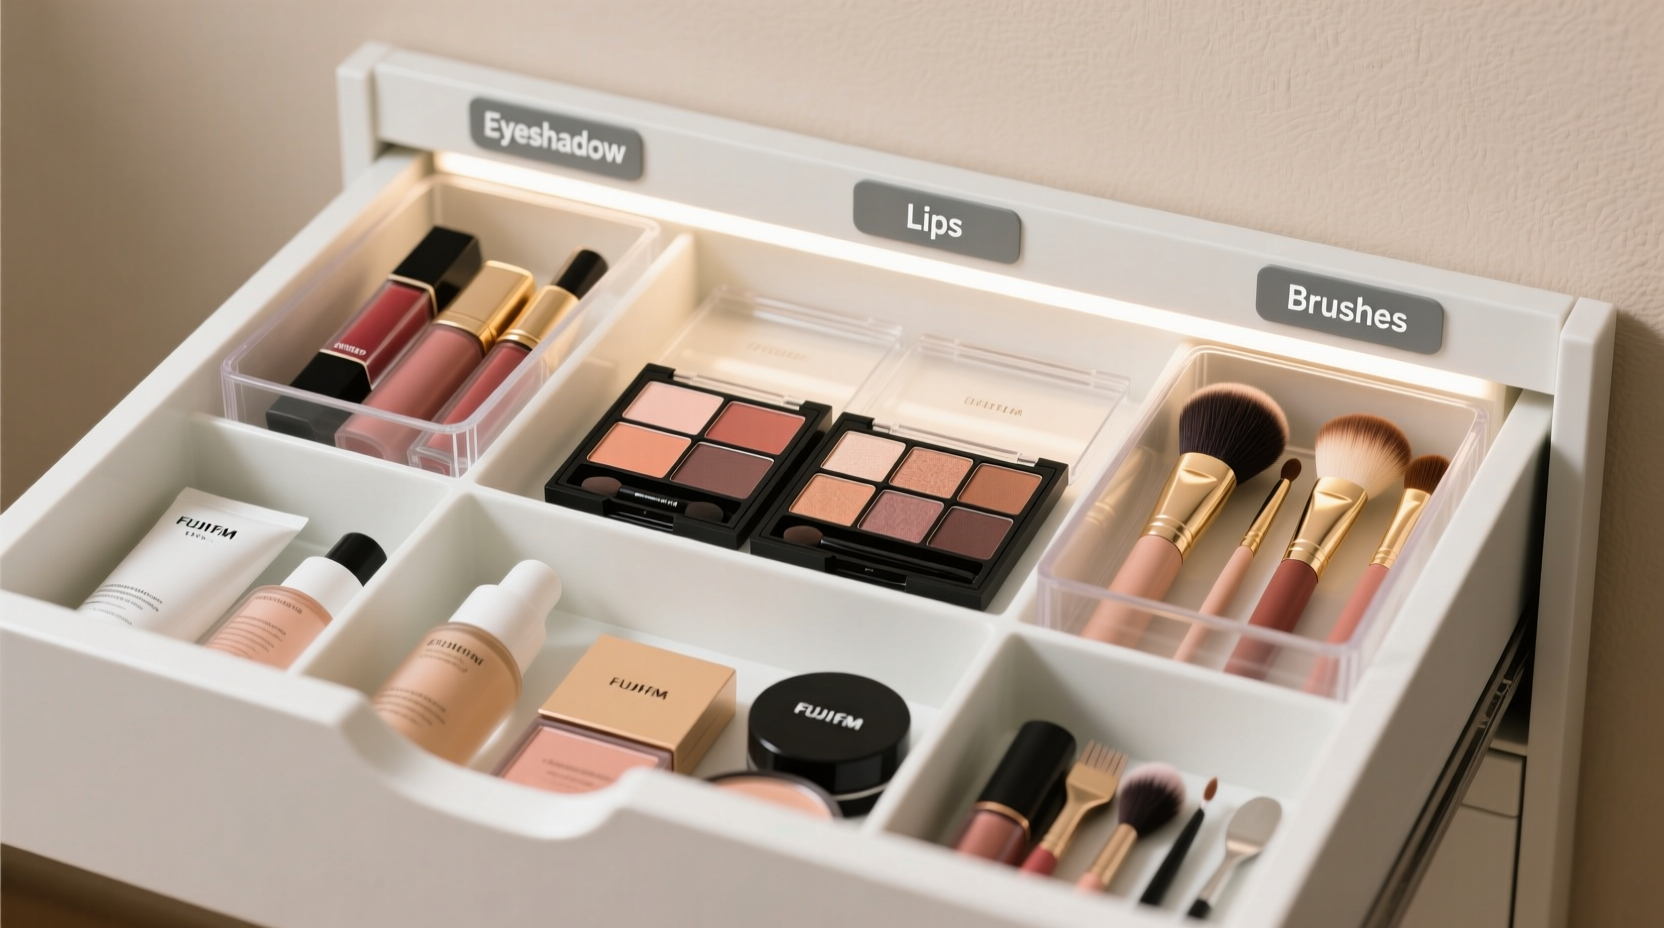
Step 3: Group Products Logically Within Categories
Once sorted by type, refine further based on usage patterns. For example, within your foundation pile, separate liquid, cream, and powder formulas. Keep primers and color correctors near foundations—they’re part of the same application sequence.
Consider arranging items in order of use:
- Skincare prep (primers, moisturizers)
- Base (foundation, concealer, color corrector)
- Cheek (blush, bronzer, highlighter)
- Eyes (eyeshadow, liner, brows, mascara)
- Lips (liner, lipstick, gloss)
- Finishing (setting spray, powder)
This workflow-based grouping mimics your morning routine, reducing backtracking across the drawer. If you wear bold lips daily, keep your favorite reds front and center. Seasonal items—like deep bronzers in fall—can go in a labeled box tucked behind daily staples.
“Organization isn’t about perfection—it’s about creating a system that supports your habits.” — Maria Tran, Professional Makeup Artist and Organizer Consultant
Step 4: Implement a Maintenance Routine
A well-organized drawer won’t stay that way without upkeep. Build in micro-habits to preserve order:
Adopt the “one in, one out” rule: when you buy a new lipstick, remove an unused one. This prevents accumulation. At the end of each month, do a 5-minute sweep: return misplaced items, discard empty containers, and check expiration dates.
Use labels if you share space with others or have multiple shades of the same product. A simple white label with “NARS Radiant Creamy Concealer – Vanilla” eliminates guesswork.
Mini Case Study: From Chaos to Clarity
Sophia, a graphic designer and mother of two, struggled with her makeup routine taking 20 minutes longer than necessary. Her drawer was a tangle of tubes, broken compacts, and scattered brushes. After following the product-type method, she grouped everything into labeled acrylic trays. She placed her daily-use foundation, concealer, and mascara in a front row, with evening products in a removable side tray.
Within a week, her morning routine dropped to 10 minutes. “I’m not wasting time digging,” she said. “And I realized I had three nearly identical brow pencils—I donated two.”
Step 5: Optimize Accessibility and Visibility
No matter how neatly arranged, products you can’t see or reach won’t get used. Prioritize visibility for high-frequency items. Use clear containers so you can spot a shade of lipstick without opening the bin. Angled trays elevate back-row items into view.
If your drawer has depth, consider a pull-out organizer or a tiered setup. Place frequently used items between waist and chest level—the “golden zone” where grabbing is effortless. Reserve upper or lower sections for backups or seasonal items.
For those with limited drawer space, wall-mounted magnetic strips or over-the-door organizers can extend storage without sacrificing accessibility. Just ensure they’re dust-free and secure.
Checklist: Organize Your Makeup Drawer by Product Type
Follow this checklist to complete your transformation:
- Empty the entire drawer onto a clean surface
- Discard expired, dried, or unused products
- Sort remaining items into product categories
- Select appropriate organizers for each group
- Arrange products in order of application
- Label containers if needed for clarity
- Place most-used items in the front or top tier
- Wipe down organizers before restocking
- Implement a monthly maintenance check
- Adopt the “one in, one out” rule for new purchases
Frequently Asked Questions
How do I organize a small makeup drawer effectively?
Maximize vertical space with stackable trays and shallow bins. Use drawer dividers to create zones. Prioritize daily essentials and store backups elsewhere. Magnetic strips inside the drawer lid can hold metal-ended tools like tweezers or scissors.
Should I separate everyday makeup from special occasion products?
Yes. Grouping occasion-specific items (glitter, bold liners, dramatic lashes) in a separate box or tray prevents clutter and makes daily access faster. Store them behind or beside your main setup so they don’t interfere with routine use.
What’s the best way to store makeup brushes in a drawer?
Use a brush holder with individual slots or a compartmentalized tray to prevent bristles from bending. Avoid laying brushes flat under heavy products. Clean brushes monthly and store them handle-up to maintain shape.
Final Thoughts: Make Organization Work for You
Organizing a makeup drawer by product type isn’t a one-time project—it’s the start of a smarter beauty routine. When everything has a designated place, you save time, reduce stress, and gain confidence in your choices. You’ll stop buying duplicates because you finally remember what you own. You’ll notice expired products before they cause irritation. And you’ll enjoy the small pleasure of opening a drawer that looks—and functions—like a pro’s kit.
The goal isn’t a Pinterest-perfect photo. It’s a system that fits your life, adapts to change, and makes getting ready feel effortless. Start today with one category. Tackle foundations. Then move to eyes. Before long, you’ll have a streamlined, intuitive space that supports your self-care, not hinders it.


 浙公网安备
33010002000092号
浙公网安备
33010002000092号 浙B2-20120091-4
Comments
No comments yet. Why don't you start the discussion?