
A junk drawer is supposed to be a catch-all for small essentials, but over time it becomes a black hole of rubber bands, loose batteries, expired coupons, and mystery screws. When you need something, it's buried beneath chaos. The good news? You don’t need fancy organizers or hours of effort. With just a few dollar store bins and a focused strategy, you can transform your cluttered drawer into a functional, easy-to-navigate space in under ten minutes.
This method isn’t about perfection—it’s about practicality. It uses inexpensive, accessible tools and a streamlined process that respects your time. Whether your junk drawer lives in the kitchen, entryway, or home office, this guide will help you reclaim control fast.
Why Dollar Store Bins Work Better Than You Think
Dollar store organizers are often dismissed as flimsy or temporary, but they’re ideal for small-scale decluttering projects like junk drawers. They come in various sizes and shapes—rectangular, square, divided trays, lidded containers—and their low cost means you can experiment without financial risk. If one size doesn’t work, swap it out next trip.
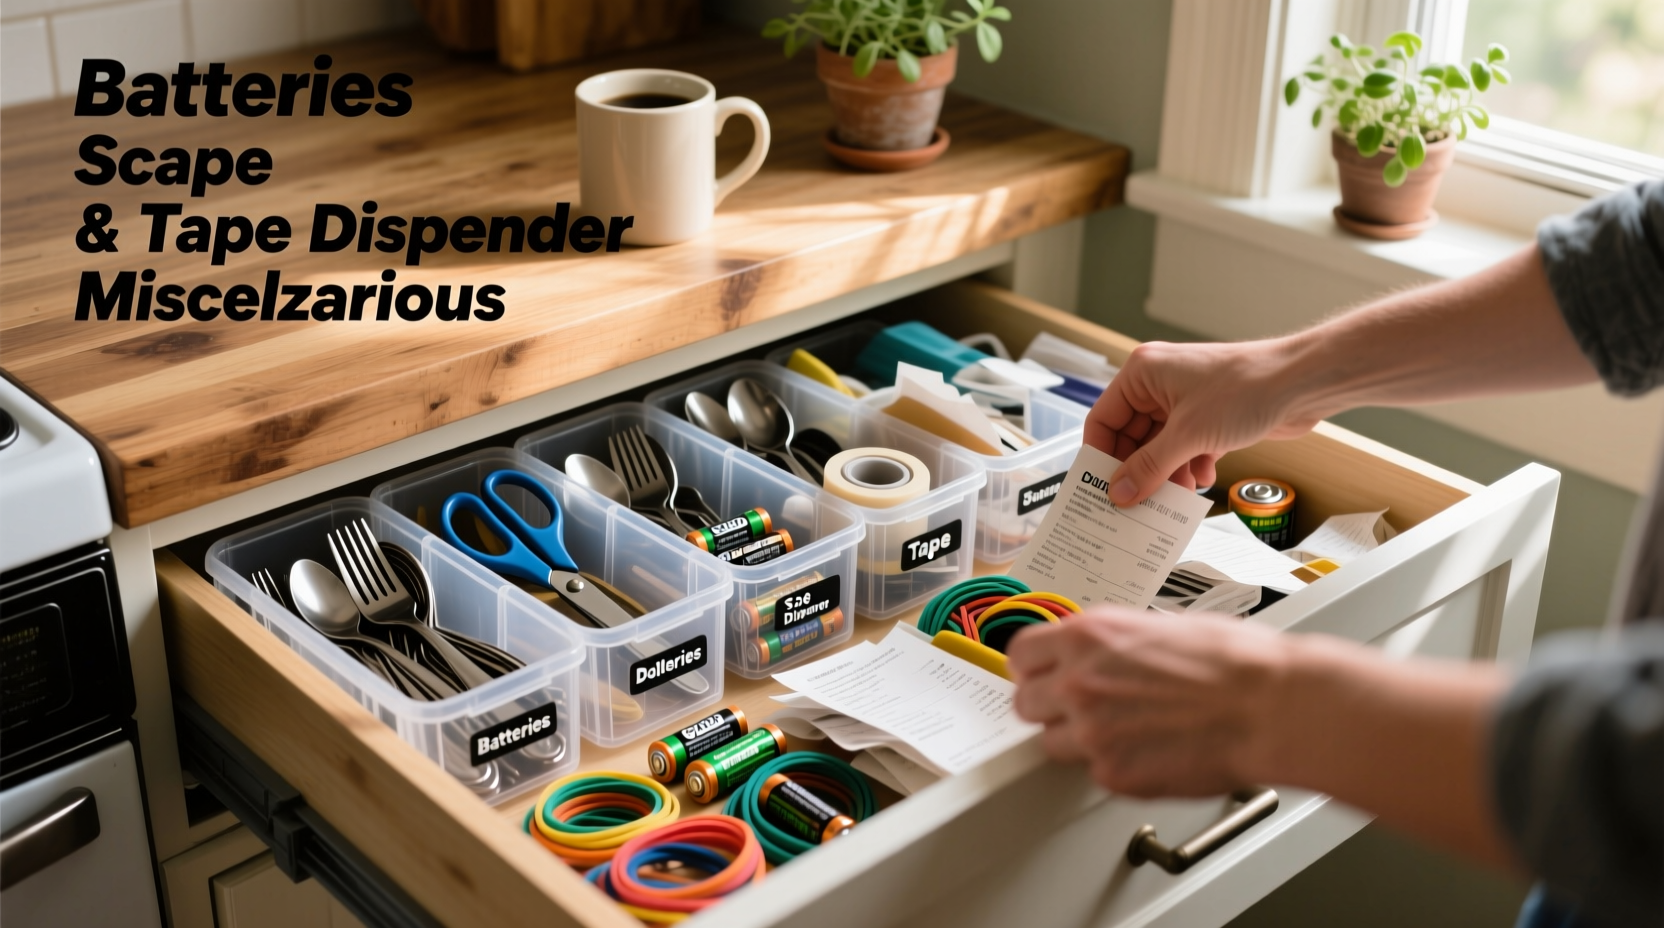
More importantly, these bins create visual and physical boundaries. Without compartments, items blend together. A single bin dedicated to batteries keeps them from rolling into twist ties. Another for pens prevents ink leaks on receipts. Segmentation reduces decision fatigue: when everything has a “home,” putting things away becomes automatic.
“Containment is the first principle of organization. Small bins act as micro-zones that prevent clutter migration.” — Laura Chen, Home Efficiency Consultant
Step-by-Step: The 9-Minute Junk Drawer Reset
The entire process—from emptying the drawer to final placement—can be completed in nine minutes or less. Here’s how to execute it efficiently.
- Minute 1: Remove Everything
Take all contents out and place them on a clean surface. This forces a full assessment and prevents selective organizing. - Minute 2: Trash & Recycle Sweep
Discard broken items, dried-up pens, expired gift cards, old takeout menus, and anything unusable. Recycle paper clips, rubber bands, or packaging where possible. - Minutes 3–4: Sort Into Categories
Group remaining items into logical clusters: batteries, office supplies, tape, tools, cords, etc. Be realistic—don’t create categories you won’t maintain. - Minutes 5–6: Select & Place Bins
Pick 3–5 small bins from the dollar store that fit your drawer dimensions. Assign each bin to a category. Nest them snugly to minimize shifting. - Minutes 7–8: Load & Label (Optional)
Place sorted items into their designated bins. For shared households, use masking tape labels for clarity. - Minute 9: Return & Test Access
Slide the drawer back in. Open and close it a few times to ensure bins stay put. Retrieve one item from each bin to confirm accessibility.
That’s it. No measuring, no adhesive, no complicated systems. Just clear zones and immediate usability.
Choosing the Right Dollar Store Bins: A Quick Guide
Not all dollar store containers are created equal. Focus on durability, fit, and function. Avoid thin plastic that cracks easily. Instead, look for slightly thicker, opaque bins with reinforced edges.
Here’s a comparison of common types and their best uses:
| Type of Bin | Best For | Avoid Using For |
|---|---|---|
| Small Rectangular Containers (3” x 5”) | Batteries, thumbtacks, USB drives | Loose paper (too shallow) |
| Divided Organizer Trays | Pens, scissors, sticky notes, small tools | Large items like flashlights |
| Square Lidded Boxes | Craft supplies, earbuds, spare keys | Frequent-access items (lids slow retrieval) |
| Clear Plastic Cups (3–4 oz) | Twist ties, rubber bands, nails | Liquids or greasy tools |
| Shallow Drawers with Handles | Coins, stamps, paper clips | Heavy items (handles may snap) |
Pro tip: Bring a ruler or use your phone’s measurement app when shopping. Standard junk drawers are typically 14–18 inches wide and 3–5 inches deep. Choose bins that allow for easy removal and airflow.
Real-Life Example: Sarah’s Kitchen Junk Drawer Rescue
Sarah, a busy parent of two in Columbus, Ohio, had a kitchen drawer filled with everything from dog leash hooks to half-used rolls of duct tape. “I’d open it looking for scissors and end up pulling out three expired coupons and a dead flashlight,” she said. After seeing a friend’s organized drawer, she decided to try the dollar store method during her weekly grocery run.
She picked up four bins: one divided tray, two small rectangles, and a lidded cup. Back home, she cleared the drawer in under two minutes, trashed seven unusable items, and grouped the rest into four categories: repair tools, school supplies, gift wrap accessories, and emergency items (batteries, matches).
The whole process took eight minutes. “Now I find what I need instantly,” Sarah said. “And my kids can put things back because they see where each bin goes.” Six months later, the system still holds—proof that simplicity sustains long-term order.
Checklist: Your 10-Minute Junk Drawer Transformation
Use this checklist before you begin to ensure you have everything ready:
- ☐ Empty the junk drawer completely onto a counter or table
- ☐ Discard broken, expired, or unnecessary items
- ☐ Sort remaining items into 3–5 practical categories
- ☐ Select appropriately sized dollar store bins (3–5 pieces)
- ☐ Arrange bins in the drawer to maximize space and access
- ☐ Place categorized items into their assigned bins
- ☐ Label bins if helpful (use tape or sticky labels)
- ☐ Slide drawer back in and test ease of use
- ☐ Done! Total time: under 10 minutes
Keep this list saved or printed for future touch-ups. Most people only need to do a full reset every 3–6 months if they maintain the system.
Common Mistakes That Undo Your Progress
Even a well-organized drawer can fall apart quickly if common pitfalls aren’t avoided. Here’s what to watch for:
- Overfilling bins: When a bin is stuffed, it defeats the purpose. Items get buried, and the system fails. Leave an inch of headspace.
- Too many categories: Five is plenty. Ten micro-categories become confusing and unmaintainable.
- Ignoring frequency of use: Place frequently used items (like scissors or tape) in front bins. Reserve back sections for rarely used backups.
- Forgetting mobility: If bins shift when the drawer opens, use non-slip liner or choose wider bases.
- Skipping the purge step: Organizing junk without removing junk just creates tidy clutter. Always start by eliminating.
“The most effective organizing systems are invisible in their success—they make retrieval effortless so you don’t even think about the process.” — Marcus Lin, Professional Organizer & Author of *Minimal Access*
Frequently Asked Questions
Can I use household items instead of buying bins?
Absolutely. Repurpose yogurt cups, mint tins, or small cardboard boxes as temporary dividers. However, dollar store bins are more durable and uniform, making them better for long-term use.
What if my drawer is too shallow for standard bins?
Look for flat trays or divided snack containers—they’re often only 1–1.5 inches tall. You can also cut larger foam inserts from packaging to create custom separators.
How do I keep kids or roommates from messing up the system?
Labeling helps, but so does design. Make the system intuitive: use clear bins so contents are visible, and place high-use items in obvious spots. In shared homes, a quick five-minute demo ensures everyone understands the logic.
Final Thoughts: Organization Doesn’t Need to Be Expensive or Time-Consuming
The myth that organization requires major investment or hours of labor keeps many people stuck in clutter. But real change happens in moments—like the nine minutes you spend turning chaos into clarity. By leveraging affordable, accessible tools like dollar store bins, you make order sustainable, not overwhelming.
This method works because it’s repeatable. When life adds new clutter—a pack of replacement fuses, a set of holiday light timers—you already have a system to absorb it. No overhaul needed. Just drop it into the right bin and move on.
Organization isn’t about perfection. It’s about reducing friction in daily routines. And when you can grab a battery without dumping out the entire drawer, you’ve won.


 浙公网安备
33010002000092号
浙公网安备
33010002000092号 浙B2-20120091-4
Comments
No comments yet. Why don't you start the discussion?