
A cluttered pantry doesn’t just make meal prep frustrating—it can lead to wasted food, duplicated grocery purchases, and daily stress. The good news? You don’t need expensive organizing systems or custom shelving to reclaim control. With a few strategic trips to the dollar store and some smart planning, you can transform even the most chaotic pantry into a streamlined, functional space. Dollar store bins offer an affordable, accessible solution that delivers results rivaling high-end organizers. This guide walks through how to assess your pantry’s needs, choose the right containers, categorize items efficiently, and maintain order—all without overspending.
Assess Your Pantry’s Current State
Before buying a single bin, take time to evaluate what you’re working with. A successful organization system starts with understanding your inventory, shelf dimensions, and usage patterns. Begin by removing everything from your pantry. Yes, everything. This allows you to see how much space you actually have, identify expired or stale items, and notice gaps or inefficiencies in layout.
As you pull items out, sort them into categories: baking supplies, snacks, canned goods, pasta and grains, breakfast foods, sauces, and so on. Check expiration dates and dispose of anything past its prime. Wipe down shelves thoroughly—this small act reinforces a fresh start and removes crumbs or spills that attract pests.
Measure your shelves before heading to the store. Note the height, depth, and width of each shelf section. Many dollar store bins are standardized in size, but slight variations exist between brands and locations. Knowing your dimensions ensures bins will fit without blocking doors or creating awkward stacking issues.
Selecting the Right Bins from the Dollar Store
Dollar stores carry a surprising variety of storage containers—clear plastic bins, baskets with handles, stackable boxes, lidded cubes, and even fabric-covered options. Not all are created equal when it comes to pantry use. Prioritize durability, visibility, and accessibility.
Clear bins are ideal because they allow you to see contents at a glance. Avoid opaque containers unless labeling thoroughly. Look for bins with open tops or removable lids—this makes access easier than rigid, sealed boxes not designed for frequent use. Handles can be helpful for pulling heavier items like flour or pet food forward, but aren’t essential for lightweight categories like tea bags or spice packets.
Consider bin depth carefully. Shallow bins work well for flat items (crackers, seasoning packets), while deeper ones suit bulkier goods (bags of rice, canned vegetables). If your shelves are narrow, opt for long, low-profile bins rather than square ones that waste vertical space.
“Visibility and access are more important than aesthetics in a functional pantry. Choose containers that make it easy to see and retrieve items daily.” — Laura Bennett, Home Organization Consultant
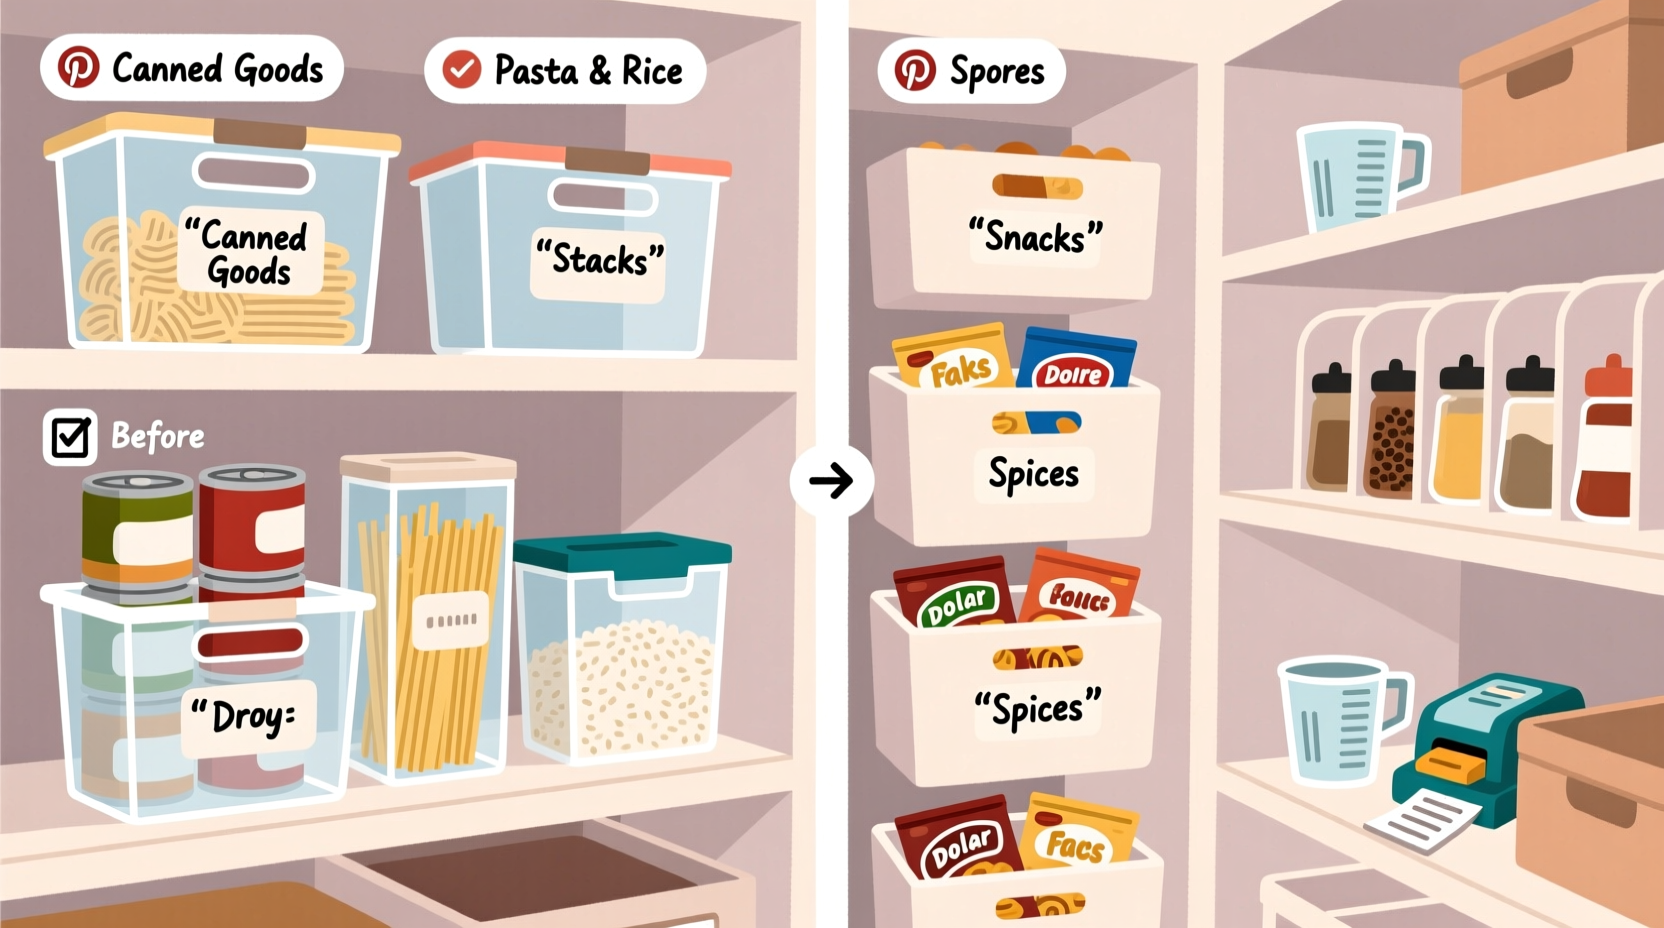
Categorize and Group Like Items
Once you’ve selected your bins, it’s time to group items logically. Effective categorization reduces decision fatigue and speeds up meal prep. Think about how you cook and eat. What do you reach for together? Keep those items together.
For example, if you bake weekly, store flour, sugar, baking powder, vanilla, and chocolate chips in one labeled bin. Snack lovers might group granola bars, fruit cups, popcorn, and trail mix for kids’ easy access. Canned goods can be divided into subcategories: soups, vegetables, beans, and tomatoes.
Use smaller bins within larger ones to create micro-zones. A large shelf can hold a medium bin for pasta, with a tiny container inside dedicated to seasoning packets or bouillon cubes. This nested approach maximizes space without sacrificing clarity.
| Category | Suggested Bin Type | Labeling Tip |
|---|---|---|
| Snacks (individual packs) | Medium clear bin with front label | Use bold print: “KIDS’ SNACKS” |
| Baking Supplies | Deep stackable container | List contents: “Flour, Sugar, Baking Soda” |
| Canned Goods | Front-facing bin or turntable | Label by type: “CANNED BEANS” |
| Spice Packets & Sauces | Small rectangular tray | Add icons (🌶️ for hot sauce) |
| Pasta & Grains | Lidded or open-top bin | Include common serving size |
Step-by-Step: Organizing Your Pantry with Dollar Store Bins
Follow this sequence to ensure a smooth, effective transformation:
- Empty the pantry completely. Place items on a clean counter or table. Discard expired goods and consolidate partial packages.
- Wipe down all shelves and walls. Use a damp cloth and mild cleaner. Let dry before restocking.
- Sort items into logical groups. Use sticky notes or tape to mark temporary piles.
- Visit the dollar store with measurements. Buy bins based on shelf size and category needs. Stick to a pre-determined number (e.g., 5–7 bins) to avoid overbuying.
- Transfer items into bins. Use original packaging when possible for ingredient lists and expiration dates. For loose items like lentils or oats, consider transferring to resealable bags first, then placing in bins.
- Label every bin clearly. Use a label maker, masking tape, or chalkboard stickers. Include both text and, optionally, symbols for quick recognition.
- Place bins back strategically. Heavier items (cans, jars) go on lower shelves. Frequently used items at eye level. Less-used or seasonal goods higher up.
- Test the system. Use your pantry normally for a week. Adjust bin sizes or categories if something feels awkward or hard to access.
Real-Life Example: Transforming a Family Pantry in One Weekend
Jamie, a parent of two in suburban Ohio, struggled with a walk-in pantry that had become a dumping ground. Breakfast bars were buried under holiday baking supplies, and finding canned tomatoes often meant moving three stacked boxes. After attending a community workshop on budget organizing, she decided to try the dollar store method.
She spent $18 at her local store, purchasing seven clear bins: two large, three medium, and two small. She cleared the pantry on a Saturday morning, discovering three expired spice bottles and a forgotten bag of lentils from two years prior. Using the categorization strategy, she grouped items into: “Breakfast,” “Baking,” “Pasta & Sauce,” “Canned Veggies,” “Kid Snacks,” “Oils & Vinegars,” and “Emergency Meals.”
By Sunday evening, the pantry was transformed. Her children could now find their own snacks, and Jamie cut 10 minutes off her average meal prep time because ingredients were visible and grouped. Three months later, she reports only minor adjustments—adding a second bin for gluten-free pasta—and says the system has reduced grocery waste by nearly 30%.
Maintaining Your Organized Pantry
An organized pantry isn’t a one-time project—it’s a habit. To sustain order, build in simple routines. When unpacking groceries, place items directly into their designated bins. If a category outgrows its container, reassess before accepting clutter creep.
Set a monthly “pantry check” on your calendar. During this 10-minute review, scan for expiring items, wipe spills, and realign bins that may have shifted. This prevents small messes from becoming big problems.
Seasonal shifts also call for updates. Before holidays or back-to-school season, reevaluate your categories. You might need a temporary “Halloween Candy” bin or extra space for school lunch supplies. Dollar store bins make it easy to adapt without permanent changes.
“Organization fails when systems aren’t maintained. The key is designing a setup that’s easy to return to, even on busy days.” — Marcus Reed, Professional Organizer and Author of *Clutter-Free Living*
Checklist: Pantry Organization Success in 10 Steps
- ✅ Remove all items from the pantry
- ✅ Discard expired or unwanted food
- ✅ Clean shelves and walls
- ✅ Measure shelf dimensions
- ✅ Sort items into categories
- ✅ Visit dollar store with list and measurements
- ✅ Purchase clear, appropriately sized bins
- ✅ Transfer items and label each bin clearly
- ✅ Place bins according to frequency of use
- ✅ Schedule a monthly maintenance check
Frequently Asked Questions
Can I use dollar store bins for food storage long-term?
Yes, as long as the bins are food-safe plastic and kept clean. Avoid storing extremely oily or acidic foods directly in thin plastic without a barrier (like a jar or resealable bag). Always inspect bins periodically for cracks or odors.
What if my pantry has odd-shaped spaces or slanted walls?
Dollar store bins can still work. Use smaller containers to fill irregular areas, or designate one flexible “miscellaneous” bin for oddly shaped zones. Corner shelves can hold triangular or L-shaped arrangements of bins.
How do I keep pests out when using open bins?
Transfer dry goods like flour, cereal, or pet food into airtight glass or thick plastic containers first, then place those inside the dollar store bins for organization. The outer bin adds structure and labeling space while the inner container provides pest protection.
Final Thoughts: Small Changes, Lasting Impact
Organizing a messy pantry doesn’t require a renovation or a big budget. It requires intention, consistency, and the right tools. Dollar store bins provide an accessible entry point to sustainable order—one that scales to any household size or kitchen layout. The savings add up quickly: less wasted food, fewer duplicate purchases, and more time spent enjoying meals instead of searching for ingredients.
The real benefit isn’t just visual neatness. It’s the quiet confidence that comes from knowing exactly where your cinnamon is at 7 a.m. on a school day. It’s teaching kids independence by giving them clear, reachable spaces. It’s reducing mental load by eliminating daily friction.


 浙公网安备
33010002000092号
浙公网安备
33010002000092号 浙B2-20120091-4
Comments
No comments yet. Why don't you start the discussion?