
In a world where kitchen square footage is shrinking and clutter is rising, the tiny pantry has become both a challenge and an opportunity. Minimalism isn’t about deprivation—it’s about intentionality. When applied to pantry organization, it transforms a cramped shelf into a streamlined, functional space that supports healthy eating, reduces waste, and simplifies daily life. Whether you’re in a studio apartment, a tiny home, or just dealing with a shallow kitchen cupboard, this guide delivers practical strategies to maximize every inch while embracing the clarity of minimalism.
Declutter with Purpose
The foundation of any minimalist pantry begins not with containers or labels, but with honest evaluation. A crowded pantry often reflects outdated habits: impulse buys, expired goods, duplicates, and items used once then abandoned. Start by removing everything from your pantry. Yes, everything. Place items on a counter or table so you can assess them clearly.
Sort each item into one of four categories: keep, donate, trash, or relocate. Ask yourself three questions: Have I used this in the past six months? Does it align with my current diet and lifestyle? Is it still safe to consume? If the answer to any is “no,” let it go.
This purge isn’t just physical; it’s psychological. It creates space not only on the shelves but in your mind. You’re no longer managing chaos—you’re curating essentials.
Create a Functional Zoning System
Minimalist design thrives on order through zoning. In a small pantry, assigning specific areas for food types prevents visual clutter and makes retrieval intuitive. Think vertically and horizontally: even a narrow cabinet can be divided into zones based on frequency of use and category.
Consider these common zones:
- Top Shelf: Infrequently used appliances or seasonal ingredients (e.g., holiday baking supplies).
- Middle Shelf: Daily staples like grains, pasta, canned beans, and cooking oils.
- Lower Shelf: Heavier items such as potatoes, onions, or bulk water bottles.
- Door: Spices, condiments, tea bags—items needed during active cooking.
- Front Row: Snacks or grab-and-go items for household members.
Zoning works best when it reflects your actual behavior. If you drink tea every morning, don’t bury the box behind baking soda. Prioritize accessibility for high-use items. This reduces frustration and discourages overbuying due to forgotten stock.
“Efficiency in a small pantry comes from understanding your rhythm, not following generic systems.” — Lena Torres, Sustainable Home Organizer
Invest in Smart Storage Solutions
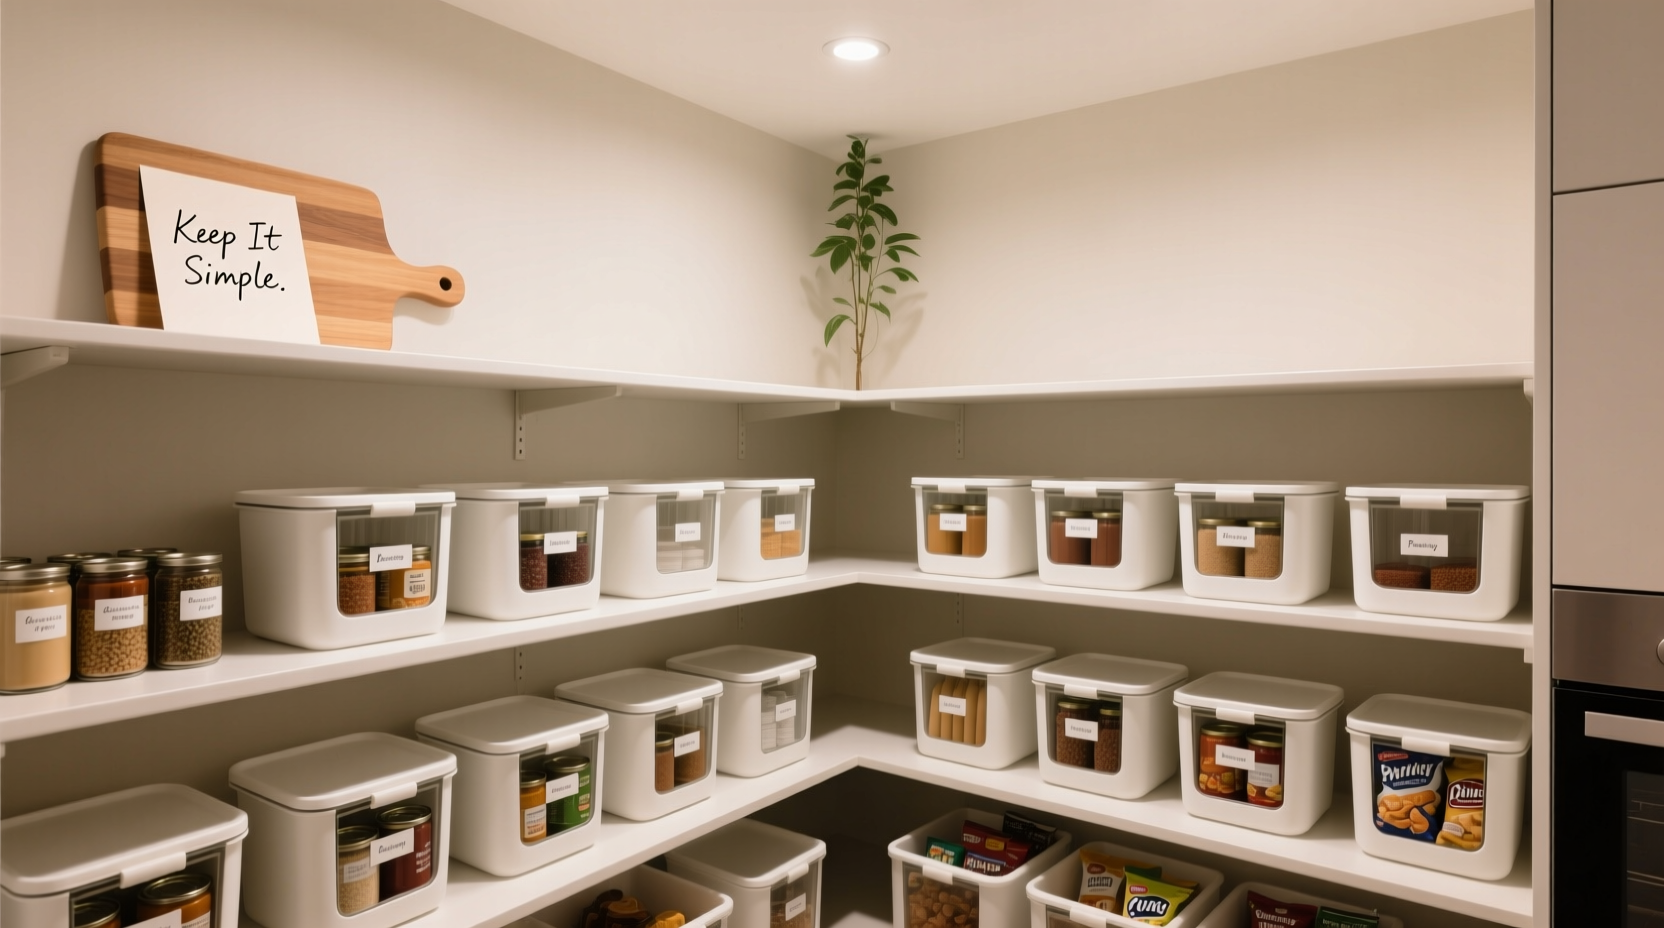
Once decluttered and zoned, your next step is containment. Minimalism favors uniformity because it calms visual noise. Replace mismatched packaging with consistent, stackable containers. Opt for clear glass or BPA-free plastic jars with airtight seals. Label each container simply—either with a tag or permanent marker—to eliminate guesswork.
Use modular bins or baskets to group similar items: one for nuts and seeds, another for snack bars, a third for baking essentials. Baskets act as micro-zones within shelves and can be pulled out fully for easy access.
| Solution | Best For | Avoid If |
|---|---|---|
| Stackable Can Organizers | Canned vegetables, soups, beans | You rarely use canned goods |
| Turntable (Lazy Susan) | Spices, sauces, oils | Pantry is too narrow for rotation |
| Over-the-Door Racks | Small packets, seasoning blends | Door opens into wall or hinge is weak |
| Adjustable Shelving | Tall bottles, irregularly shaped items | Shelves are built-in or non-modifiable |
Remember: storage should serve function, not complicate it. Avoid buying organizers before assessing your inventory. Measure your space first. A $30 tiered shelf is useless if it blocks the back row.
Step-by-Step: The 7-Day Pantry Reset
Transforming a chaotic pantry into a minimalist haven doesn’t require a weekend overhaul. Spread the process across seven days to avoid burnout and ensure thoughtful decisions.
- Day 1: Empty & Assess – Remove all contents. Wipe down shelves. Take inventory of what you own.
- Day 2: Sort & Purge – Categorize items. Discard expired goods. Donate unopened, unwanted foods.
- Day 3: Plan Zones – Sketch a simple layout based on usage frequency and weight distribution.
- Day 4: Shop Smart Containers – Buy only what you need. Reuse jars from pasta sauce or pickles if possible.
- Day 5: Transfer & Label – Decant dry goods into containers. Label with contents and purchase date.
- Day 6: Install & Arrange – Place items in designated zones. Use risers or bins to maximize vertical space.
- Day 7: Test & Tweak – Cook a few meals using only your new system. Adjust placement based on real use.
Real Example: Maria’s 2-Shelf Pantry Transformation
Maria lives in a 500-square-foot downtown apartment. Her pantry consisted of two narrow shelves above the fridge—barely 18 inches deep. Before minimalism, it was packed with overlapping boxes, half-used bags, and spices buried behind cereal. She spent mornings searching for oats and often bought duplicates.
After following the 7-day reset, she grouped items into three zones: breakfast (oats, nuts, dried fruit), cooking base (rice, lentils, canned tomatoes), and flavor boosters (spices, vinegar, soy sauce). She used five recycled glass jars and two small woven baskets. A magnetic spice strip was mounted inside the cabinet door.
The result? She now sees everything at a glance. Her weekly grocery list shrinks by 30% because she knows exactly what she has. Most importantly, cooking feels less like a chore and more like a calm ritual.
Essential Checklist for a Minimalist Tiny Pantry
Follow this checklist to ensure nothing is overlooked in your transformation:
- ✅ Remove all items from the pantry
- ✅ Discard expired or stale food
- ✅ Donate unopened, excess items to food banks
- ✅ Clean shelves thoroughly
- ✅ Group remaining items by category (grains, proteins, spices, etc.)
- ✅ Choose uniform, airtight containers
- ✅ Label all containers with contents and dates
- ✅ Assign functional zones based on usage
- ✅ Install organizers (bins, turntables, racks) as needed
- ✅ Maintain with a monthly review session
Common Pitfalls to Avoid
Even with good intentions, tiny pantry projects can go off track. Here are frequent missteps and how to prevent them:
- Buying organizers too early: Wait until after decluttering to know your true needs.
- Over-decluttering: Don’t eliminate all variety. Keep a few comfort or occasional-use items without guilt.
- Neglecting airflow: Overpacking shelves traps moisture. Leave small gaps between containers.
- Ignoring lighting: Add adhesive LED strips if your pantry is dark. Visibility prevents forgotten items.
- Forgetting maintenance: Schedule a 10-minute refresh every Sunday to realign containers and check for spoilage.
Frequently Asked Questions
Can I maintain a minimalist pantry with a family of four?
Absolutely. Minimalism scales through better planning, not smaller quantities. Focus on versatile staples (like rice, beans, and frozen vegetables) that serve multiple meals. Use larger containers for bulk items but limit variety—three types of pasta instead of ten. Rotate stock diligently to avoid waste.
What if I live in a humid climate? Won’t open containers spoil faster?
In humid environments, airtight is non-negotiable. Use containers with rubber seals and consider adding silica gel packs inside grain or flour jars. Avoid placing the pantry near stoves or sinks where moisture fluctuates. If possible, store sensitive items like flour or sugar in the freezer.
How do I handle bulky items like paper towels or pet food in a tiny space?
Store oversized items elsewhere if possible—under the sink, in a closet, or in a sealed bin under the bed. For pet food, transfer kibble into a compact, labeled container and keep the bulk bag in a cool garage or storage area. Only bring in what you’ll use in 2–3 weeks.
Sustain the System Long-Term
The true test of a minimalist pantry isn’t its appearance on day one, but its resilience over time. Systems fail when they demand perfection. Instead, build flexibility into your routine. Allow room for change—new recipes, dietary shifts, seasonal produce.
Adopt a “reset” mindset: every month, take 15 minutes to reevaluate. Are certain items never used? Are containers misaligned? Is labeling peeling? These micro-audits keep the system alive without burdening your schedule.
Also, rethink shopping habits. Minimalist pantries thrive on mindful purchasing. Stick to a list. Avoid bulk deals unless you’ll realistically consume the item. Shop more frequently in smaller quantities to keep food fresh and choices intentional.
“The most organized pantry is the one you actually use—not the one that looks perfect in a photo.” — Derek Lin, Urban Kitchen Consultant
Conclusion: Clarity Starts on the Shelf
Organizing a tiny pantry like a minimalist pro isn’t about achieving Instagram-worthy symmetry. It’s about creating a space that serves you quietly and reliably every day. When your shelves reflect clarity, your meals follow suit. Decision fatigue fades. Waste drops. Confidence in the kitchen grows.
Start small. Begin with one shelf. Apply one principle—decluttering, zoning, or labeling. Build momentum through consistency, not perfection. The minimalist pantry isn’t a destination; it’s a practice of presence in the everyday.


 浙公网安备
33010002000092号
浙公网安备
33010002000092号 浙B2-20120091-4
Comments
No comments yet. Why don't you start the discussion?