
A cluttered, overstuffed pantry is more than just an eyesore—it can lead to wasted food, forgotten ingredients, and daily frustration. Yet many people assume that solving the problem requires buying bins, baskets, or shelf organizers. The truth? You don’t need to spend a dime to transform your tiny pantry into a streamlined, functional space. With smart strategies, disciplined sorting, and creative use of existing tools, you can organize like a professional using only what’s already in your kitchen.
The key lies not in purchasing new containers but in rethinking how you store, group, and access your items. This guide walks through proven techniques used by organization experts and real-life home cooks who’ve turned cramped pantries into models of efficiency—all without adding a single new product to their homes.
Start with a Strategic Empty and Assess
The foundation of any successful pantry overhaul is starting from scratch. Remove everything from your pantry shelves. Yes, everything—even that half-used bag of lentils hiding behind the cereal box. This step serves two purposes: it forces you to see exactly what you own, and it gives you a clean slate to rebuild logically.
As you pull items out, place them on a nearby counter or table. Sort them into broad categories: canned goods, grains, snacks, baking supplies, sauces, and so on. While doing this, check expiration dates and discard anything expired, stale, or unidentifiable. Be ruthless—if you haven’t used it in six months, consider letting it go.
This inventory process often reveals surprising truths: duplicates, impulse buys, or forgotten staples. One client I worked with found three unopened bottles of soy sauce and two nearly full bags of brown sugar—items she thought she was “running low on” every week.
The Power of Audit: What You Own Matters More Than How It’s Stored
Before organizing, understand your consumption patterns. Ask yourself:
- Which items do I reach for daily?
- What tends to get buried and forgotten?
- Are there foods I consistently overbuy?
- Do I have too many similar products (e.g., five types of pasta)?
Answering these questions helps you design a system tailored to your actual habits—not an Instagram-perfect ideal that collapses after a week.
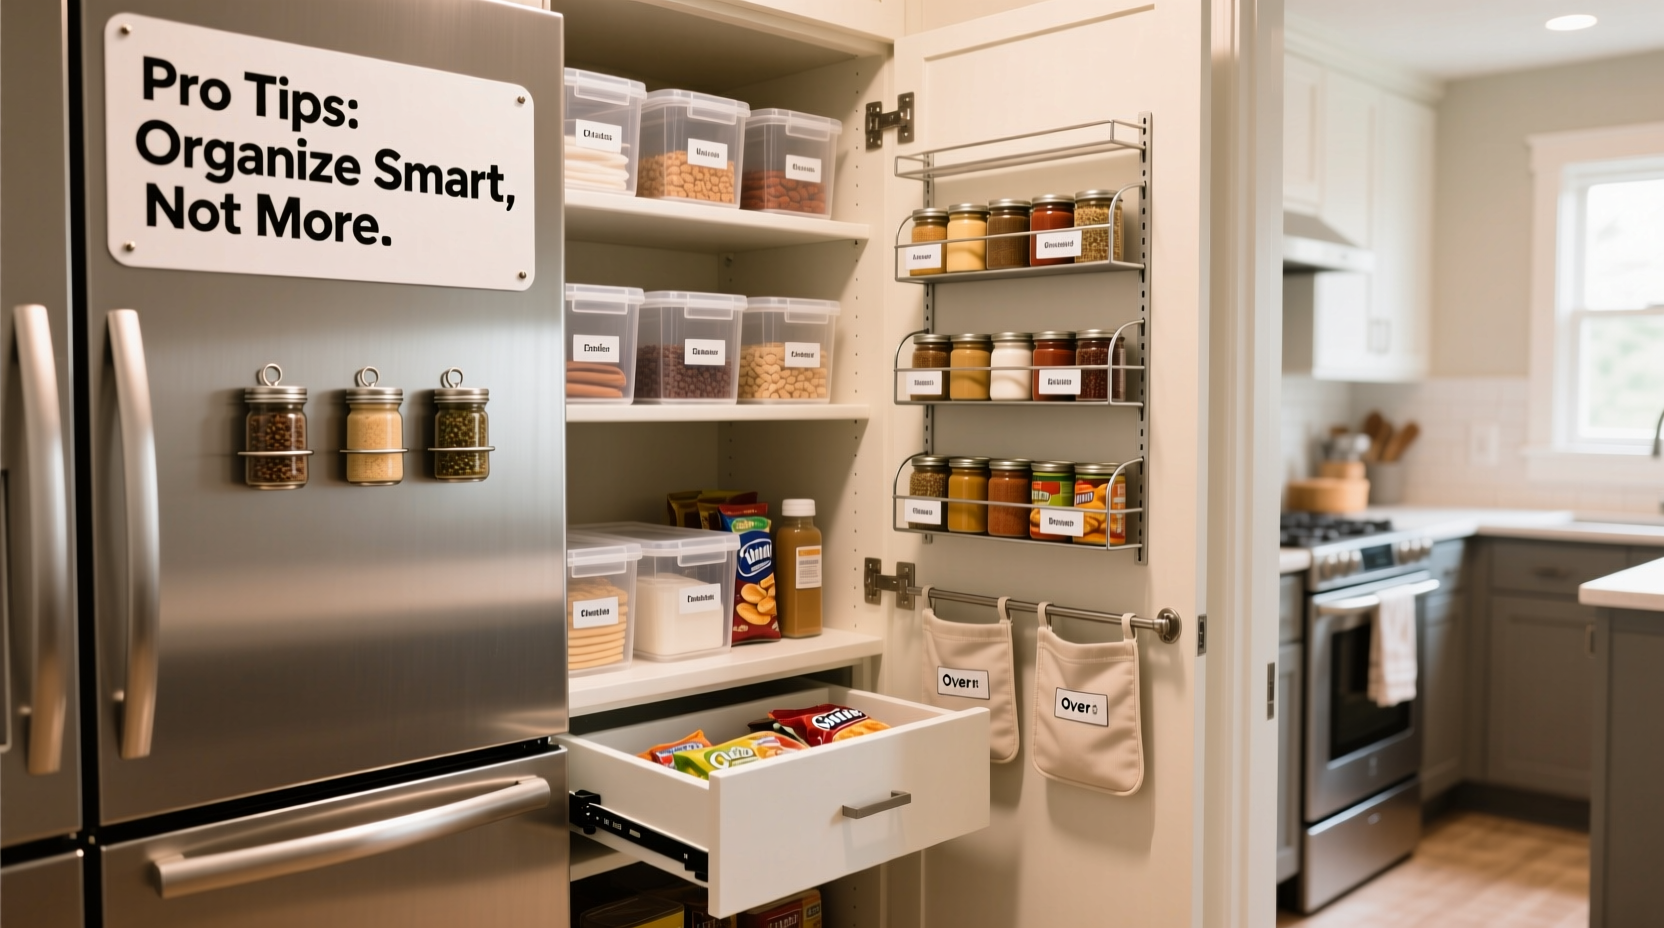
Use What You Already Have: Repurposing Household Items
You likely already own containers and tools that double as effective pantry organizers. Before considering a dollar spent, explore these everyday alternatives:
- Glass jars from condiments or pickles: Perfect for storing dry goods like rice, pasta, oats, or spices. Wash and remove labels for a clean look.
- Tupperware or food storage containers: Ideal for grouping snacks, nuts, or baking ingredients. Their stackable design saves vertical space.
- Mug or cup holders: Turn a spare mug organizer upside down and use it inside the door to hold spice packets, tea bags, or small sauce bottles.
- Old shoeboxes or cereal boxes: Line them up to corral loose packets, drink mixes, or baking soda boxes. Cover with wrapping paper if aesthetics matter.
- Canisters from coffee or protein powder: Their wide mouths make access easy, and their uniform shape stacks neatly.
The goal isn’t perfection—it’s function. Even mismatched containers work if they keep contents visible and accessible.
“Organization isn’t about matching bins. It’s about reducing friction between you and what you need.” — Lena Torres, Home Efficiency Consultant
Create Zones Based on Use and Frequency
Professional kitchens rely on zoning: placing related items together in designated areas. Apply the same logic to your pantry. Divide your space into functional zones based on how you cook and eat.
| Zone | Purpose | Items to Include |
|---|---|---|
| Everyday Staples | Most frequently accessed items | Rice, pasta, oil, salt, coffee, bread |
| Baking Center | All baking-related ingredients | Flour, sugar, cocoa, baking powder, vanilla |
| Snack Zone | Quick-access treats | Chips, granola bars, dried fruit, nuts |
| Canned & Jarred Goods | Soups, sauces, vegetables, beans | Tomato sauce, broths, pickles, canned fish |
| Emergency/Backup | Long-shelf-life backups | Canned meals, instant noodles, powdered milk |
Place high-use zones at eye level. Reserve lower shelves for heavier items (like bulk rice or water bottles) and higher or harder-to-reach spots for backups or seasonal goods.
Real Example: Maria’s 2-Shelf Pantry Transformation
Maria lives in a studio apartment with a pantry barely 18 inches wide. After moving in, she constantly misplaced items and ended up repurchasing basics she already owned. She decided to reorganize without buying anything.
She started by emptying the pantry and discovered expired crackers, duplicate spices, and a jar of olives from two years prior. She then grouped items into three zones: Cooking Base (oils, grains, canned tomatoes), Morning Routine (coffee, oatmeal, honey), and Snacks (nuts, cookies, tea).
Using old jam jars, she transferred rice and lentils. A leftover plastic container held granola bars. She placed her most-used oils and vinegars on the front edge of the top shelf. Within 20 minutes, her pantry was usable again—and stayed organized for months because the system matched her routine.
Maximize Vertical and Door Space
In a tiny pantry, every inch counts. Most people underutilize vertical height and the back of the door—two of the most valuable real estate areas.
To increase vertical capacity:
- Stack cans vertically using rubber bands to group them (e.g., three cans of beans bundled together).
- Nest smaller boxes inside larger ones (e.g., tea bags inside an empty tissue box).
- Use inverted baking trays as risers: Place one on a shelf, then set items in front of it so those behind remain visible.
For the door:
- Hang a magazine holder to store flat items like pancake mix, seasoning packets, or tortillas.
- Attach a tension rod near the top to hang reusable produce bags filled with onions or garlic.
- Clip clear plastic folders to the door and slide recipe cards or spice labels inside for quick reference.
These tricks cost nothing and instantly double accessible surface area.
Step-by-Step: 30-Minute No-Cost Pantry Reset
Follow this timeline to reorganize your pantry in under an hour:
- Minute 0–5: Remove all items from shelves.
- Minute 5–10: Wipe down shelves with a damp cloth.
- Minute 10–20: Sort items into categories and discard expired goods.
- Minute 20–25: Transfer dry goods into clean jars or containers you already own.
- Minute 25–35: Assign zones and place items accordingly—most-used at eye level.
- Minute 35–45: Utilize door and vertical space with repurposed holders.
- Minute 45–60: Label containers with masking tape and a marker; test accessibility.
No shopping. No waiting. Just immediate improvement.
Maintain the System with Simple Habits
Even the best system fails without maintenance. The pros don’t just organize once—they build habits that preserve order. Here’s how to keep your tiny pantry functional long-term:
- One In, One Out Rule: When you bring a new item in, remove an old or duplicate one.
- Weekly Check: Spend 3 minutes each week scanning for expired items or disorganization.
- Restock Mindfully: Avoid bulk purchases unless you’ll use them within a month.
- Return Immediately: Never leave a box or jar on the counter after use—put it back right away.
Pantry Organization Checklist
Use this checklist to ensure your pantry stays optimized:
- ✅ Removed all items and cleaned shelves
- ✅ Discarded expired or unusable products
- ✅ Sorted items into logical categories
- ✅ Transferred dry goods into reusable containers
- ✅ Assigned zones based on usage frequency
- ✅ Maximized vertical and door space
- ✅ Labeled containers clearly
- ✅ Established a weekly maintenance habit
Frequently Asked Questions
What if I don’t have any jars or containers at home?
No problem. Use original packaging but keep it neat. Fold open bags closed and secure with clips made from binder clips, clothespins, or even folded paper and tape. Stack boxes uniformly and face labels forward for visibility.
How do I stop things from getting messy again?
Consistency beats perfection. Commit to putting items back immediately after use and doing a 5-minute tidy once a week. Systems fail when they’re too complicated—keep yours simple and realistic.
Is labeling really necessary?
Yes—but it doesn’t need to be fancy. Masking tape and a pen work perfectly. Labels reduce decision fatigue and help everyone in the household follow the system, especially children or roommates.
Final Thoughts: Organization Is a Practice, Not a Purchase
Organizing a tiny pantry like a pro has nothing to do with owning the latest storage gadgets. It’s about clarity, intention, and using what you already have wisely. The most effective systems are born not from retail therapy but from understanding your habits and designing around them.
You don’t need a bigger pantry—you need a smarter one. And the tools to create it are already in your kitchen. By auditing your inventory, repurposing containers, creating intuitive zones, and maintaining simple routines, you can turn chaos into calm without spending a cent.


 浙公网安备
33010002000092号
浙公网安备
33010002000092号 浙B2-20120091-4
Comments
No comments yet. Why don't you start the discussion?