
In a modern workspace or entertainment center, it's common to have a dozen or more cords snaking from power strips to laptops, monitors, speakers, routers, chargers, and gaming consoles. Without proper management, this tangle becomes not just unsightly but hazardous—increasing tripping risks, reducing airflow around electronics, and making troubleshooting a nightmare. The good news? You don’t need expensive cable boxes, custom raceways, or professional help to regain control. With just a few household items and some strategic planning, you can transform a chaotic mess into a streamlined setup that’s functional, safe, and easy to maintain.
Why Cable Clutter Matters More Than You Think
Cable disorganization isn't merely an aesthetic issue. A cluttered setup affects productivity, device longevity, and even safety. Tangled cords are harder to trace when one fails, increasing downtime during work or entertainment. Overheating can occur if cords are tightly bundled and blocking ventilation on devices like modems or amplifiers. Dust accumulates faster in dense cable nests, requiring more frequent cleaning. Additionally, pulling on the wrong cord while trying to unplug one device can damage ports or disconnect critical equipment accidentally.
According to the National Fire Protection Association (NFPA), improper use of extension cords and overloaded power strips contribute to over 3,300 home fires annually in the U.S. alone. While most aren’t caused by loose cables per se, poor cable management often masks underlying electrical hazards such as frayed insulation or daisy-chained power adapters.
“Good cable organization isn’t about neatness—it’s about function, safety, and extending the life of your devices.” — David Lin, Electrical Systems Technician with 15 years of field experience
A Minimalist Toolkit: What You Actually Need
You don’t need a $50 cable management kit to make meaningful improvements. Most effective solutions rely on repurposed or inexpensive materials already found at home or available at dollar stores. Here’s what works best with minimal investment:
- Velcro straps – Reusable, adjustable, and gentle on insulation. Unlike zip ties, they won’t cut into wires or require cutting to remove.
- Paper clips (large) – Straightened slightly, these act as quick cable anchors behind desks or TVs.
- Masking tape and labels – For temporary tagging; write device names directly on small strips.
- Toilet paper or paper towel rolls – Cut lengthwise to create instant cord sleeves.
- Binder clips – Clamp cords to desk edges or shelves to prevent strain on ports.
- Shoelaces or hair ties – Soft bundling options that avoid kinking.
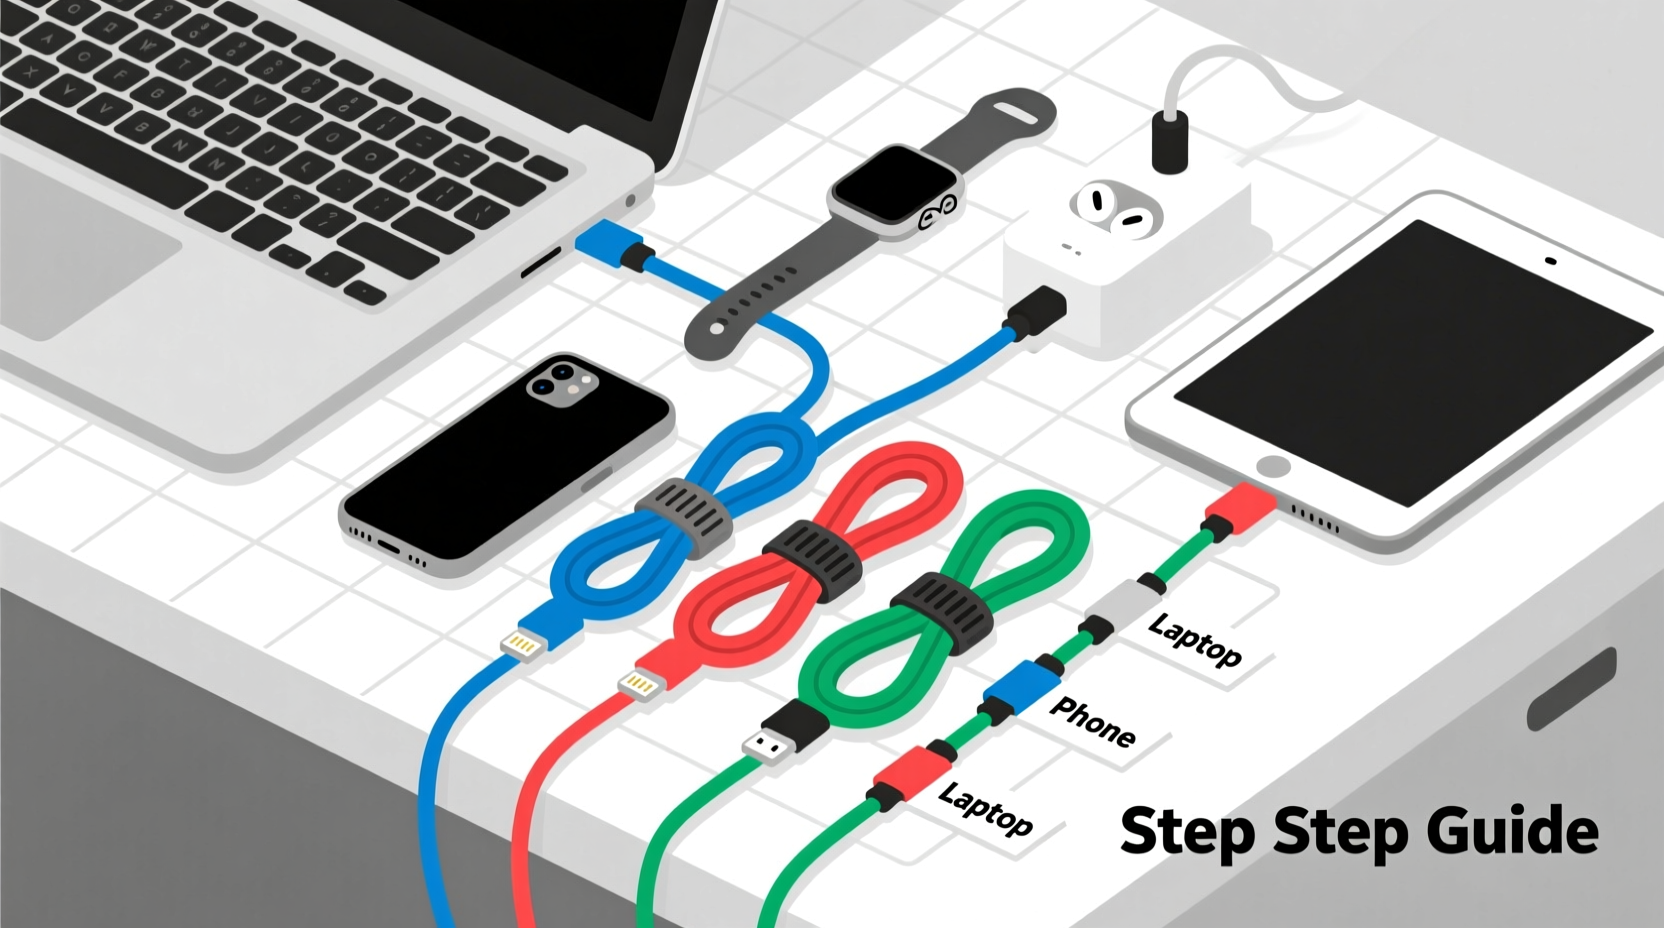
Step-by-Step Guide: Organizing Cables in Under 30 Minutes
Follow this practical sequence to declutter any multi-device area—from your home office to your entertainment center—using only basic tools.
- Unplug everything. Safety first. Disconnect all devices from outlets and each other. This gives you full access and prevents accidental shocks.
- Identify each cable. Use masking tape flags labeled with the device name (e.g., “Monitor,” “Router”). If unsure, plug one back in at a time later to test.
- Remove damaged or obsolete cords. Frayed, stiff, or cracked cables should be discarded. Also eliminate old chargers for retired devices.
- Group by function. Bundle power cords together, data cables (HDMI, USB) in another group, and audio/video separately.
- Route cables along surfaces. Use baseboards, desk backs, or wall edges as natural guides. Avoid crossing high-traffic floor areas.
- Secure with Velcro or soft ties. Wrap bundles loosely every 6–8 inches. Never overtighten—leave room for heat dissipation.
- Anchoring points. Clip binder clips to desk edges and thread cords through the metal loops to reduce tension on device ports.
- Label at both ends. Especially useful for HDMI or Ethernet cables running behind a TV stand. Use tape or folded tags.
- Test connections. Plug everything back in, verify functionality, and adjust routing if needed.
- Maintain monthly. Set a calendar reminder to check for wear, slack, or new tangles before they become unmanageable.
Smart Hacks Using Everyday Household Items
You don’t need specialty products to keep things tidy. These clever adaptations turn ordinary objects into effective cable organizers:
| Household Item | How to Use | Best For |
|---|---|---|
| Cardboard toilet roll | Cut open and wrap around a bundle; secure with tape | Short-term storage or moving cables |
| Coat hanger (wire) | Bend into a hook shape and hang under a desk | Supporting heavy bundles without wall mounting |
| Ice cream container lid | Drill small holes around the edge; feed cords through | Managing cords from a single hub like a router |
| Old belt | Loop around a bundle and use the buckle to tighten | Large, infrequent adjustments (e.g., AV cabinet) |
| Spring clothespins | Clip to furniture edge; hold individual cords | Preventing headphone or charging cables from falling |
Real Example: Transforming a Home Office in One Evening
Mark, a freelance graphic designer in Portland, worked from a corner of his living room. His desk held a laptop, monitor, external hard drive, printer, phone charger, lamp, and Wi-Fi router—all plugged into a single overloaded power strip on the floor. Every time he moved his chair, he risked unplugging something vital. After reading about minimalist cable management, he spent 25 minutes reorganizing using only supplies he had at home.
He started by unplugging everything and identifying each cable with tape. He removed two broken USB cables and an old printer adapter. Then, he used three Velcro straps to group cords by function: one for display and computer, one for peripherals, and one for power. He clipped a large binder clip to the back of his desk and threaded the main laptop power cord through it to relieve stress on the port. Finally, he routed the bundles down the side of the desk and secured them with bent paper clips hooked into screw holes on the frame.
The result? A clean, accessible setup where each device could be disconnected independently. Mark reported fewer crashes due to accidental unplugs and felt more focused in his workspace. Total cost: $0.
Do’s and Don’ts of Low-Tool Cable Management
To ensure your efforts last and remain safe, follow these essential guidelines:
| Do | Don’t |
|---|---|
| Leave slack near device ports to prevent strain | Yank cords out by the wire instead of the plug |
| Use soft ties that allow expansion and airflow | Wrap cords too tightly or coil them tightly |
| Label both ends of long or hidden cables | Run cords under rugs or heavy furniture |
| Elevate bundles off the floor using clips or hooks | Use nails or sharp screws near insulation |
| Check for warmth after 30 minutes of use | Ignore buzzing sounds or hot plugs |
“Most cable issues stem from neglect, not complexity. Five minutes of attention every month prevents hours of frustration later.” — Lena Patel, IT Support Specialist
Essential Checklist for Quick Implementation
Print or save this checklist to guide your next cable organizing session:
- ✅ Unplug all devices safely
- ✅ Label each cable clearly
- ✅ Discard damaged or unused cords
- ✅ Group cables by type (power, data, audio)
- ✅ Route along walls or furniture edges
- ✅ Secure with Velcro or soft ties (not zip ties)
- ✅ Anchor cords near devices with binder clips
- ✅ Test all connections post-organization
- ✅ Schedule a monthly inspection
Frequently Asked Questions
Can I use duct tape to bundle cables?
Not recommended. Duct tape leaves sticky residue, degrades over time, and can damage cable jackets. It also doesn’t allow for easy adjustments. Use Velcro or fabric ties instead—they’re reusable and gentler.
How short is too short for a power cord?
If a cord is stretched taut between outlet and device, it’s too short. This creates strain on connectors and increases fire risk. Either relocate the device, use a properly rated extension cord, or install a nearby outlet if possible.
Is it safe to run cables under a rug?
No. Cords under rugs can overheat due to lack of airflow, get damaged from foot traffic, and pose a tripping hazard. Always route cords along walls, use cord covers designed for floors, or elevate them with clips.
Conclusion: Take Control of Your Tech Environment Today
Organizing cables for multiple devices doesn’t require technical expertise or expensive gear. With a few simple tools and a methodical approach, anyone can eliminate clutter, improve safety, and enhance the usability of their workspace or entertainment area. The key is consistency—spend a few minutes now to avoid hours of frustration later. Start small: pick one area, gather basic supplies, and follow the steps outlined here. Once you see the difference, you’ll likely want to tackle every tangled corner in your home.


 浙公网安备
33010002000092号
浙公网安备
33010002000092号 浙B2-20120091-4
Comments
No comments yet. Why don't you start the discussion?