
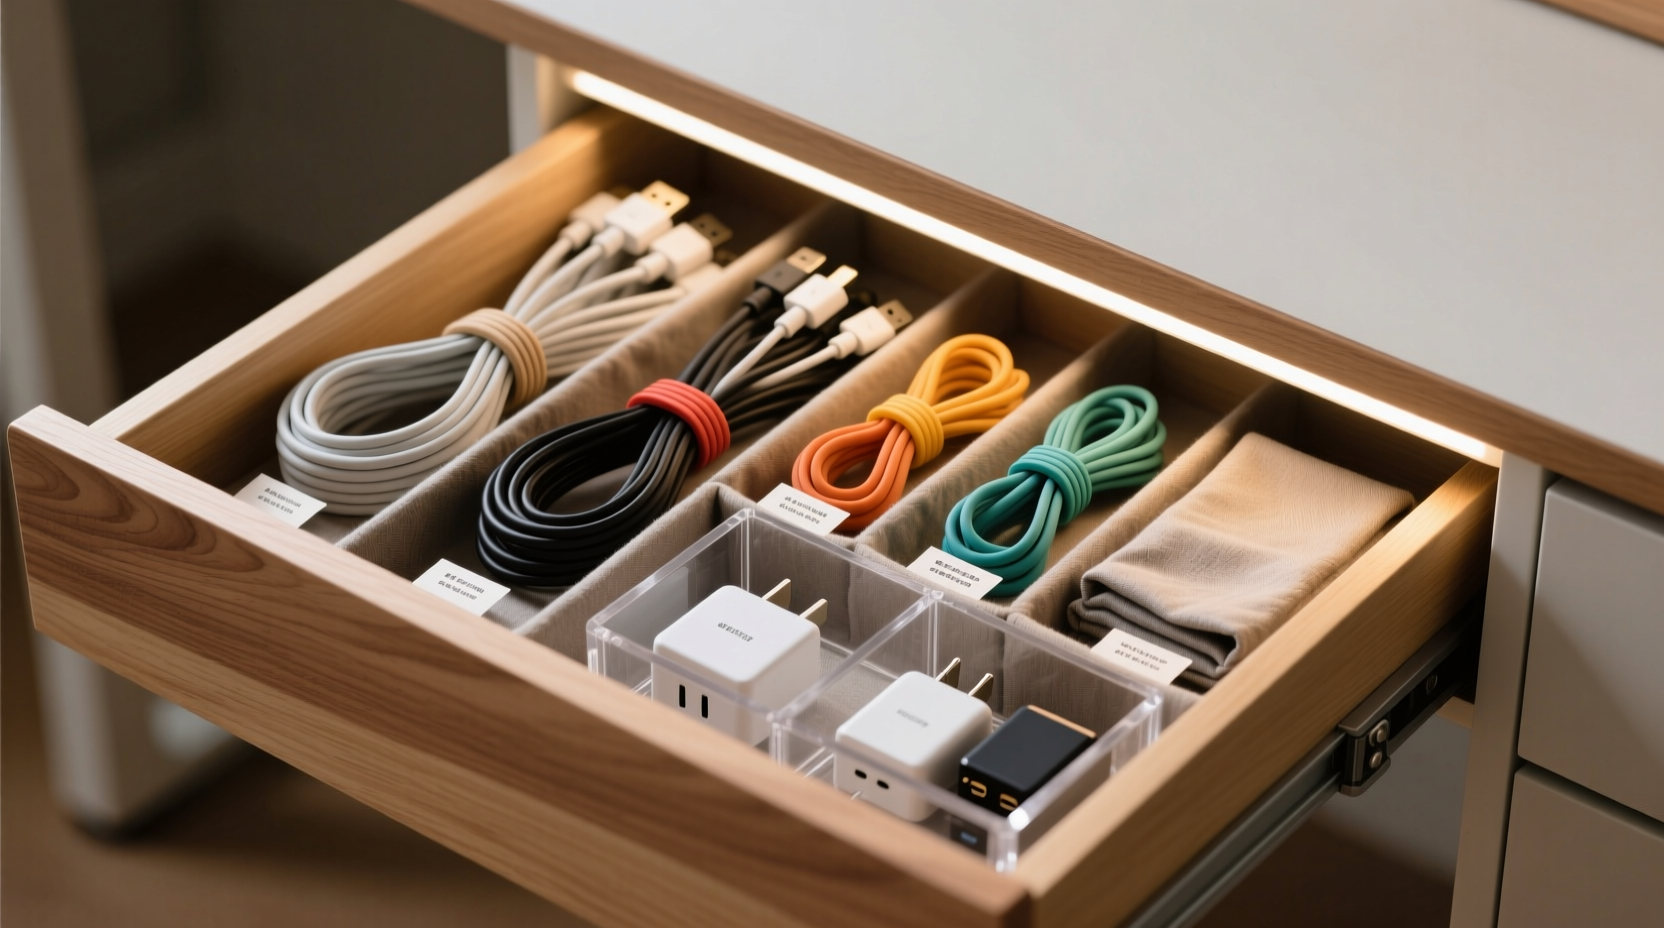
A desk drawer full of tangled cords is more than just an eyesore—it’s a daily frustration. USB chargers, HDMI cables, power adapters, and headphone wires twist into knots that waste time and damage equipment. Yet most people accept the chaos as inevitable. It doesn’t have to be. With a few household items and smart organization strategies, you can transform your cluttered drawer into a streamlined cable station. This guide walks through proven, budget-friendly DIY techniques that deliver lasting results—no special tools or purchases required.
Why Cable Clutter Matters More Than You Think
Disorganized cables aren’t just inconvenient—they pose real risks. Tangled cords increase wear on insulation, raising the chance of fraying or short circuits. Constant pulling and twisting reduce lifespan, forcing premature replacements. From a productivity standpoint, searching for the right charger wastes minutes each day. Over a year, that adds up to hours lost. A well-organized drawer also improves safety by reducing tripping hazards and preventing overheating from bundled power strips.
“Cable management isn’t about aesthetics alone. Properly stored cords last 40% longer and significantly lower fire risk.” — David Lin, Electrical Safety Consultant at HomeShield Labs
The goal isn’t perfection but functionality. A system that lets you identify and access any cable in seconds pays dividends in efficiency and peace of mind.
Step-by-Step: Creating Your DIY Cable Organization System
Follow this five-phase process to build a custom solution using everyday materials. Each step builds on the last, ensuring durability and ease of use.
- Empty and assess: Remove everything from the drawer. Lay out all cables, adapters, and accessories. Discard broken, obsolete, or unused items.
- Categorize by function: Group cables into types—charging, audio/video, data transfer, power extensions. Label each group with masking tape if needed.
- Measure and plan layout: Note the drawer’s interior dimensions. Sketch a rough zone map: one section for frequently used items, another for occasional ones.
- Select DIY organizers: Choose from the solutions below based on availability and drawer size.
- Install and test: Place dividers, secure cables, and simulate retrieval. Adjust spacing if access feels tight.
5 Effective DIY Cable Organizers You Can Make Today
You don’t need store-bought trays or Velcro straps. Common household items work just as well—and often better—because they’re customizable.
1. Cardboard Divider Grid
Cut cereal boxes or shipping cardboard into strips matching the drawer height. Arrange them perpendicularly to form square or rectangular compartments. Secure intersections with hot glue or double-sided tape. Paint or cover with washi tape for a polished look. Ideal for separating thick power bricks from thin USB cables.
2. Toilet Paper Roll Wraps
Wrap shorter cables (like earbuds or phone chargers) around flattened toilet paper rolls. Write the device name on the side with a marker. Stand rolls upright in the drawer like files. Prevents tangles and makes labels visible from above.
3. Fork or Spoon Handle Coils
Wrap excess length around the handle of a plastic fork or spoon. Slide a rubber band over the tines to lock the coil. The rigid shape holds firm, and the rubber band acts as a quick-release tab. Best for mid-length cords used weekly.
4. Ice Cube Tray Compartments
Repurpose a plastic ice cube tray as a multi-slot organizer. Place one adapter or coiled cable per cube. Deep wells keep items separated and upright. Works especially well in shallow drawers where vertical space is limited.
5. Binder Clip + Nail Anchors
Attach small binder clips to the inside edge of the drawer using nails or screws. Clip cables into the metal arms to suspend them slightly above the base. Reduces friction and keeps frequently used cords within easy reach.
Do’s and Don’ts of DIY Cable Storage
| Do’s | Don’ts |
|---|---|
| Use soft fabric ties instead of metal twist-ties to avoid damaging insulation | Never wrap cables too tightly—leave a slight loop to prevent internal wire strain |
| Label both ends of long cables with colored tape or tags | Avoid stacking heavy items on top of coiled cords |
| Leave 2–3 inches of slack in each coil for easy unwinding | Don’t use water-damaged cardboard, which loses structural integrity |
| Reassess your system every 3 months and remove unused items | Never cut or modify power cables unless replacing connectors safely |
Real-Life Example: Transforming a Home Office Drawer
Sarah, a freelance graphic designer in Portland, struggled with a drawer crammed with 17 different cables. Her Wacom tablet charger was always buried under laptop adapters, and she frequently damaged micro-USB cords yanking them free. She spent nearly 15 minutes daily untangling gear.
Using the cardboard grid method, she built a 6-compartment organizer from an old Amazon box. She labeled sections: “Daily Use,” “Video Output,” “Audio,” and “Spare.” Each cable was wrapped using the fork-handle technique and stored vertically. She added a small ice tray for extra USB-C tips and dongles.
After implementation, Sarah reduced cable search time to under 30 seconds. Over six months, she reported zero damaged cords and estimated saving 8–10 hours previously wasted on sorting. “It’s not just cleaner,” she said. “I feel less stressed starting my workday.”
Essential Tools and Materials Checklist
Gather these common household items before beginning:
- Cardboard (cereal boxes, shipping containers)
- Scissors or utility knife
- Ruler or measuring tape
- Hot glue gun or strong tape (duct or packing)
- Plastic forks, spoons, or ice cube trays
- Rubber bands or fabric strips
- Labels or masking tape and pen
- Binder clips (small or medium)
- Nails or screws (if anchoring clips)
No item should cost money if you’re repurposing. If you lack cardboard, ask local stores for spare packaging—they often give it away.
Maintaining Your System Long-Term
The biggest threat to any organization system is gradual decay. One loose cable leads to two, then ten. Prevent regression with these habits:
- One-in, one-out rule: When adding a new cable, remove an old or duplicate one.
- Monthly reset: Dedicate 10 minutes each month to re-coil cables and wipe dust from compartments.
- Color coding: Assign colors by device type—blue for audio, red for power, green for data—to speed identification.
- Usage audit: Every quarter, unplug and test each cable. Retire those no longer functional or compatible.
“Organization fails when it relies on memory. Build systems so intuitive that putting things back becomes automatic.” — Lena Cho, Productivity Coach and Author of *The Minimal Desk*
Frequently Asked Questions
Can I use paper towel rolls instead of toilet paper rolls?
Yes, but cut them down to match your drawer height. Full-length rolls may protrude and cause instability. Halve them horizontally for wider bases that resist tipping.
How do I prevent cables from slipping out of cardboard compartments?
Line the bottom with non-slip shelf liner or a strip of outdoor carpet scrap. Alternatively, create U-shaped cradles by folding cardboard into channels and gluing them in place.
Is it safe to store charging cables coiled tightly?
No. Tight coils stress internal wires, especially in thicker cables like laptop chargers. Always leave a gentle loop—about the size of a grapefruit—to maintain flexibility and conductivity.
Final Thoughts: Turn Chaos Into Control
Organizing desk drawer cables doesn’t require expensive kits or technical skill. It demands only attention, a few recycled materials, and a willingness to act. The solutions outlined here are tested, scalable, and sustainable. Whether you choose cardboard grids, repurposed kitchen items, or hybrid approaches, the outcome is the same: faster access, longer-lasting electronics, and a calmer workspace.
Start today. Empty that drawer. Sort what you have. Build one divider, wrap one cord. Small actions compound into lasting order. Once you experience the relief of a tangle-free pull, you’ll wonder why you waited so long.


 浙公网安备
33010002000092号
浙公网安备
33010002000092号 浙B2-20120091-4
Comments
No comments yet. Why don't you start the discussion?